
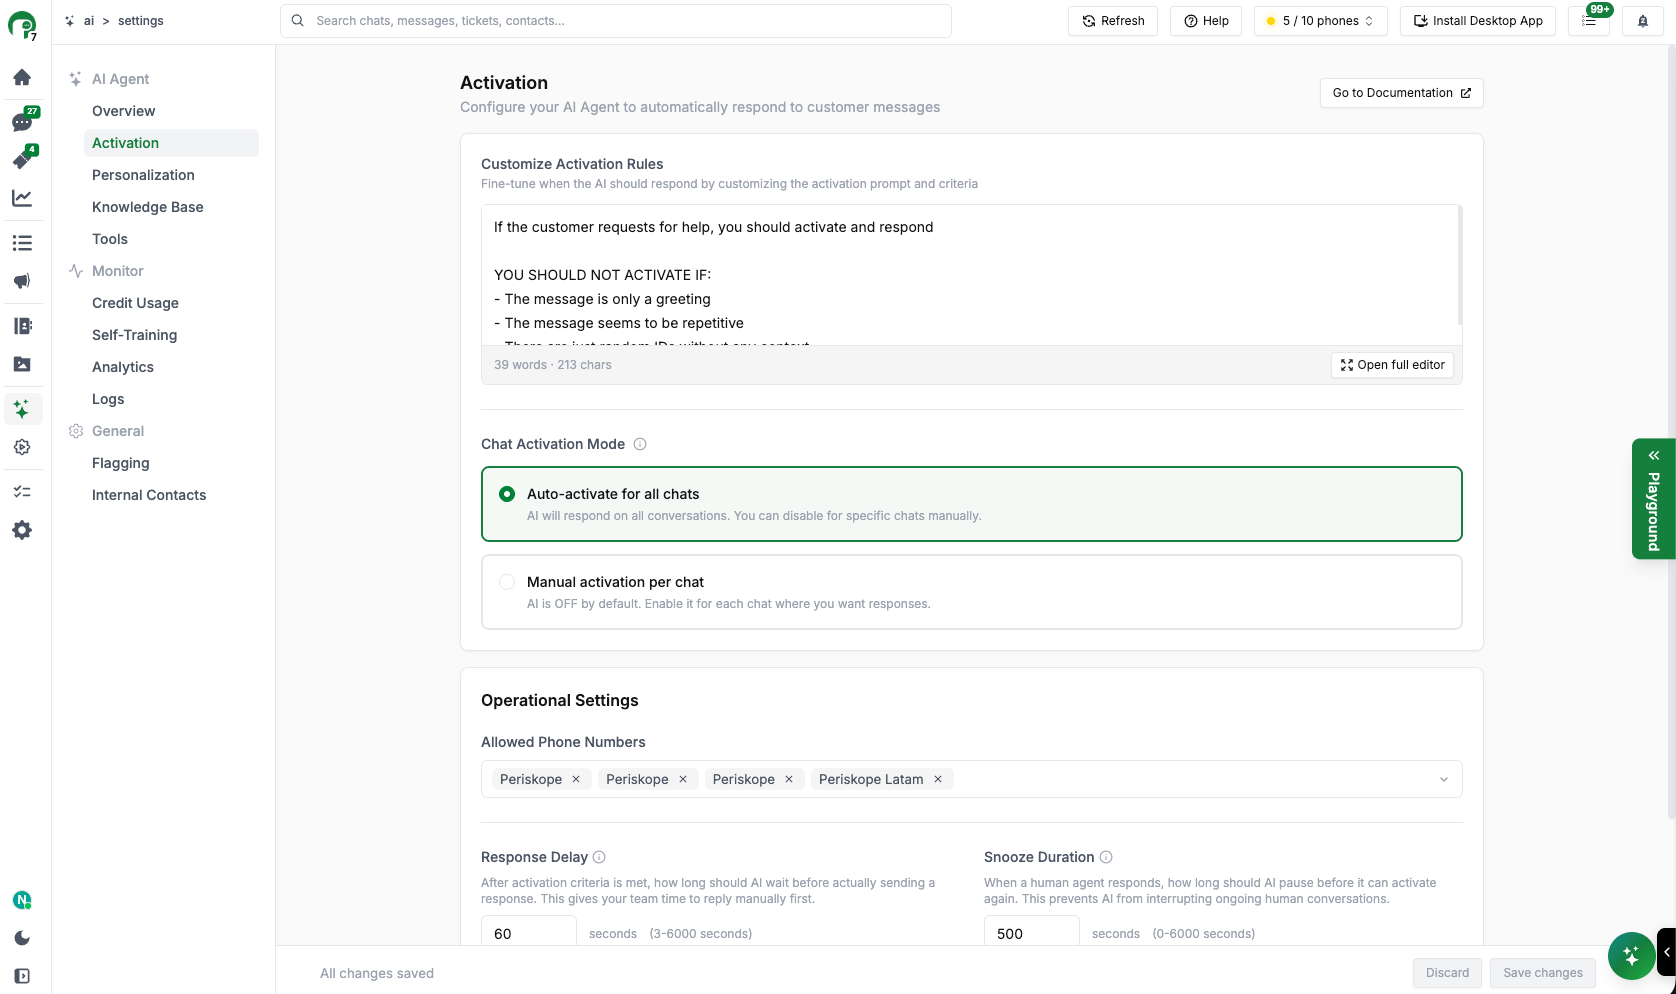
Activation settings
Turning the agent on or off is done from the Overview page, not here. The AI’s name and personality live on Personalization.
Customize Activation Rules
Fine-tune which messages should trigger the AI. Click Activation prompt to open the editor, which has two parts:- Base Activation Rules (Read-only) — the built-in criteria the AI always evaluates:
- Messages that raise an issue, complaint, technical problem, or concern
- Messages that request an action, assistance, or support
- Messages that appear to require business attention
- Custom Activation Rules — your own additions, for example:
- “Do NOT activate if it’s just a greeting without a question”
- “Do NOT activate if the message is a simple acknowledgment like ‘Ok’, ‘Thanks’, ‘Got it’”
- “Activate if the customer mentions a specific product by name”
Chat Activation Mode
Controls whether the AI is on or off by default across your chats:AI Settings in a Chat
When you open the Settings tab of a chat, you’ll find two AI-specific toggles that control how the AI behaves in that particular conversation.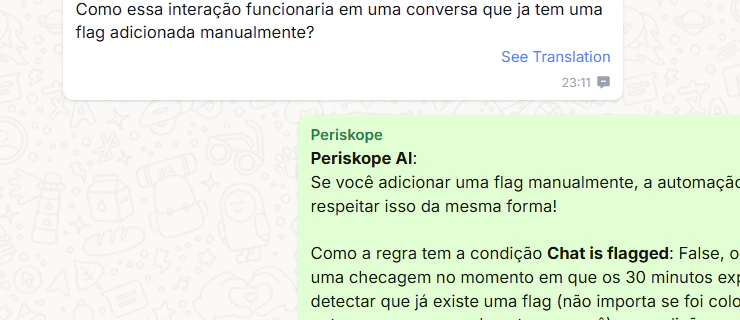
Settings tab
Allow AI Flagging
When enabled, the AI will automatically flag important or sensitive messages in this chat for your team’s attention — so nothing critical gets missed in a busy conversation.Allow AI Agent
When enabled, the AI Agent is active in this chat and can respond to customer messages automatically, based on your knowledge base and configured tools. Turn this off if you want a team member to handle the conversation manually.Note: These toggles are per-chat settings. Turning off Allow AI Agent in one chat does not affect other chats where it is enabled.
Operational Settings
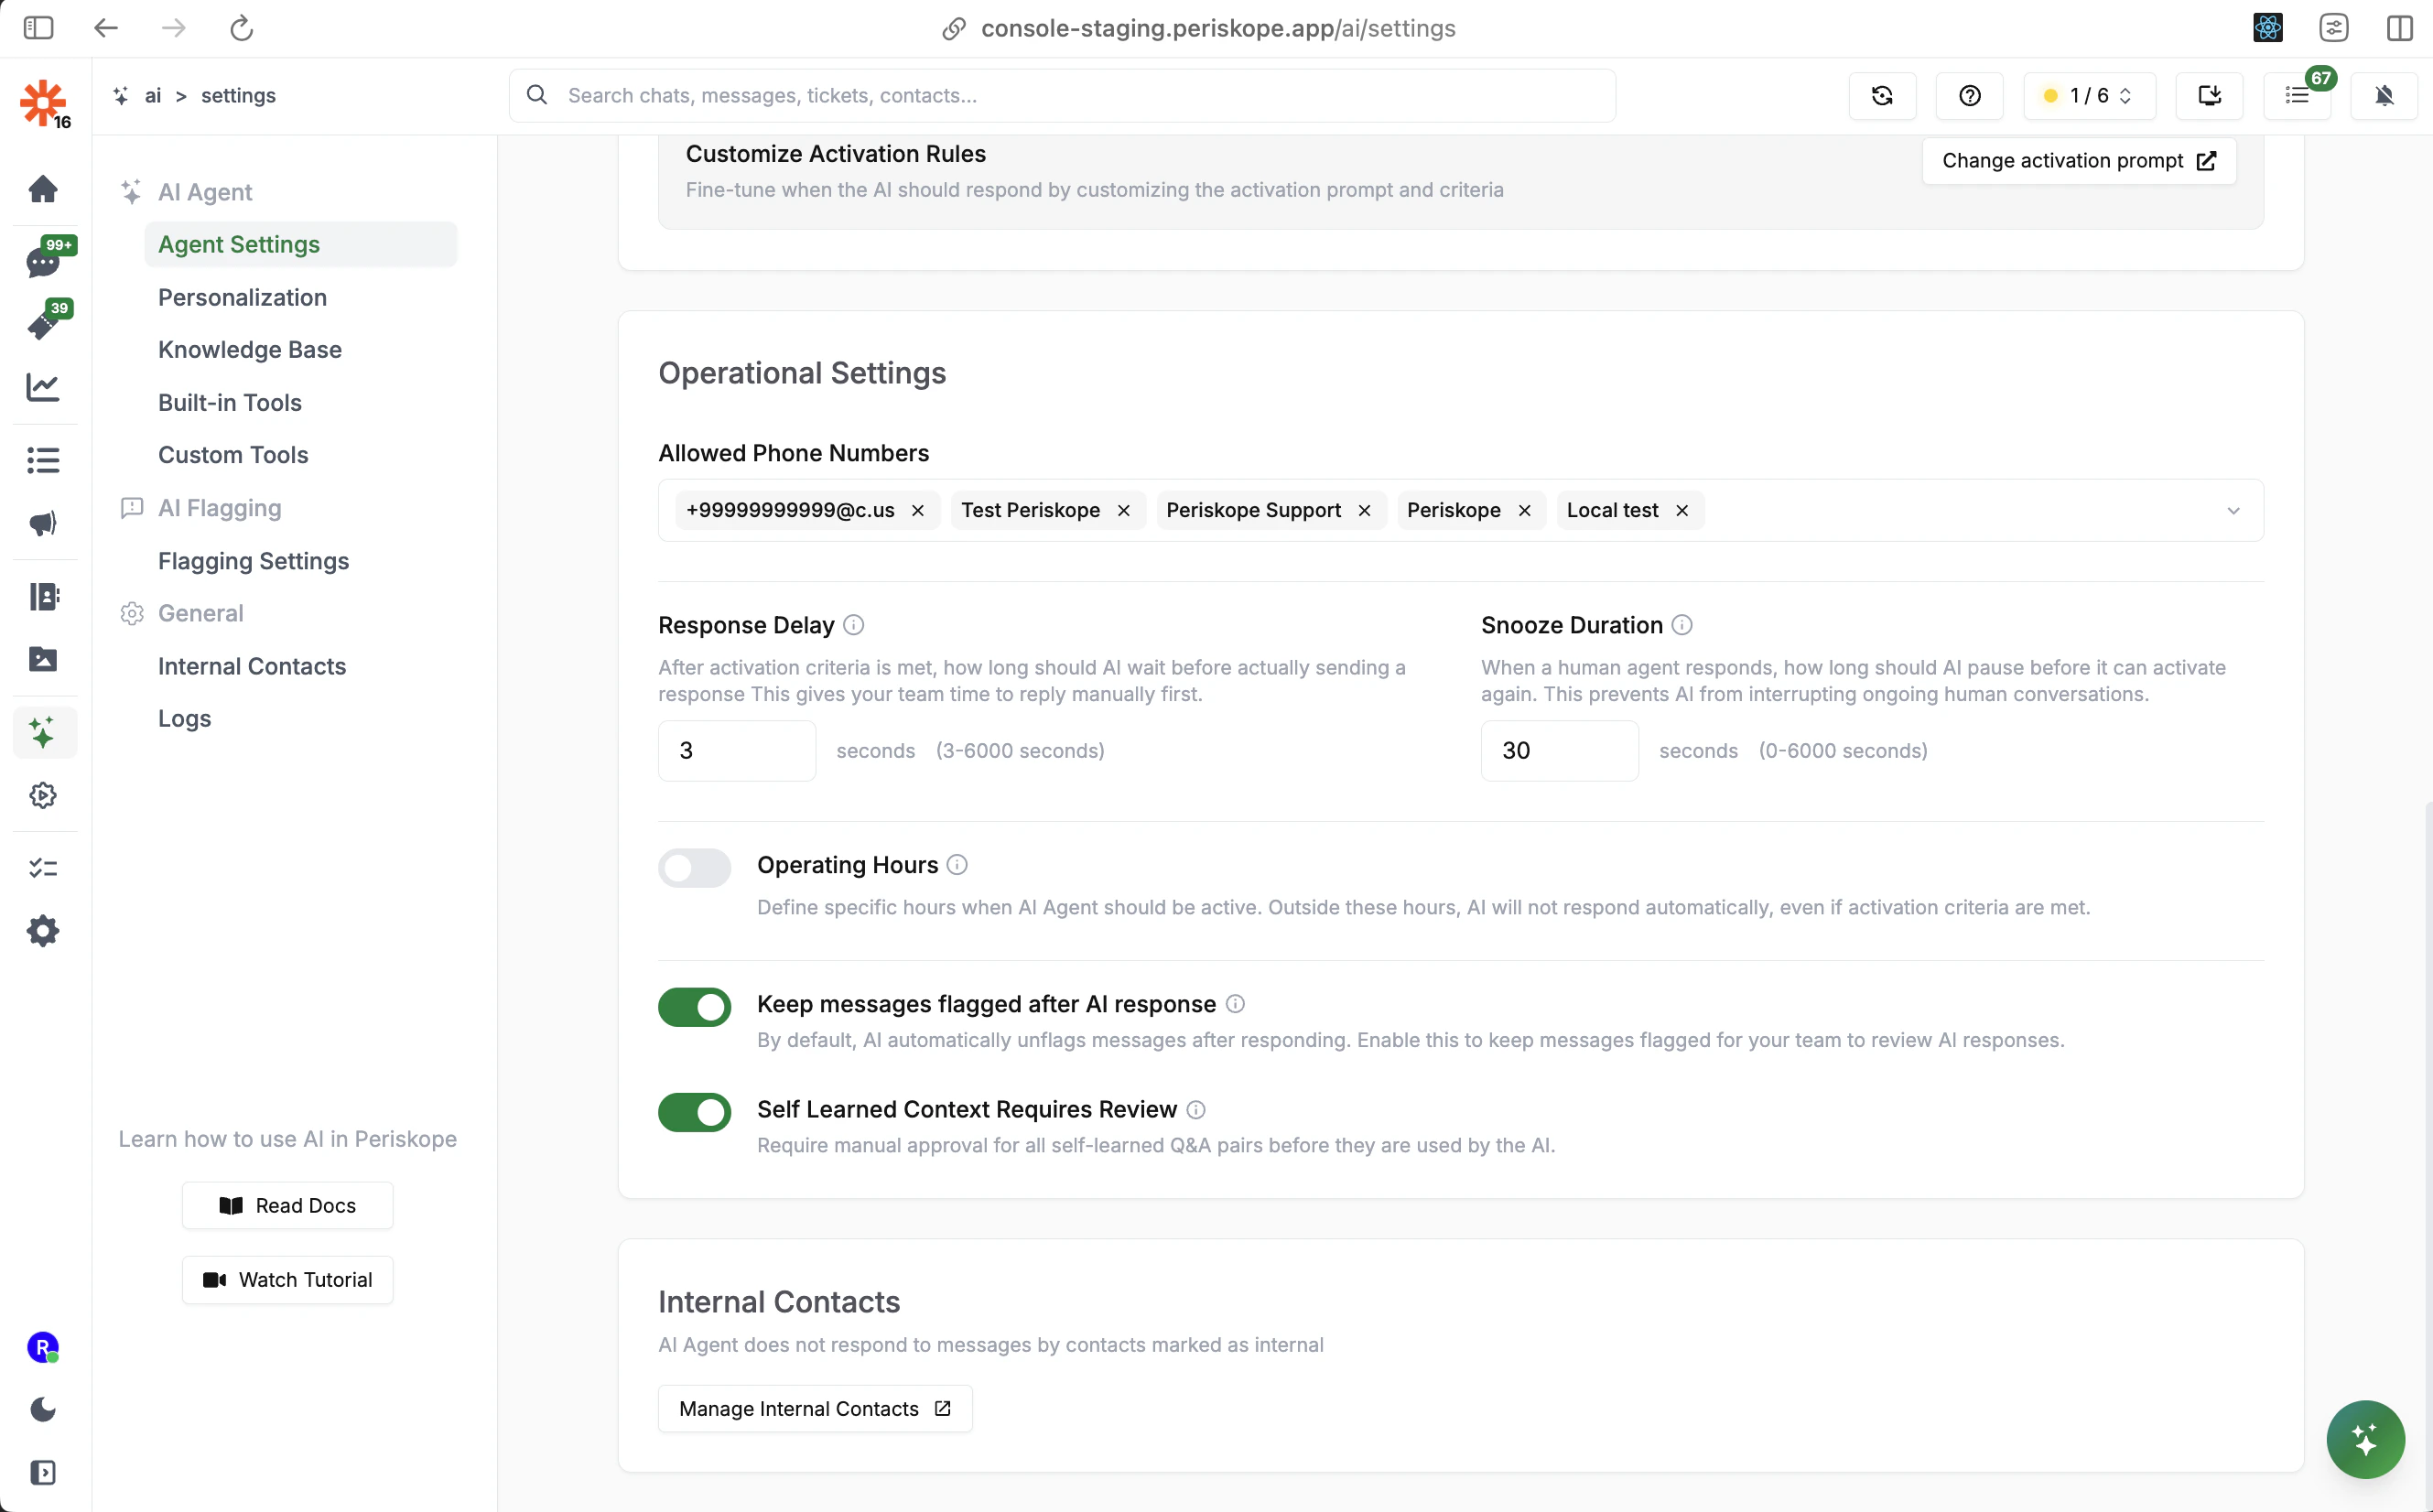
Operational Settings
Allowed Phone Numbers
Restrict which phone numbers the AI Agent is active on. When set, the AI will only respond on conversations coming from or going to the listed numbers. Leave empty to allow all numbers.Response Delay
How long the AI waits after activation criteria is met before actually sending a response.- Default: 3 seconds
- Range: 3–6000 seconds
- This gives your human agents a window to respond first. If a human replies within the delay window, the AI will stand down.
Snooze Duration
How long the AI stays inactive after a human agent has responded or manually snoozed it.- Default: 30 seconds
- Range: 0–6000 seconds
- During the snooze period, the AI will not respond to any new messages, allowing the human agent to fully handle the conversation.
- After the snooze period, the AI automatically returns to INACTIVE state and resumes monitoring for activation criteria.
Operating Hours
Define specific hours and a timezone when the AI should be active. Outside these hours, the AI will not respond automatically, even if activation criteria are met. Useful if you only want AI coverage during office hours, off-hours, or weekends.Internal Contacts
The AI Agent automatically skips messages from contacts marked as internal team members. This ensures the AI only handles external customer conversations and never interferes with internal communications.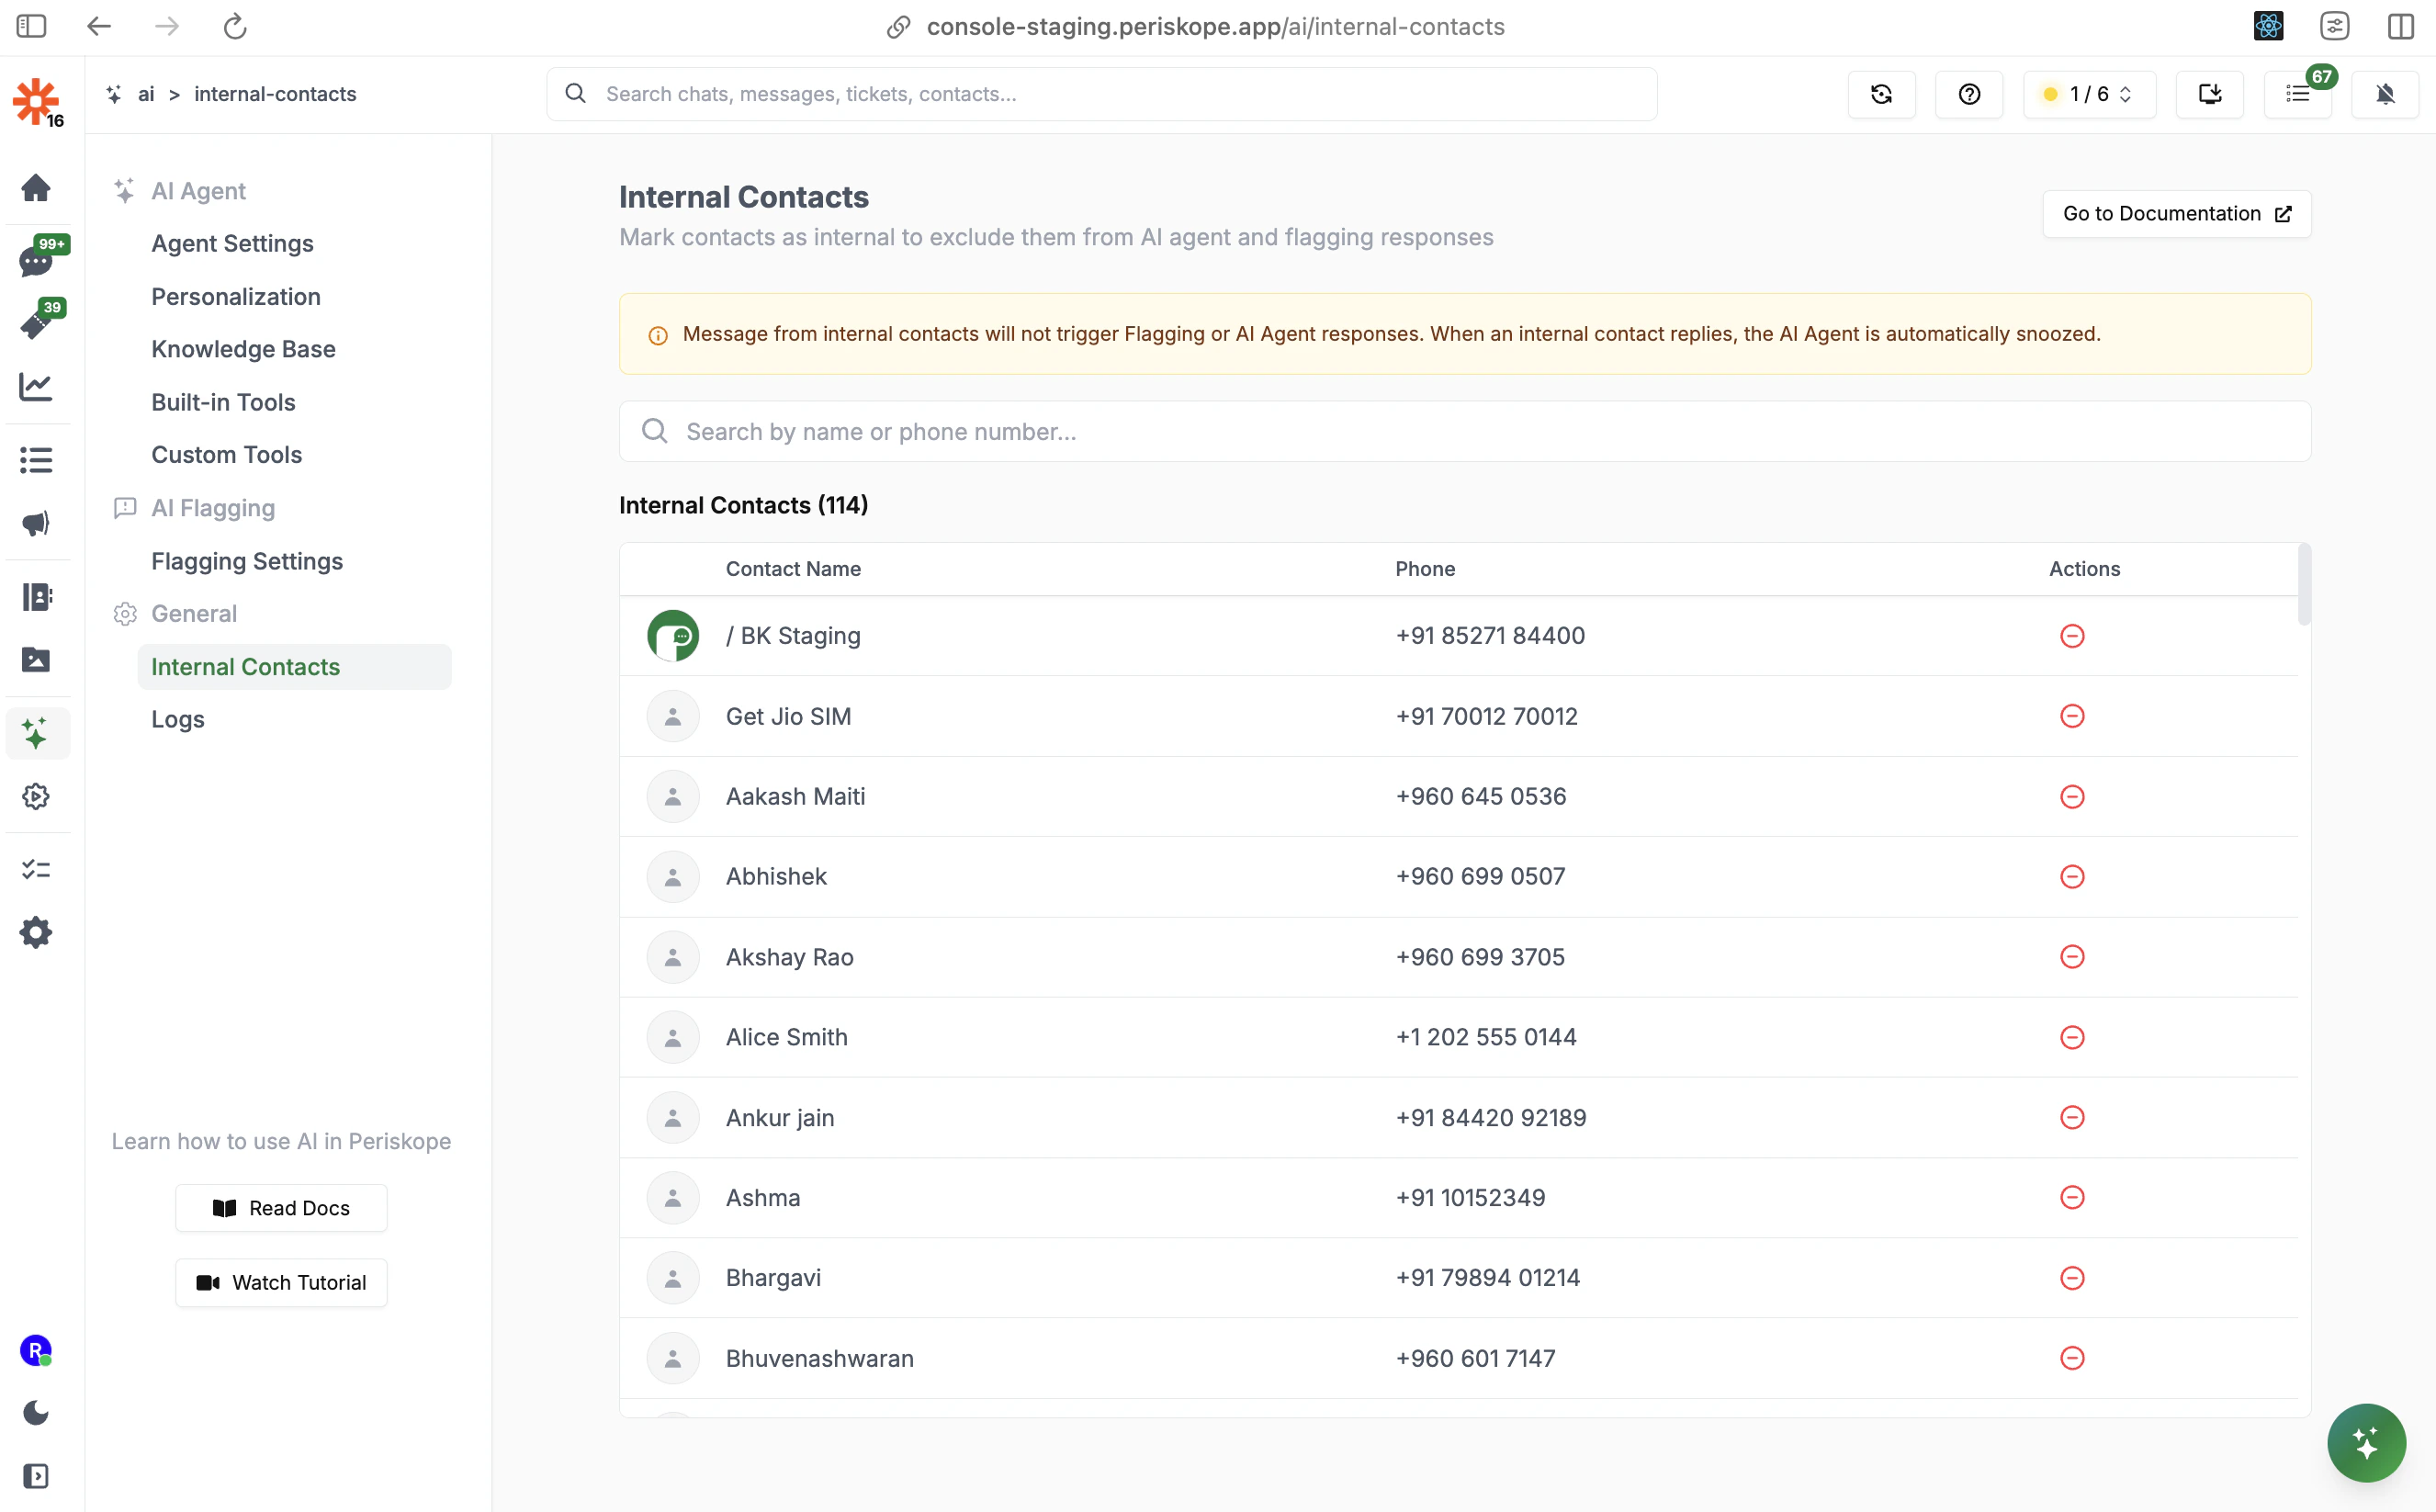
Internal Contacts
When an internal contact replies in a conversation, the AI Agent is automatically snoozed for the configured snooze duration.
Next Steps
- Personalization - Define the AI’s name, role, instructions, and personality
- Knowledge Base - Train the AI with FAQs, documents, and self-learned context
- Built-in Tools - Configure what actions the AI can take
- Custom Tools - Connect the AI to your own APIs