Overview
Labels help you categorise and manage chats, contacts, and tickets. Apply multiple labels to any item, filter your inbox by label, and use labels to control which chats team members can access.Creating a Label
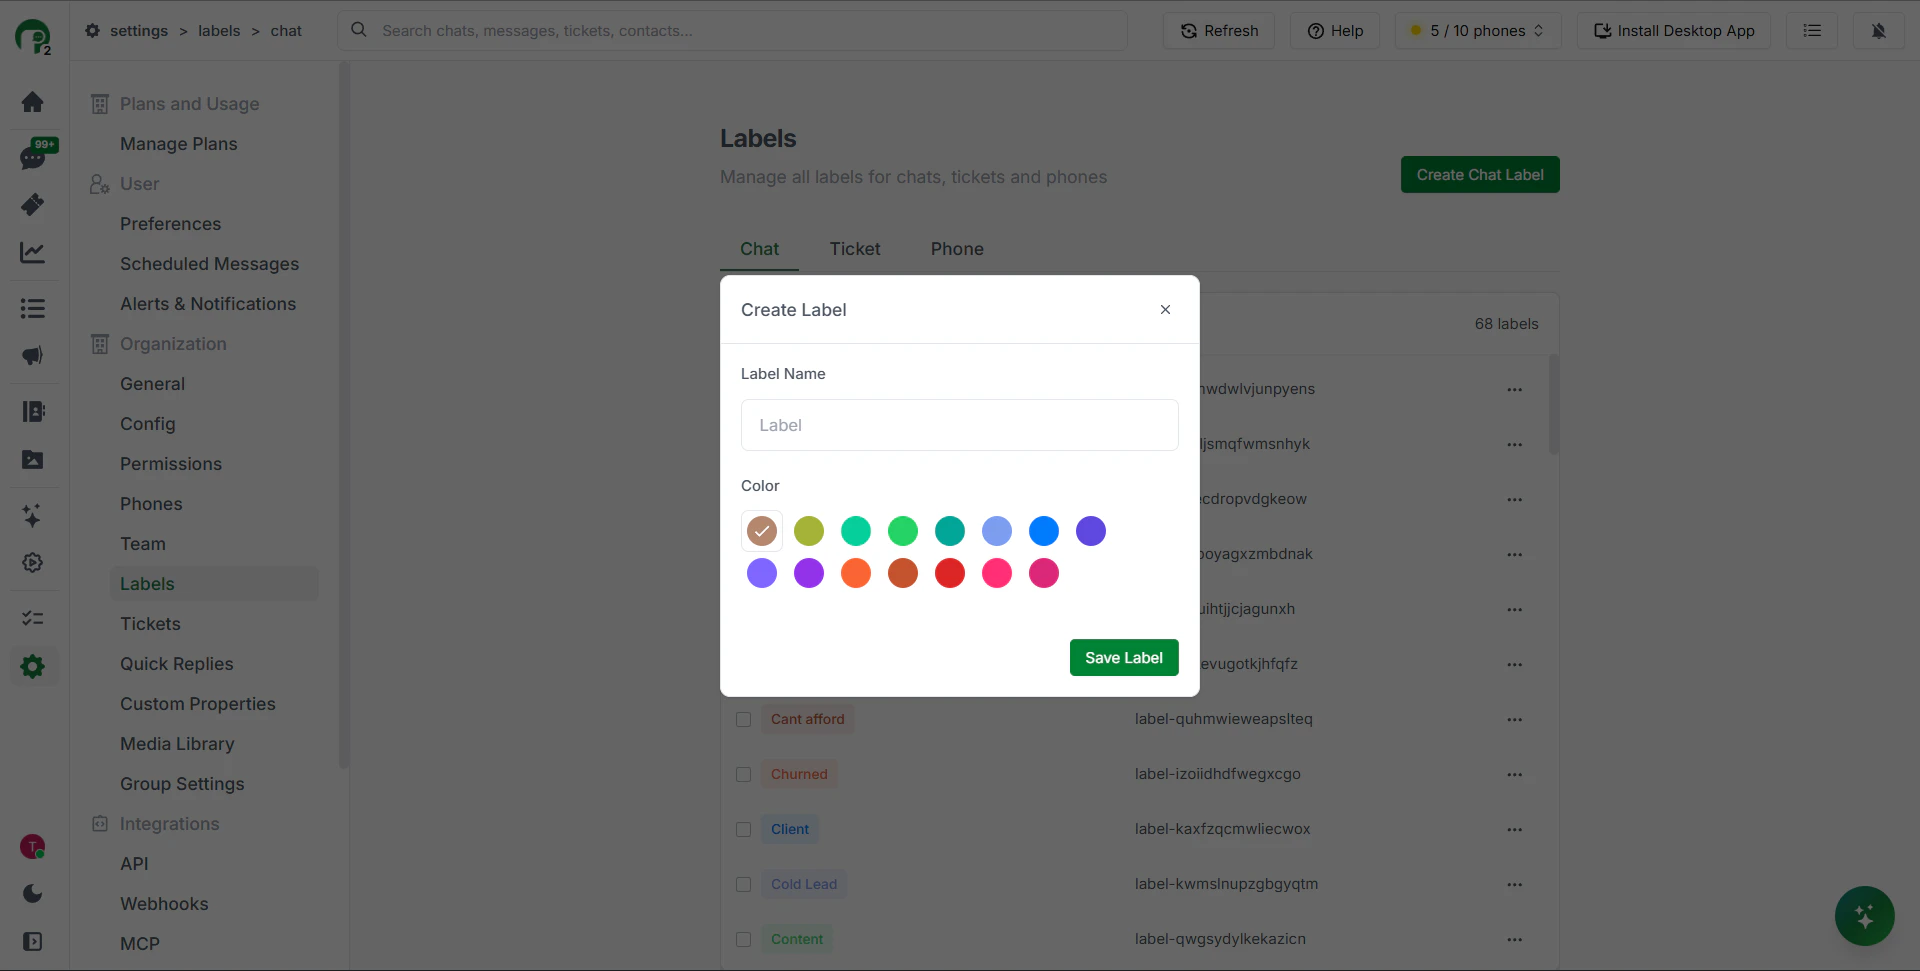
Labels are created from your organisation settings.- Go to Settings from the left sidebar
- Under the Organisation section, click Labels
- Click Create Chat Label
- Enter a name and choose a colour
- Click Save Label
Applying Labels
To a Chat
Open any chat and click Add label in the right-hand panel. You can apply multiple labels to the same chat.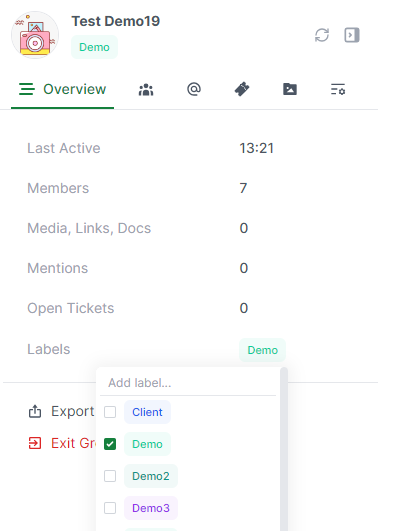
To a Contact
Navigate to Contacts, select a contact, and click Add label on the right-hand panel.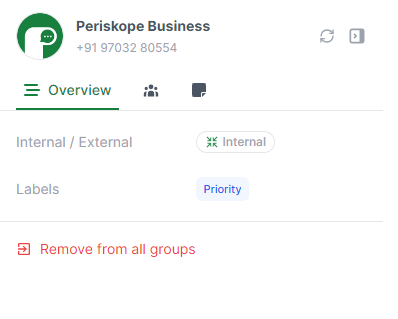
To a Ticket
Navigate to Tickets, select a ticket, and click Add label on the right-hand panel.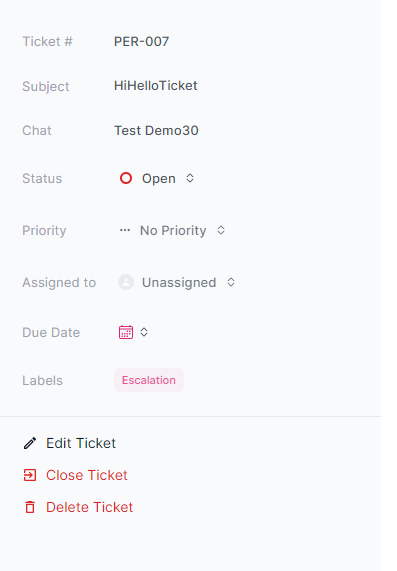
Filtering by Label
Once labels are applied, use them to filter your inbox.- Go to Chats
- Click the Filter icon at the top of the chat list
- Under Filter condition, select Labels
- Choose the label to filter by
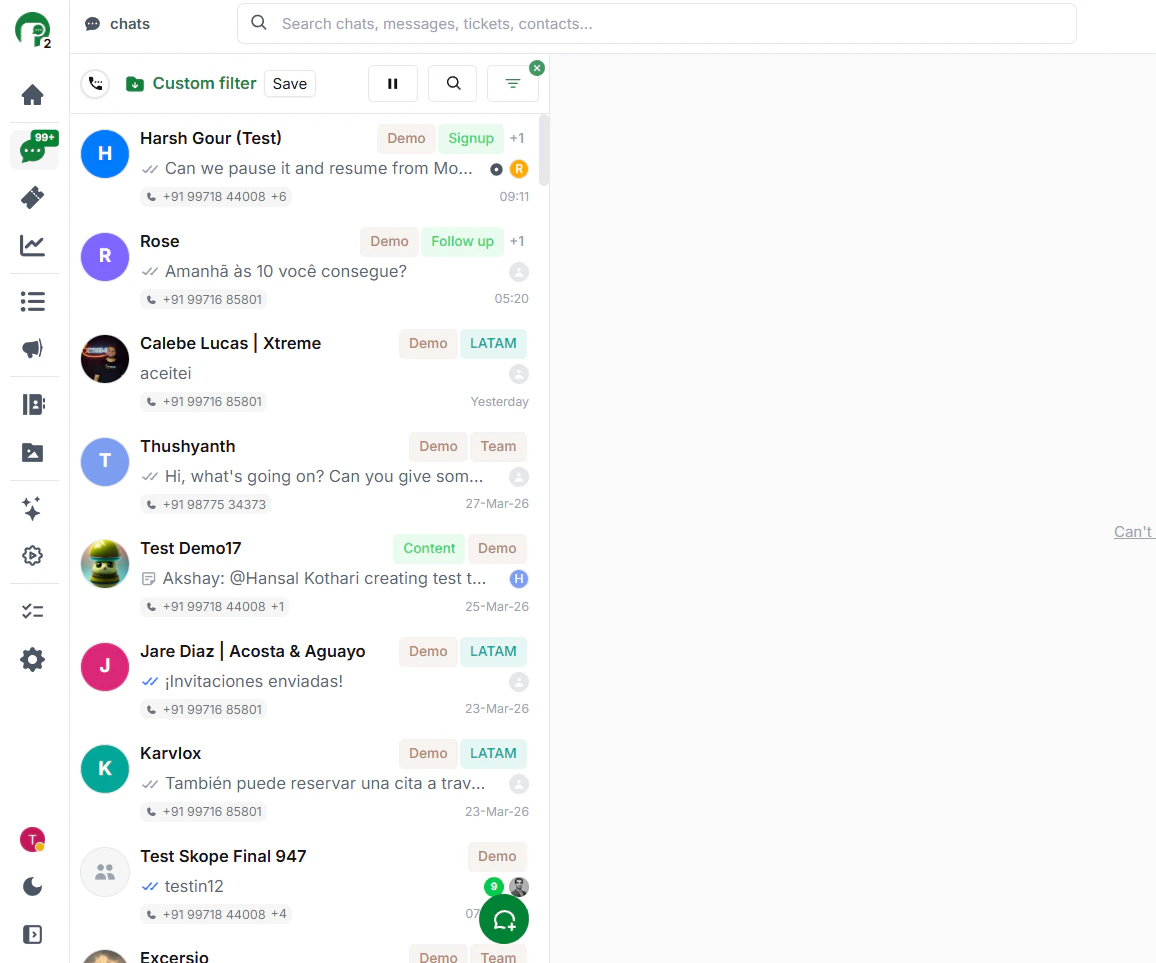
Filtering by label
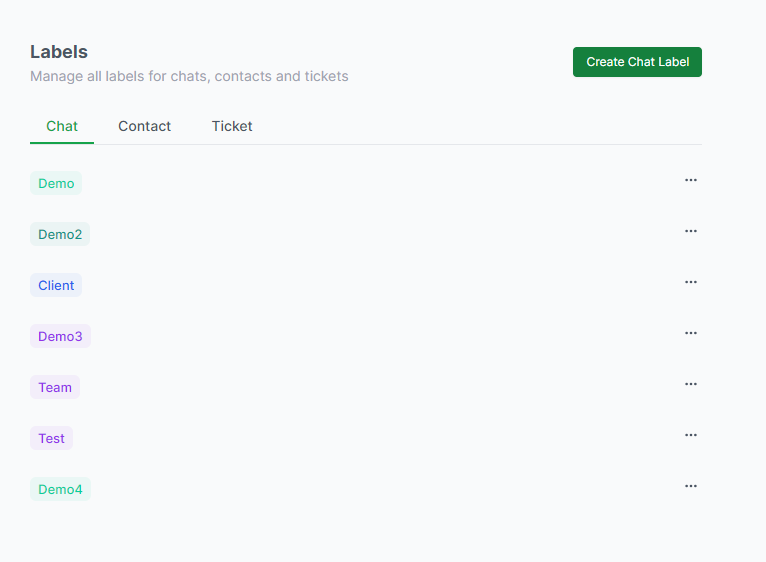
Managing Labels
Go to Settings > Labels to view, rename, or delete any label. Click on a label to edit it.