Adding Bulk Message Variables
Bulk Message variables allow you to personalize messages for each group or 1:1 chat, enhancing engagement and relevance. Here’s how to add them:Access the Draft Message Screen
Navigate to ‘Broadcast > New broadcast’ and select the groups you want to
message. Click on ‘Draft message’ on the top right.
Add Variables
Click on the 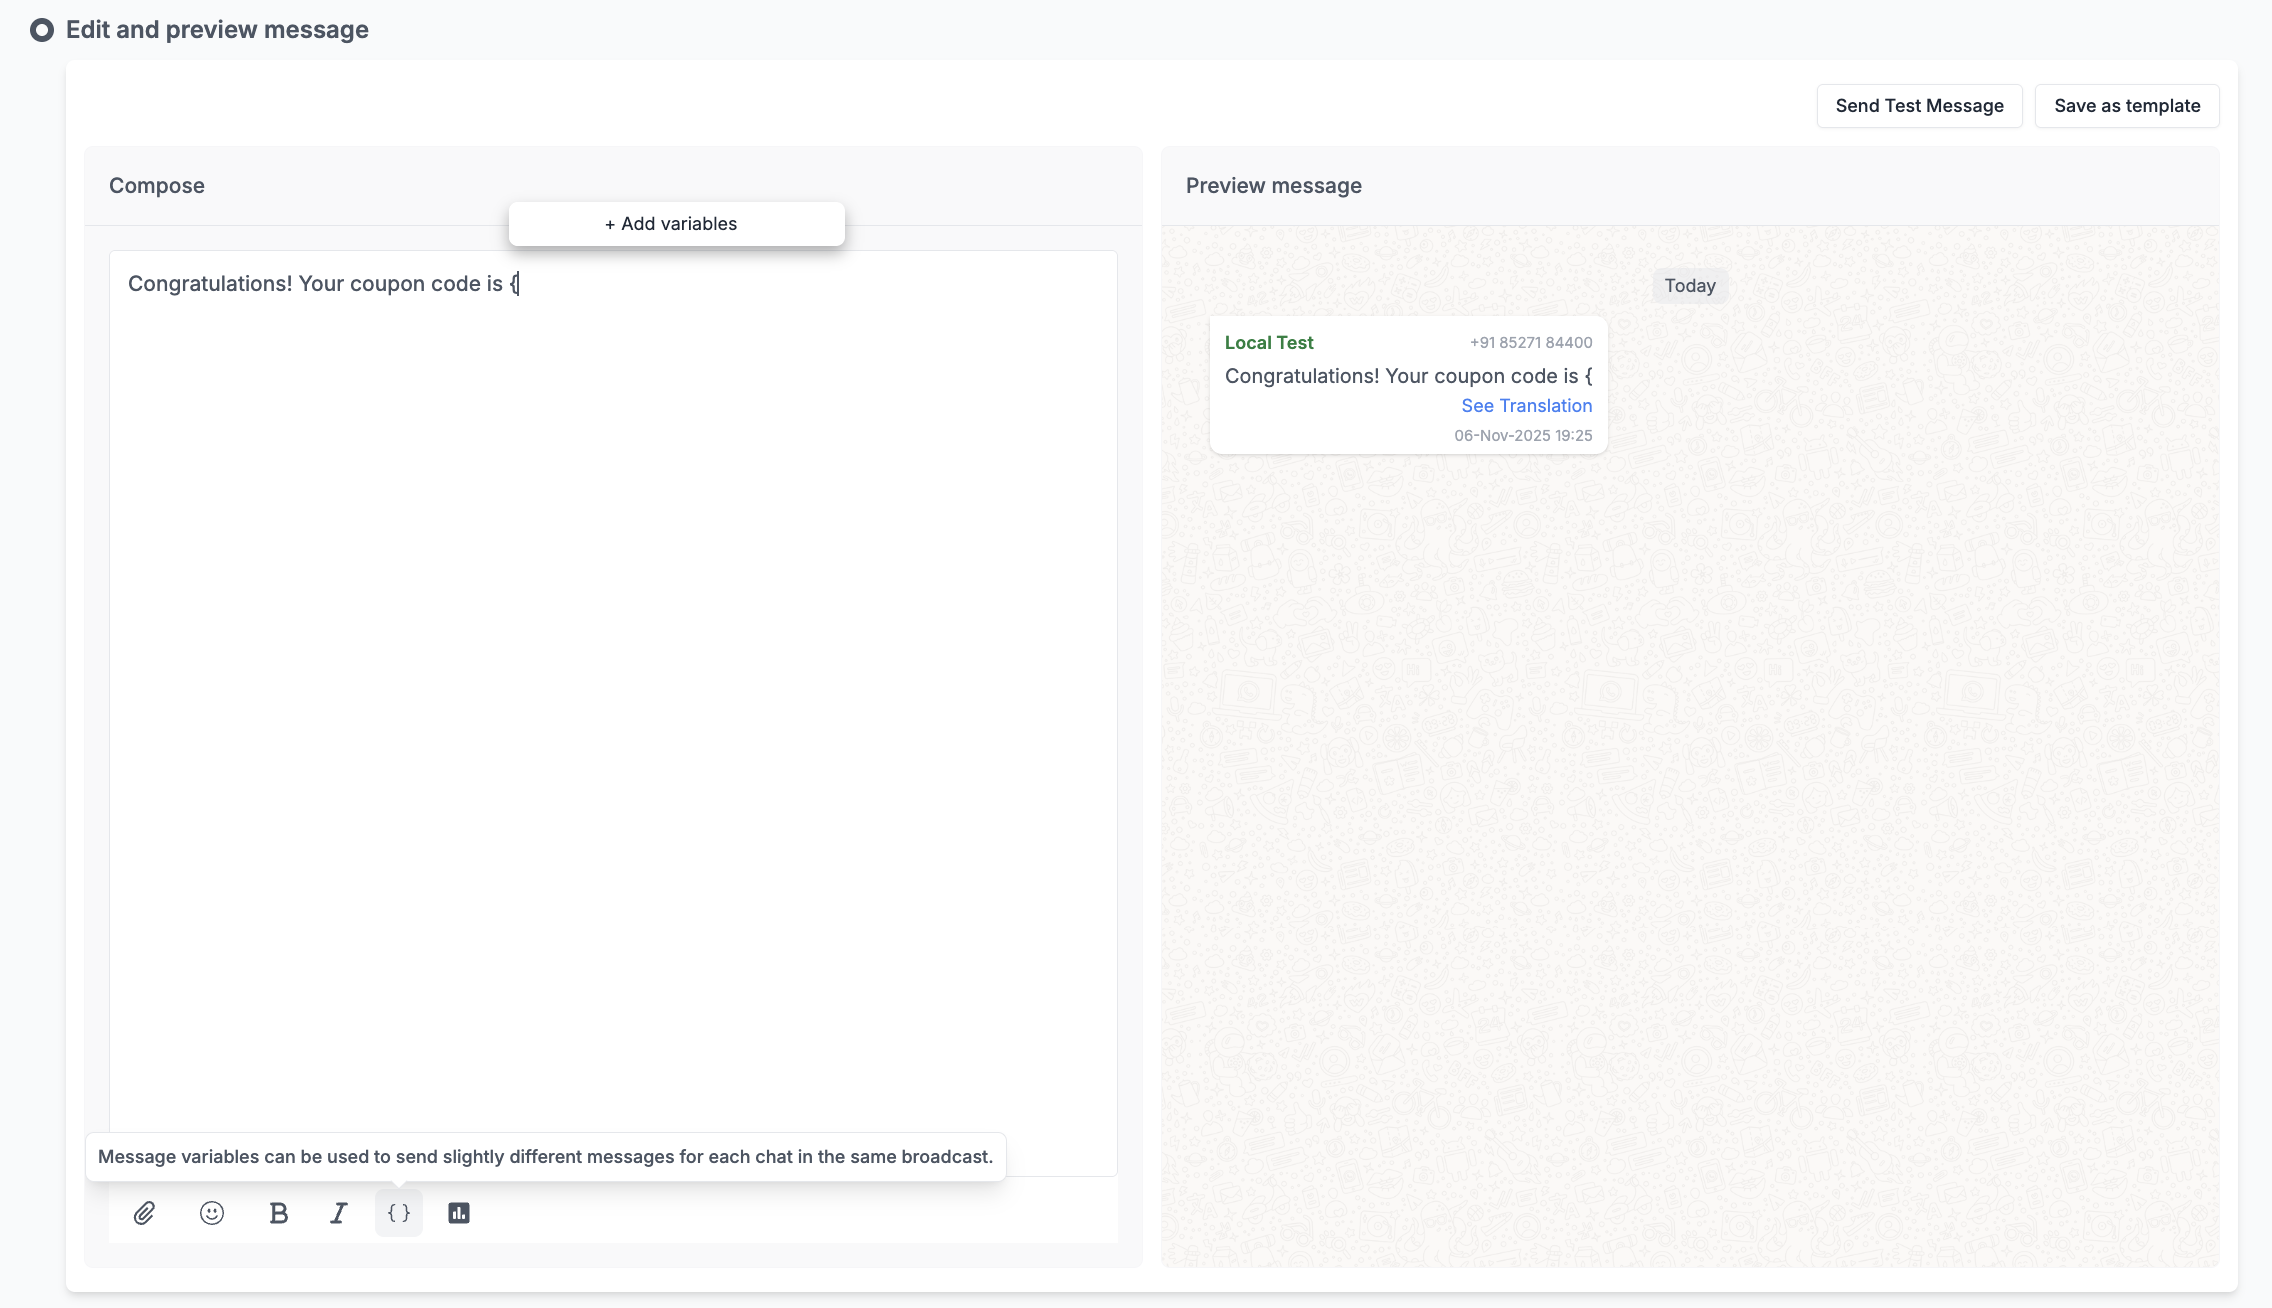
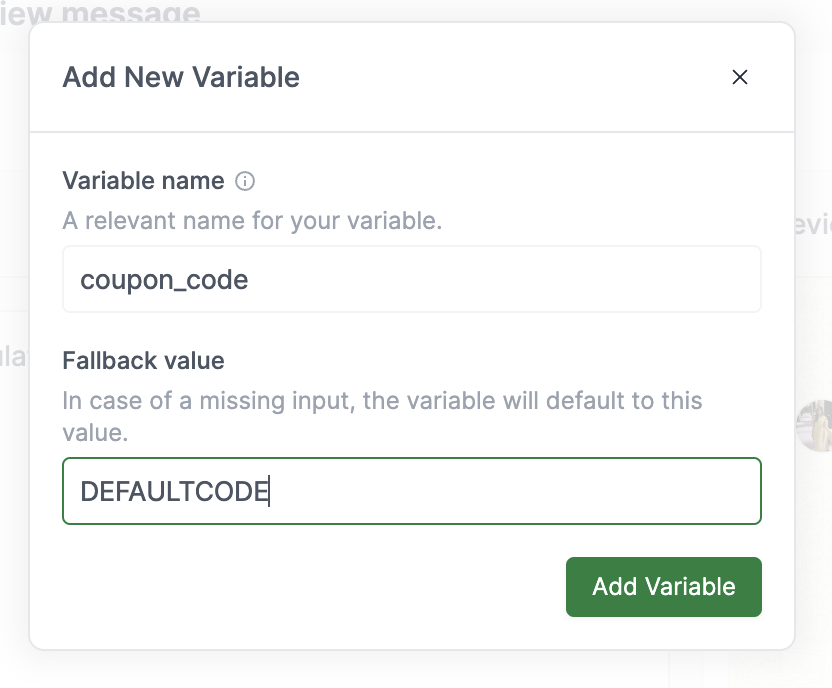
{} button on the toolbar or simply type ’ { ’. Choose a
name for the variable and a fallback value. The fallback value will be used in
place of the variable in-case you miss filling any of the values later.

Insert Variables
After adding a new variable, you can insert it by choosing it from the pop-up menu.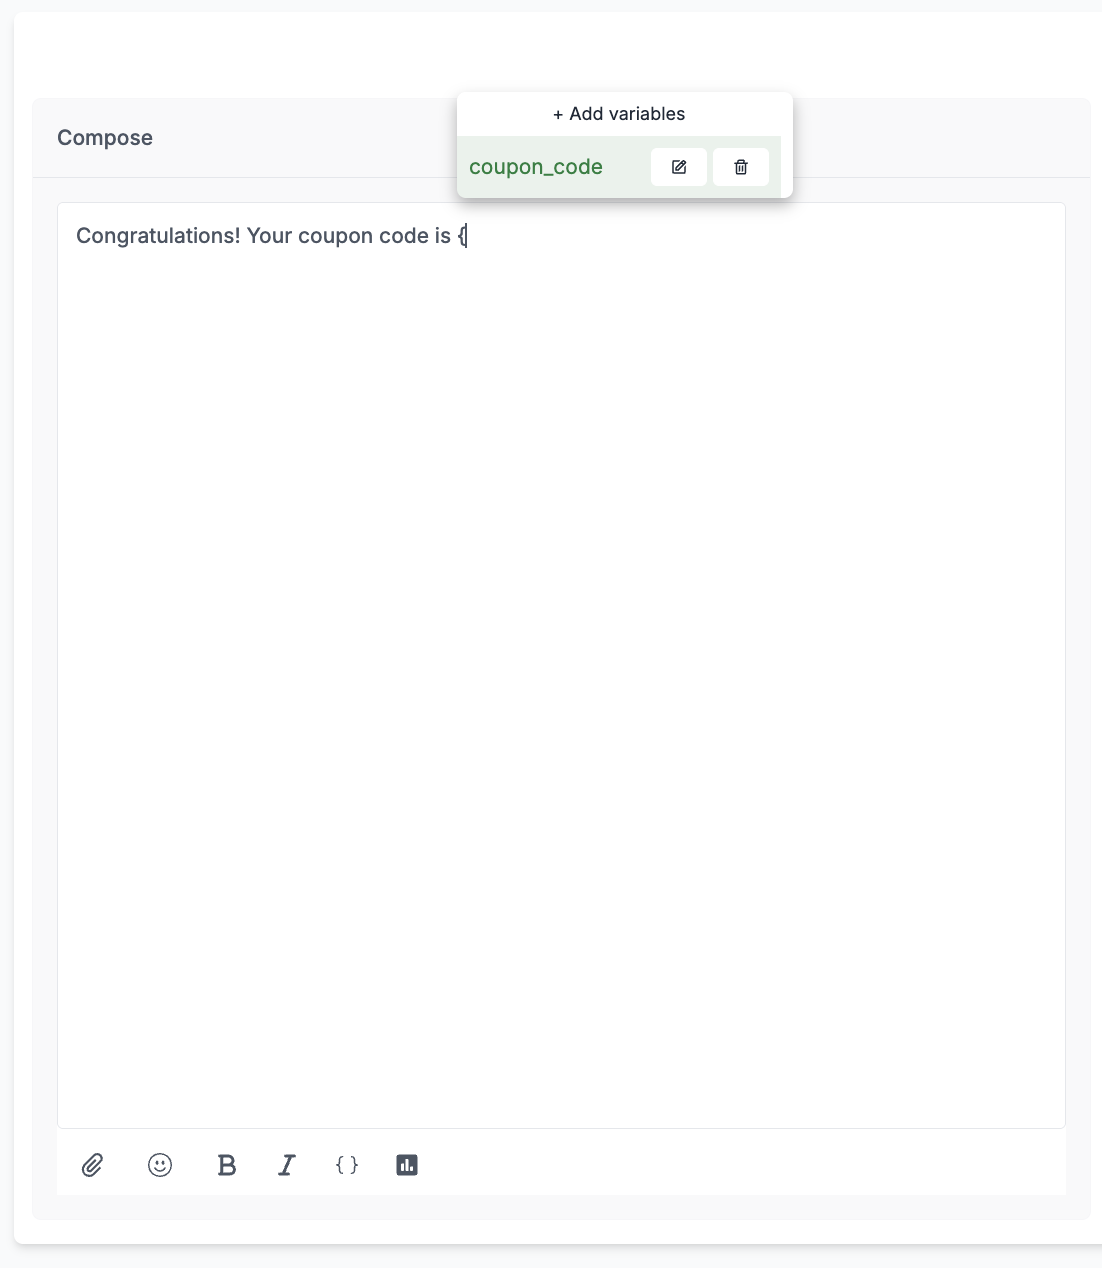

Fill Variable Values
Go to Fill Variables screen by clicking on 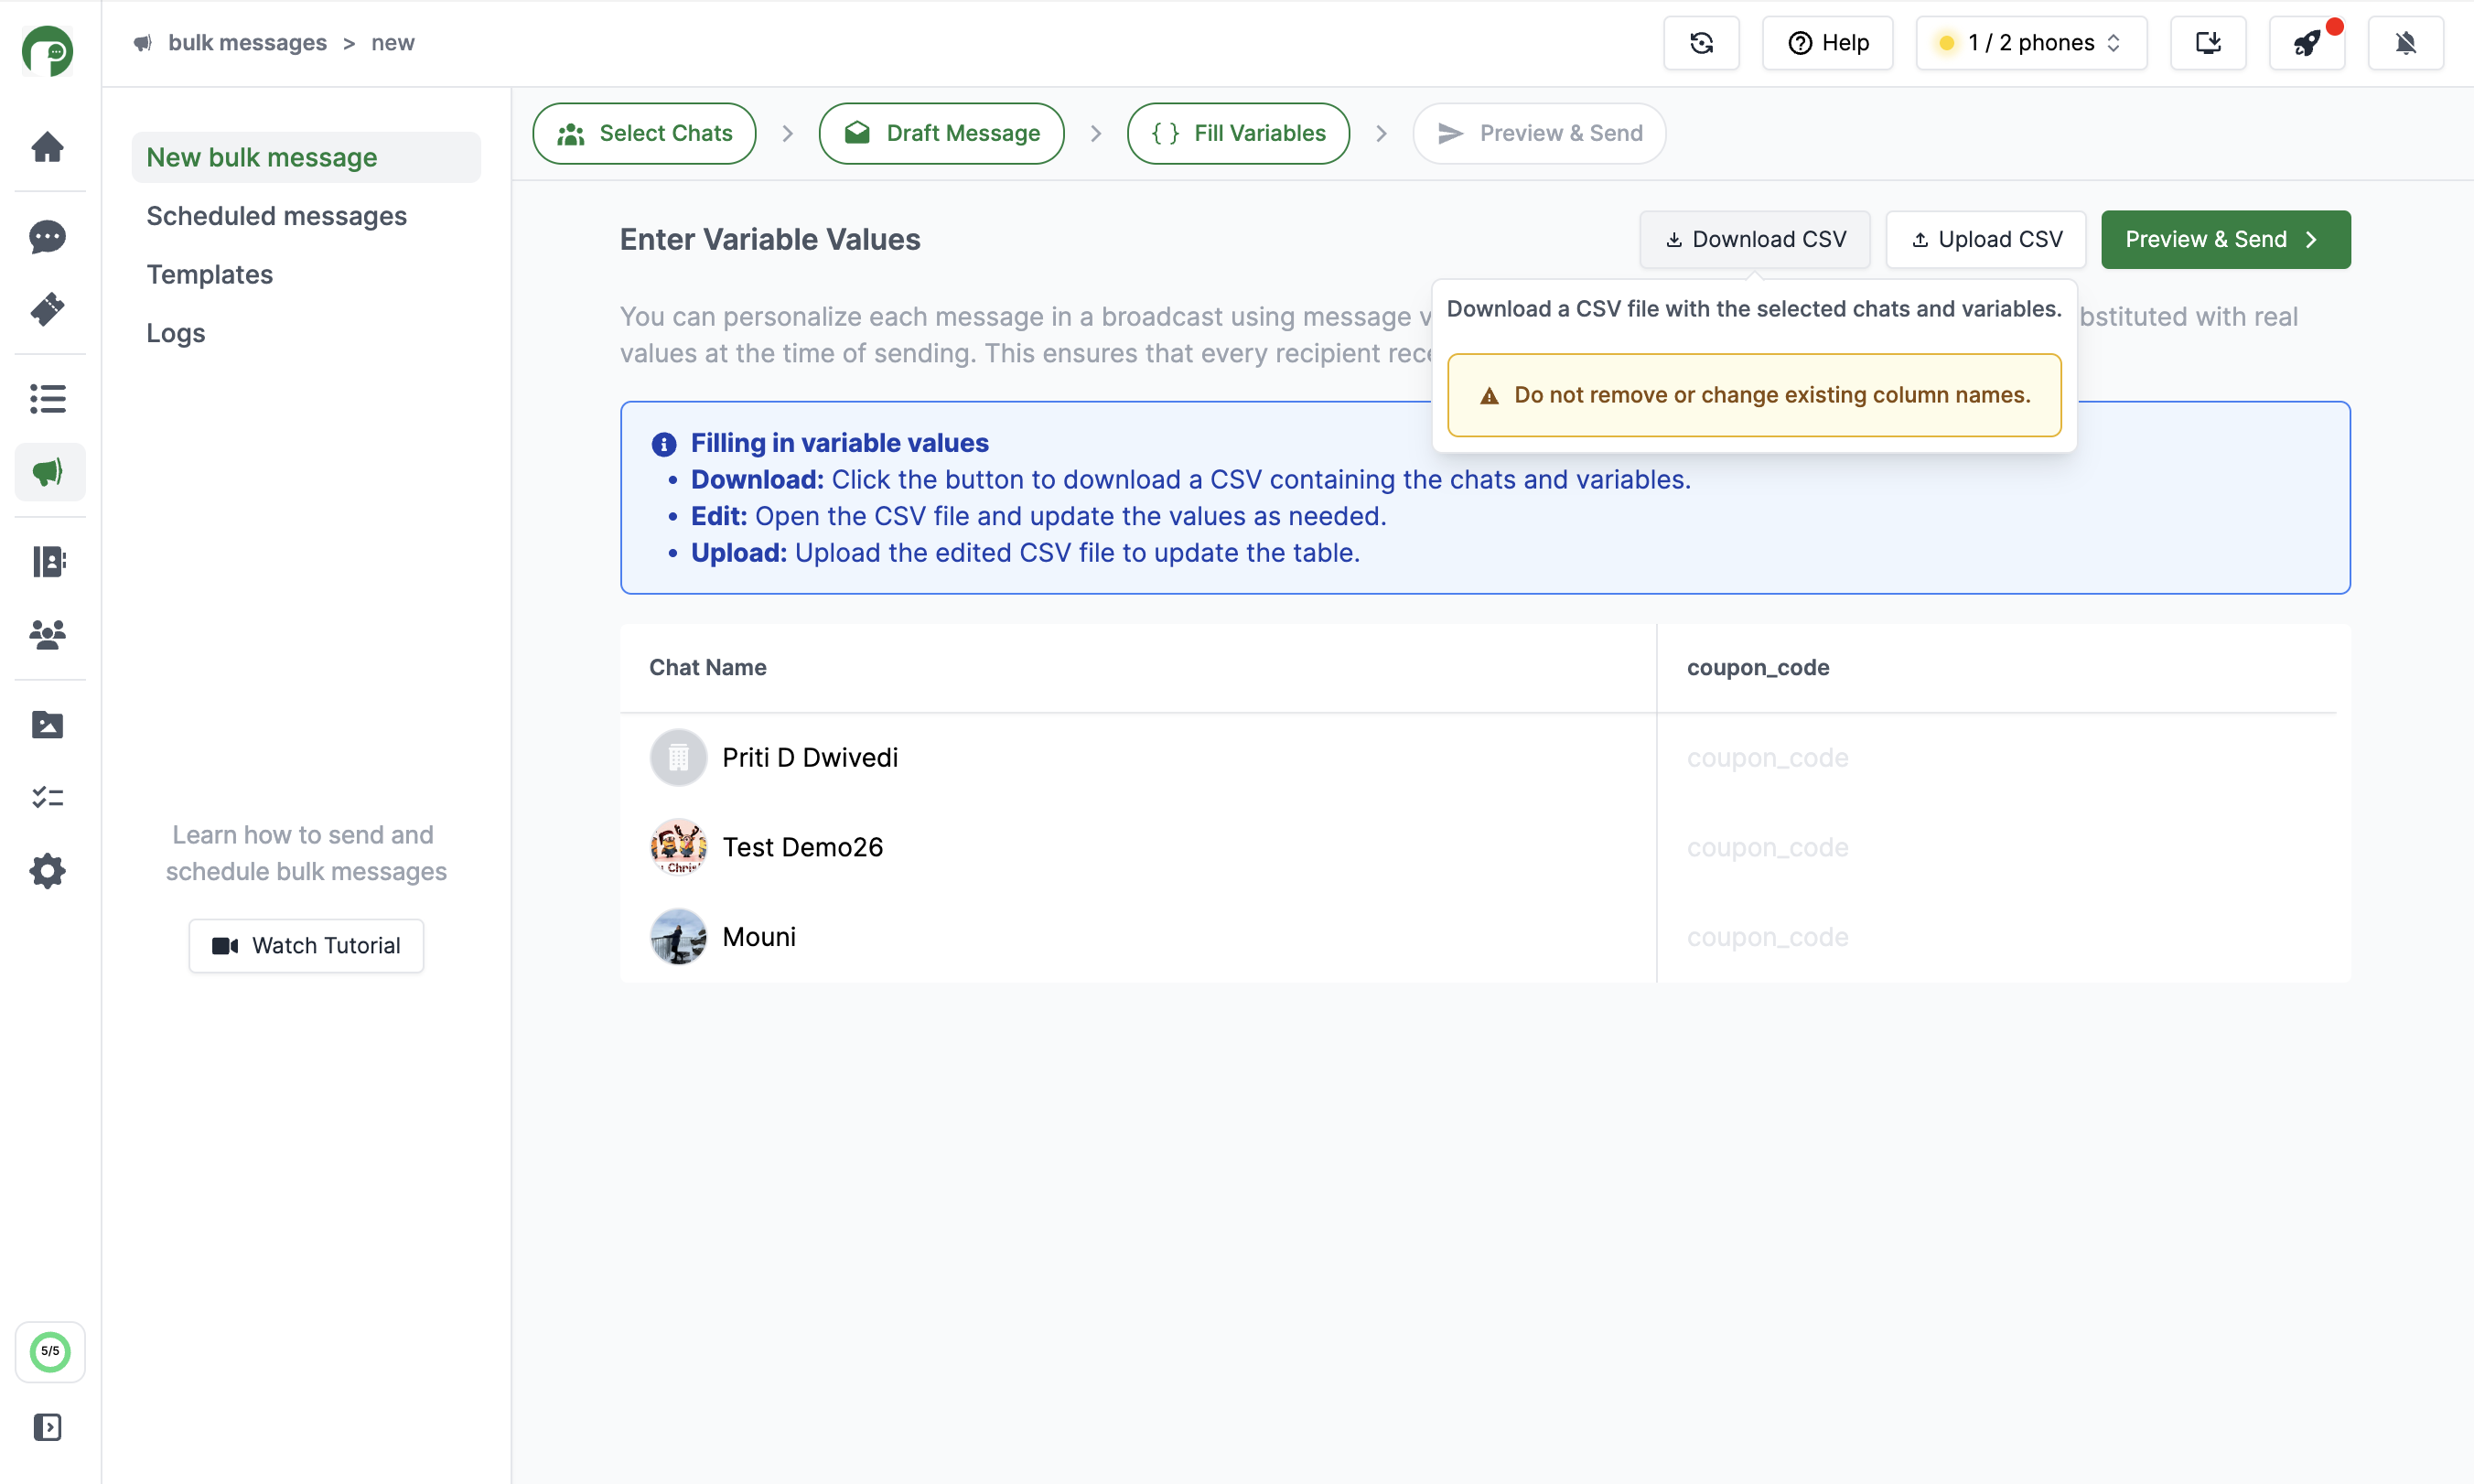
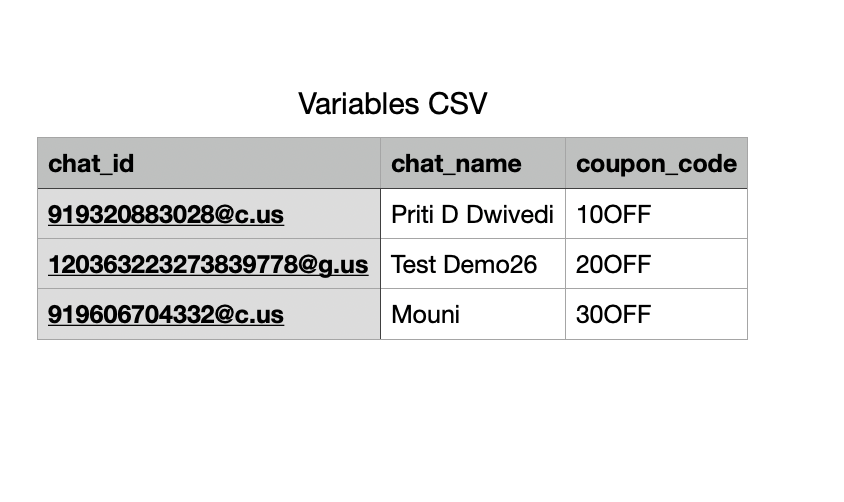
Next Step. Download the CSV file
from the top right corner of the screen.

Upload Variables button. You will notice the table has been populated with the values that you provided.
Once you have verified all the variable values, click on Preview & Send.Preview Messages
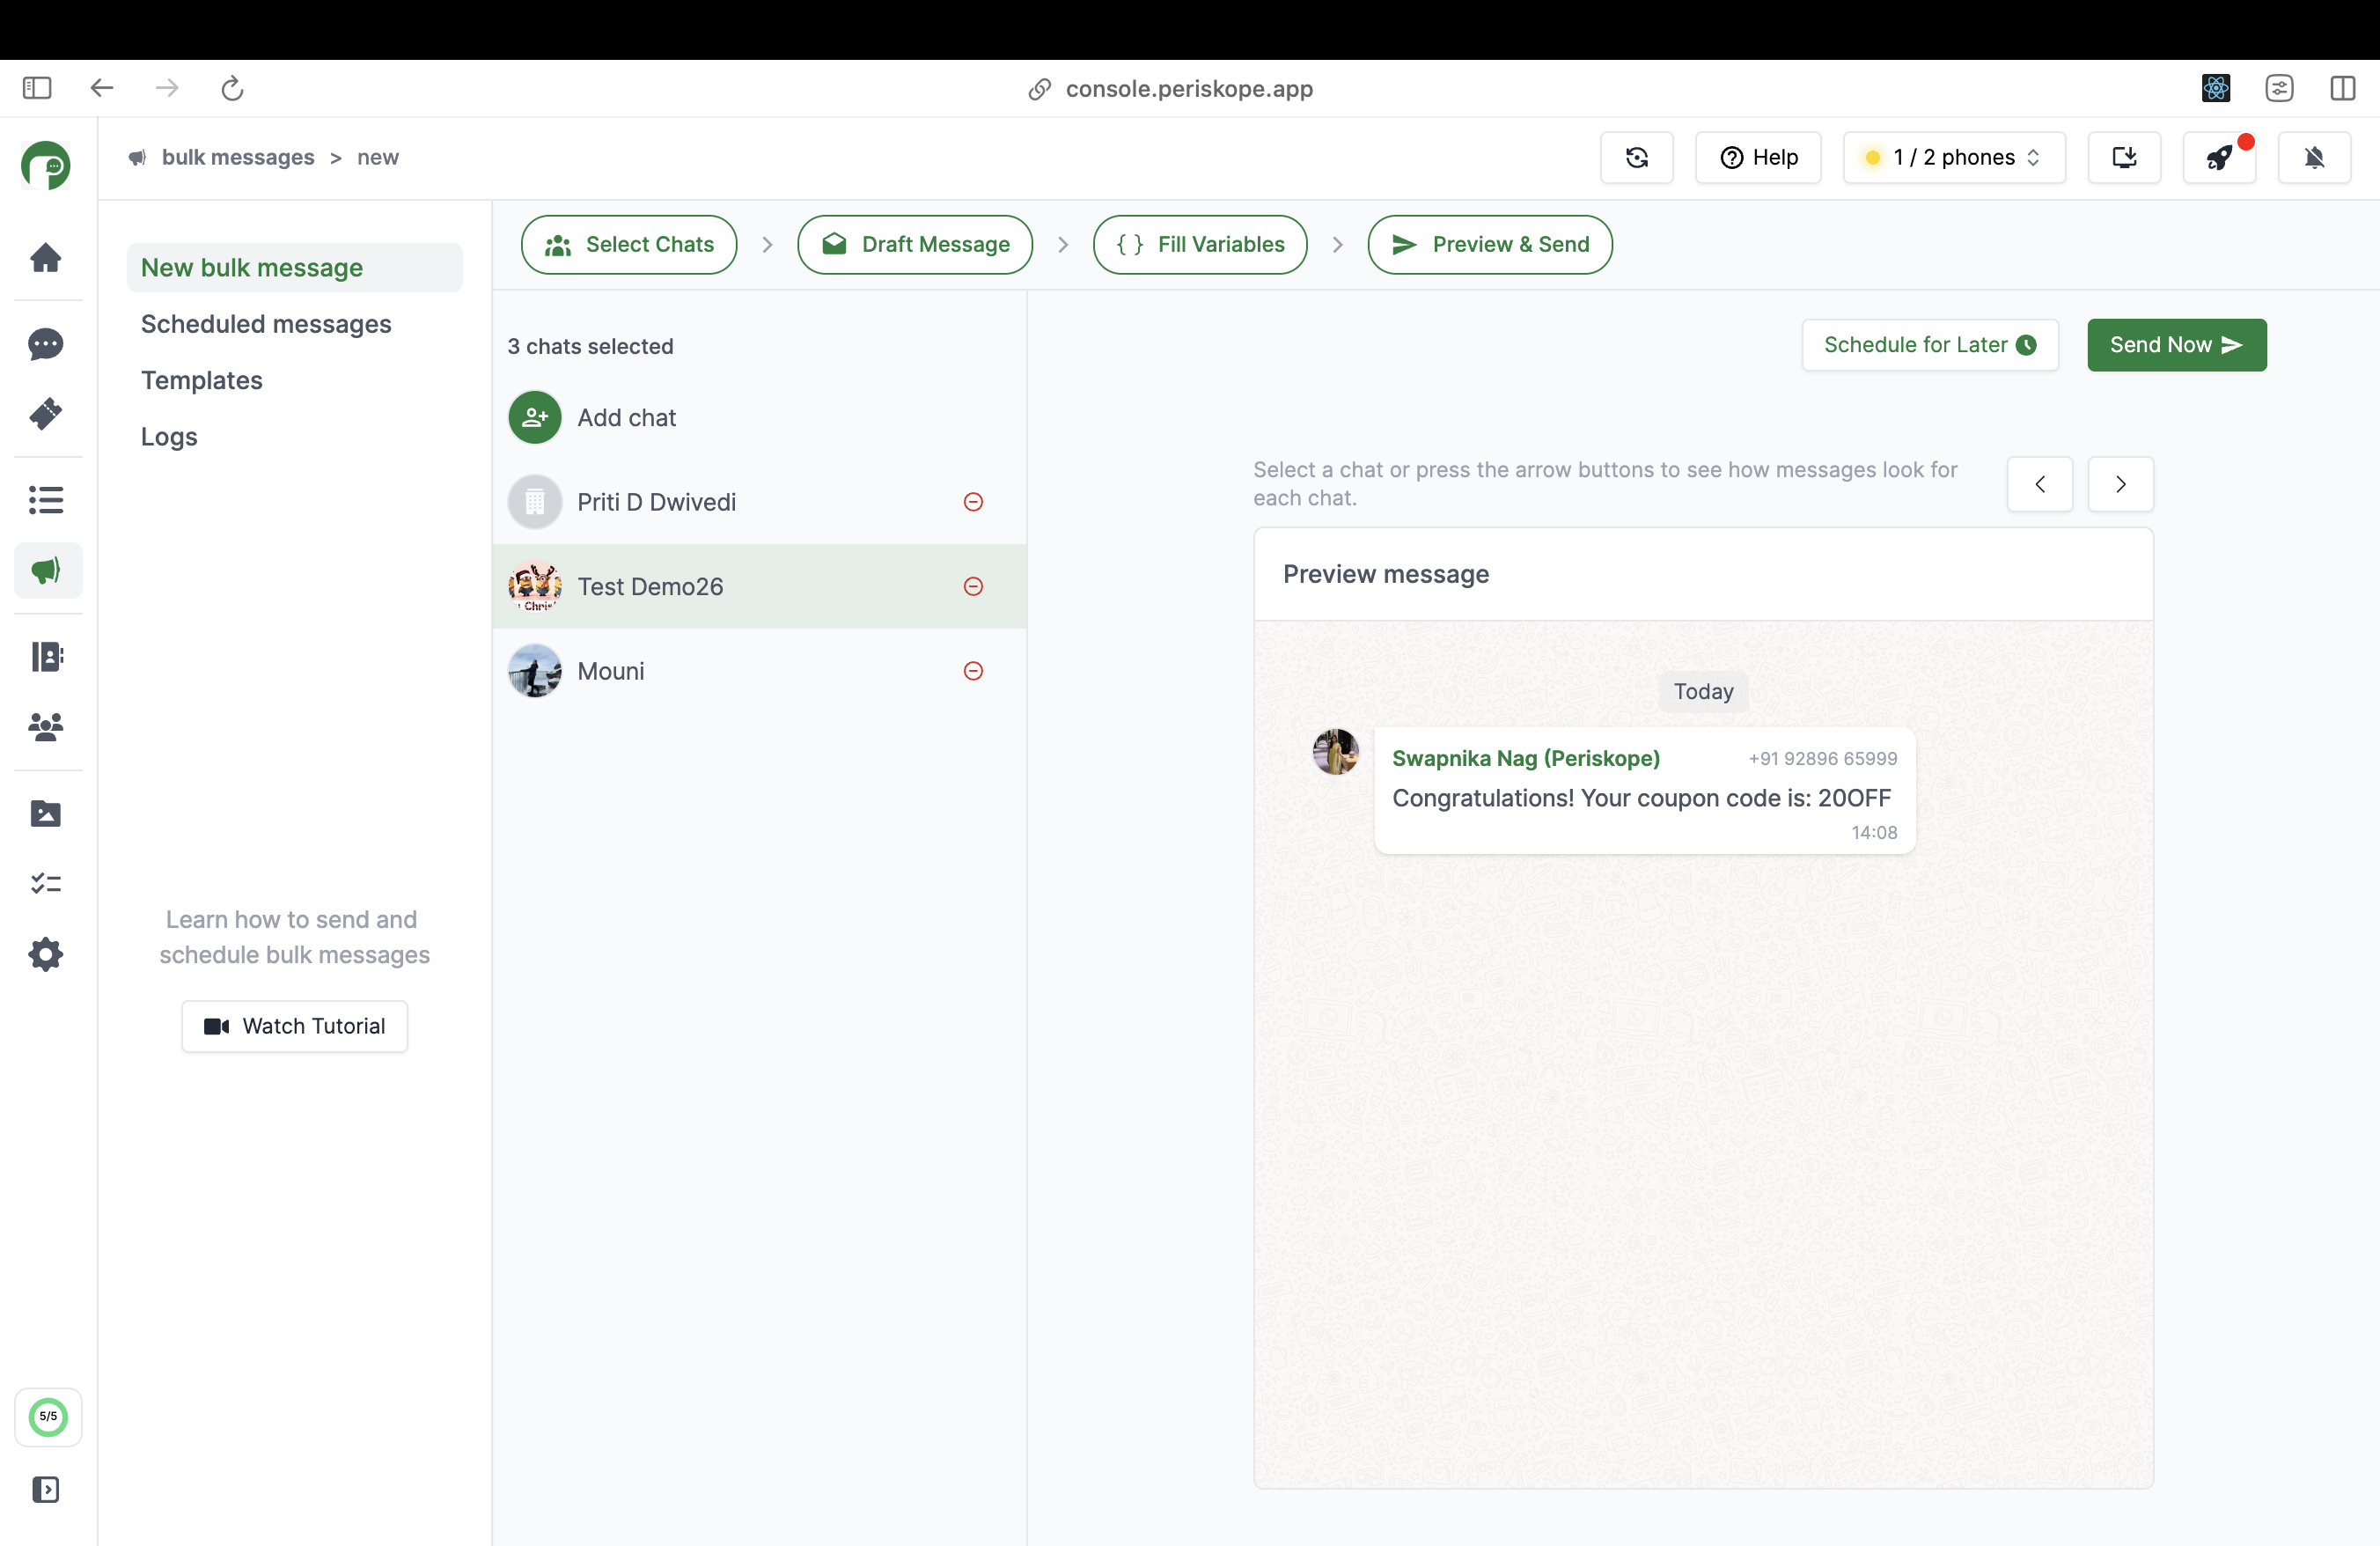
When you preview the message, it will show examples of how the variables will
be replaced with actual data. Click through the chats to see how each message will look.