Periskope integration for HubSpot is currently under review. In order to use Periskope integration with HubSpot, you can connect with HubSpot from Periskope HubSpot settings

Prerequisites 📜
- A HubSpot account
- A Periskope account
Steps to connect Periskope with HubSpot 🔧
Connect HubSpot
- To connect your HubSpot, you must have a Periskope account. Once logged into the account, visit here to connect HubSpot.
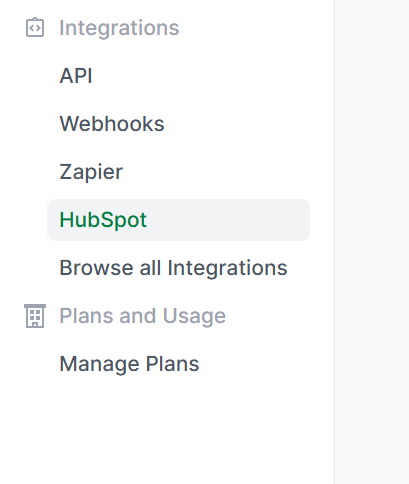
HubSpot Settings
- Click on connect
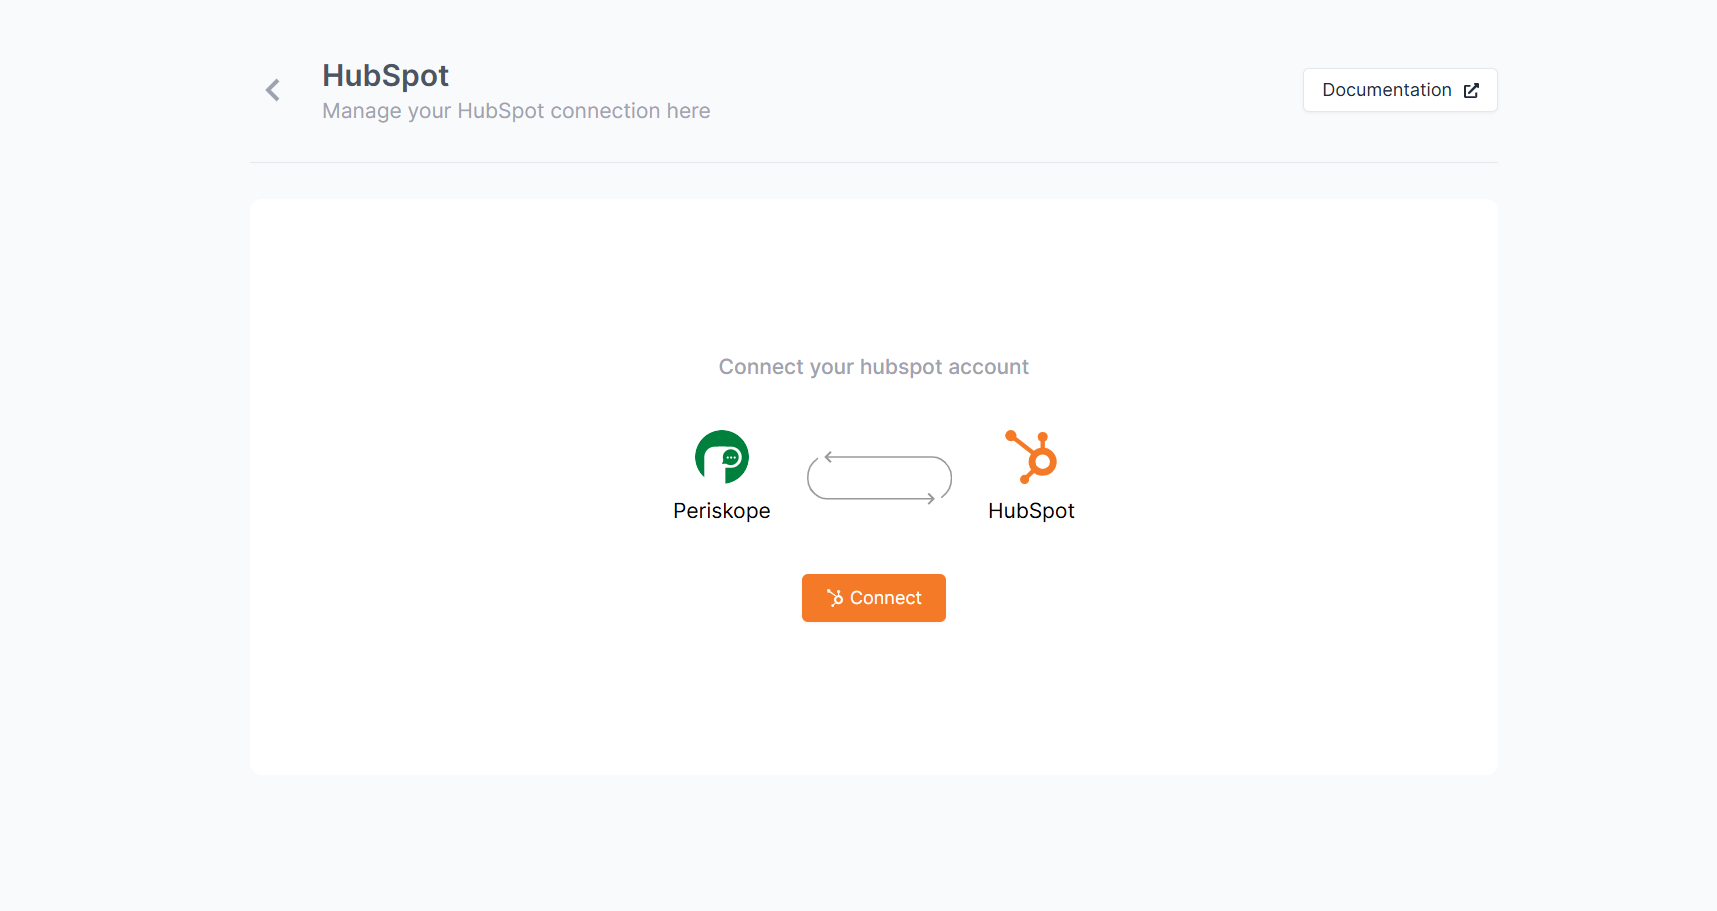
HubSpot Settings - Connect Screen
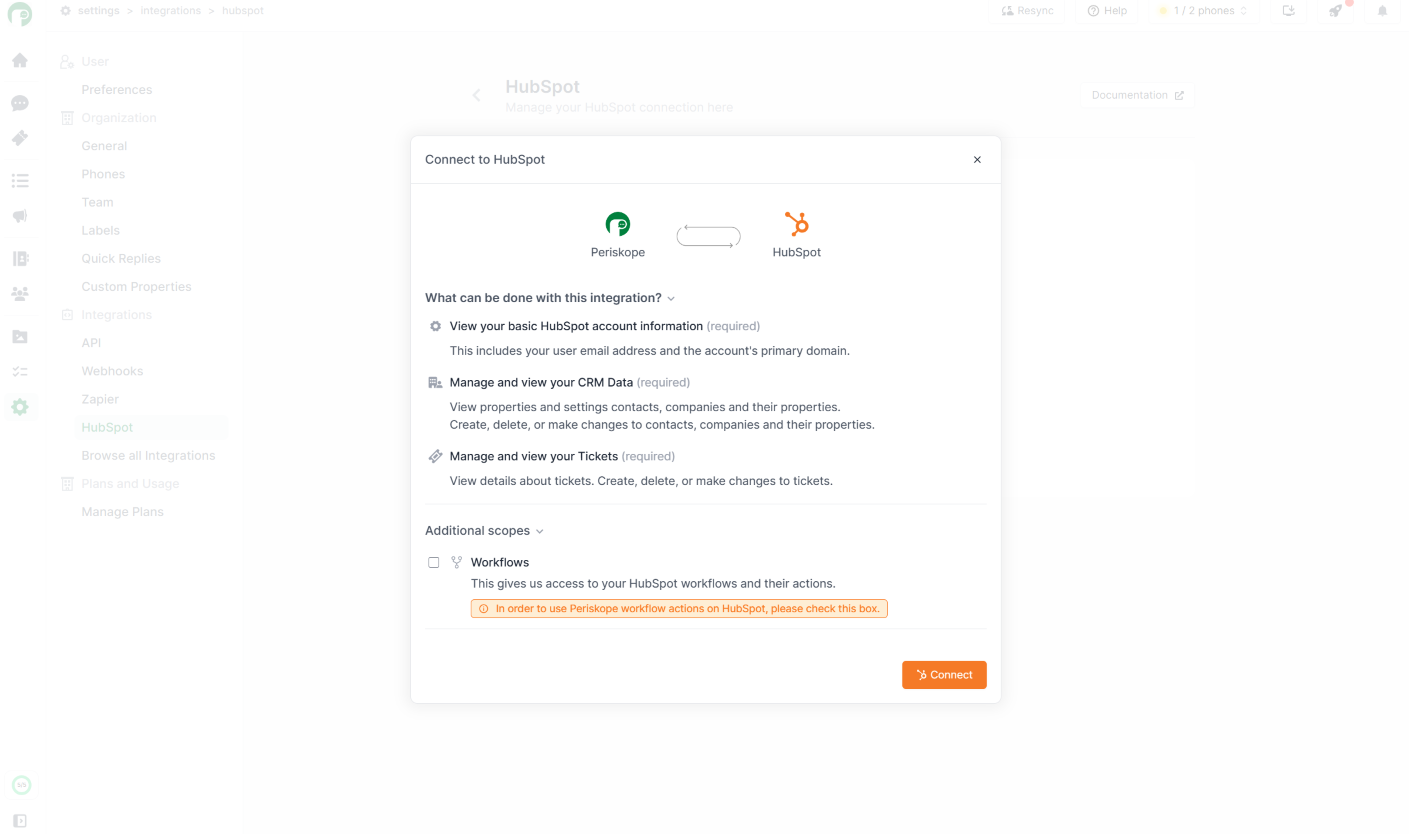
HubSpot Settings - Connect Modal
Approve integration on HubSpot

Connect on HubSpot
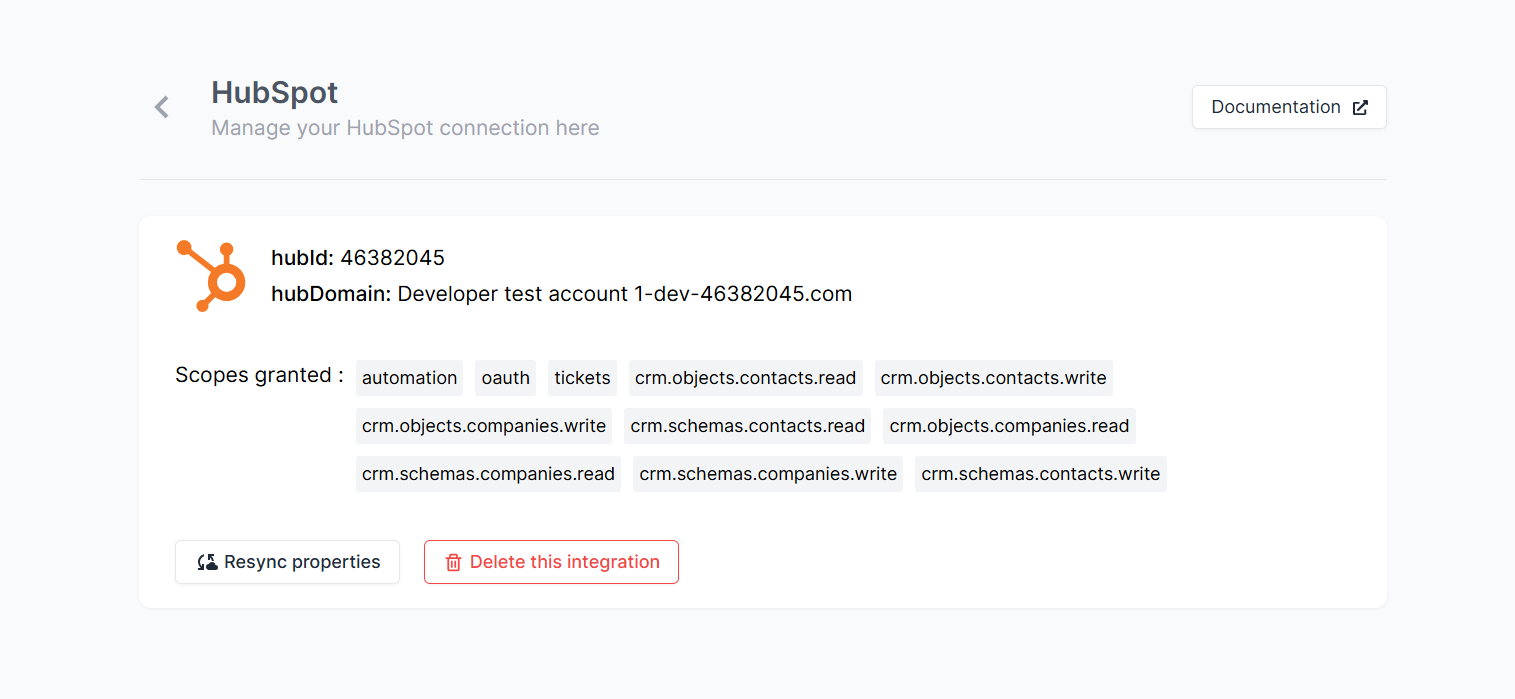
🚀 Result
What can be done with the integration ? 📃
You can perform multiple actions between Periskope and HubSpot. Here are some of the actions that can be performed with the integration.1. Linking chats to HubSpot 🔗
- You can link chats on Periskope to contacts/companies on HubSpot. This will help you to track the contact/company details of the user you are chatting with on Periskope.
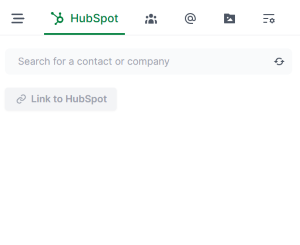
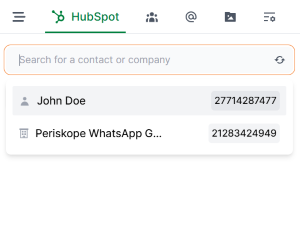

Link chat

- Now you can view all details of the linked contact/company on the chat sidepanel on Periskope.
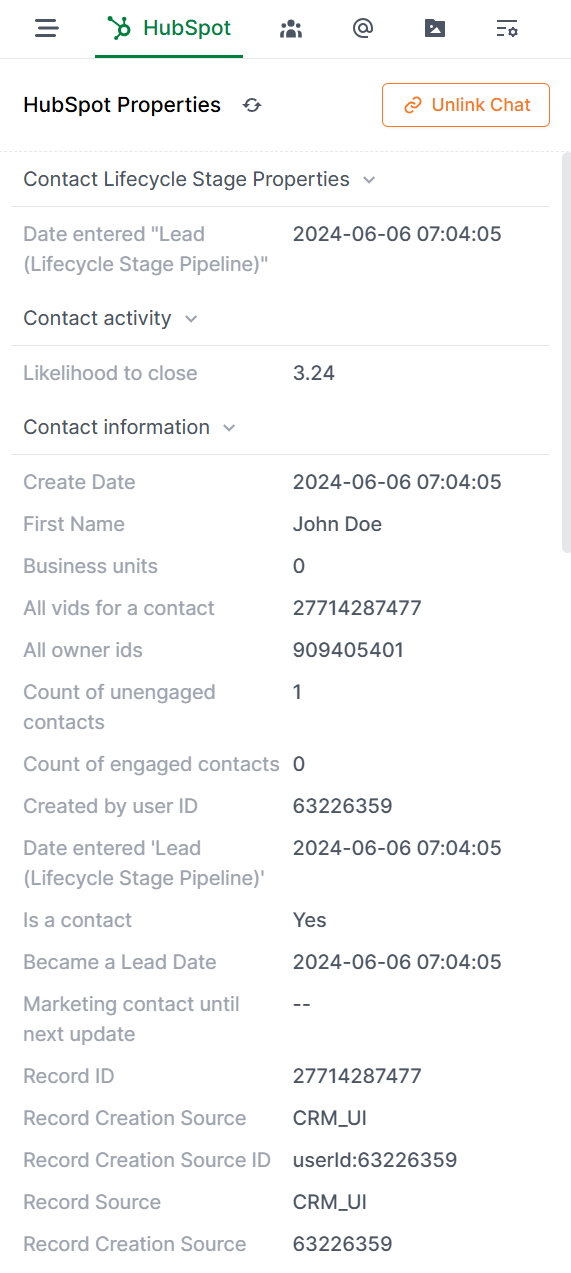
HubSpot properties on chat sidepanel
- All the properties are automatically synced from HubSpot. But, you can also refresh or unlink the HubSpot properties manually from the chat sidepanel.

HubSpot properties on chat sidepanel
2. Syncing WhatsApp messages to HubSpot 💬
Once you have turned on Enable automatic WhatsApp chat logging for Contacts and Companies in HubSpot settings, all the WhatsApp messages will be logged to HubSpot for the linked contact/company.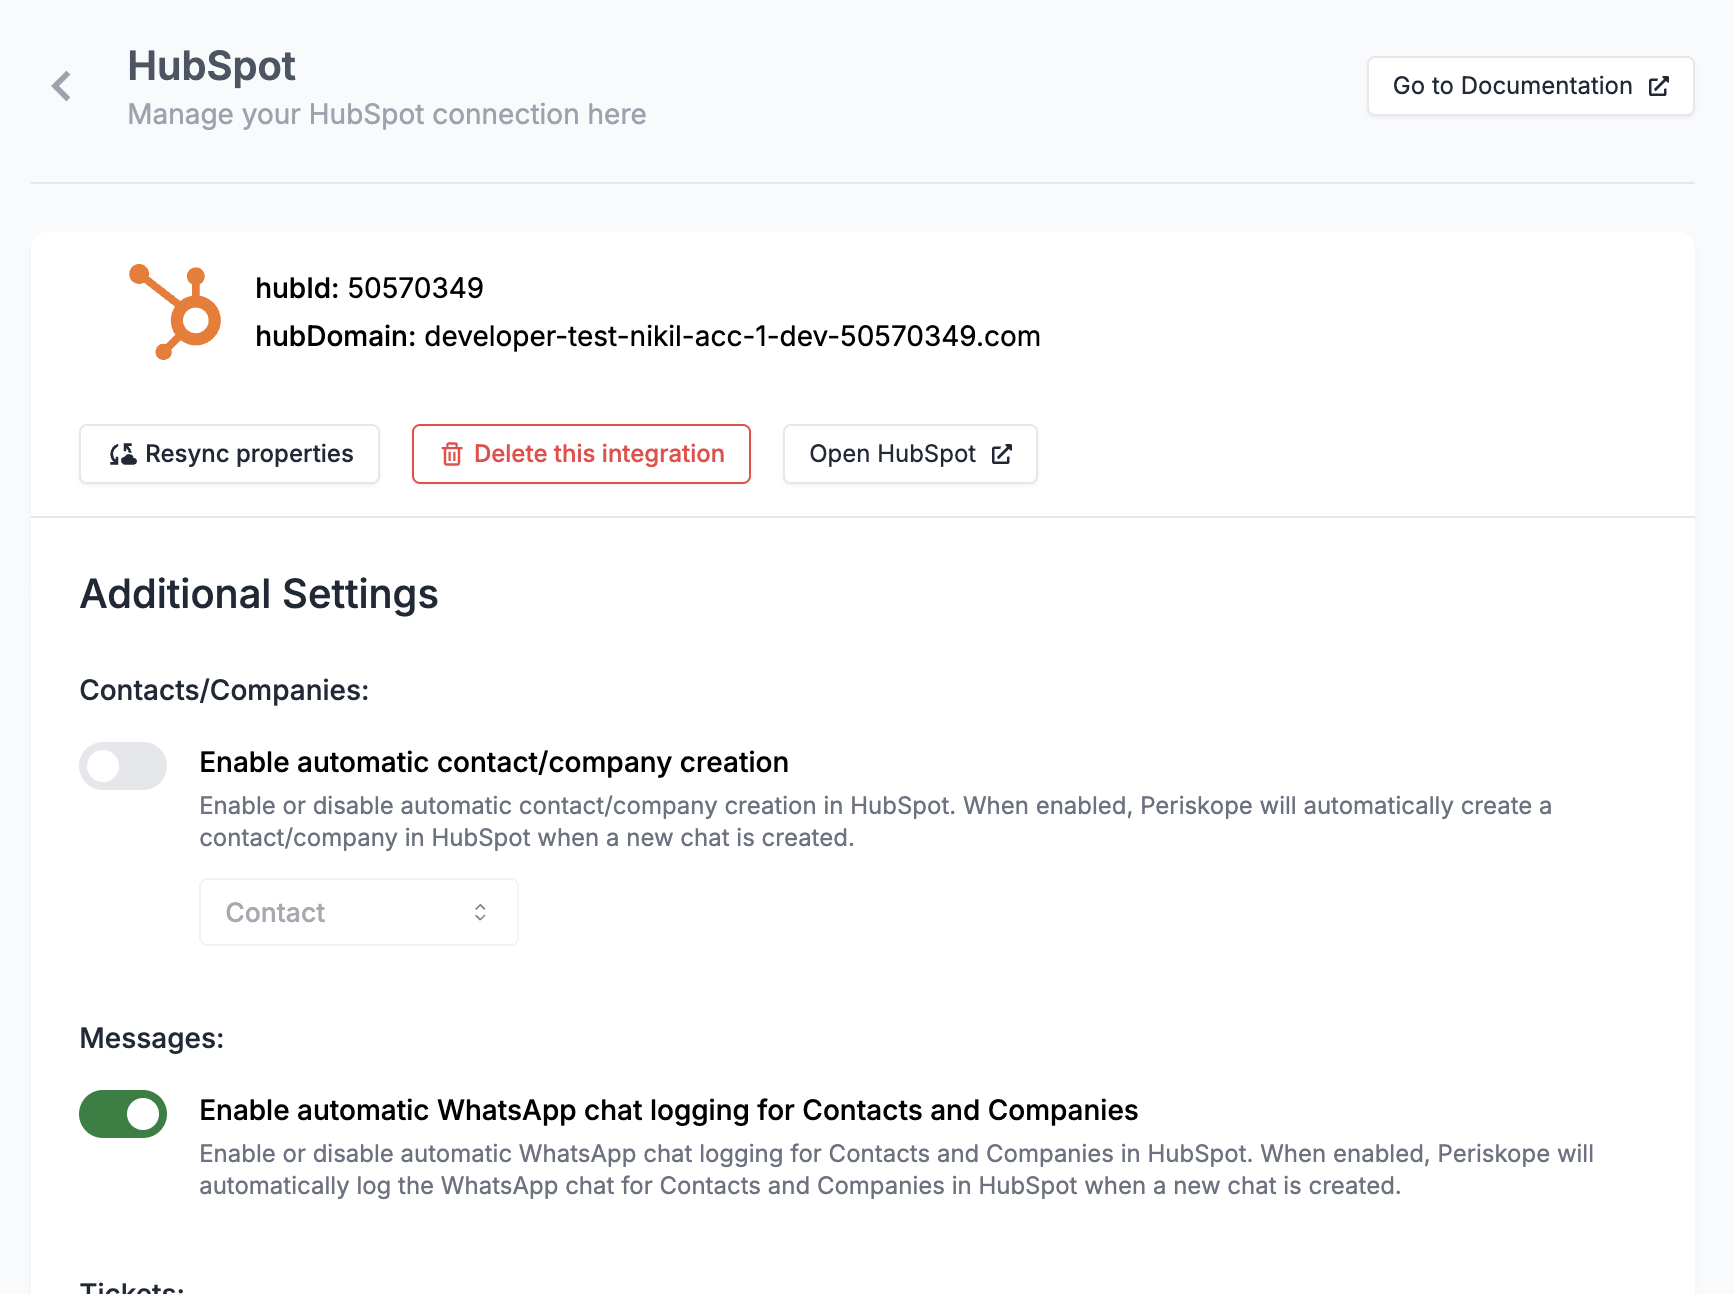
Enable automatic WhatsApp chat logging for Contacts and Companies
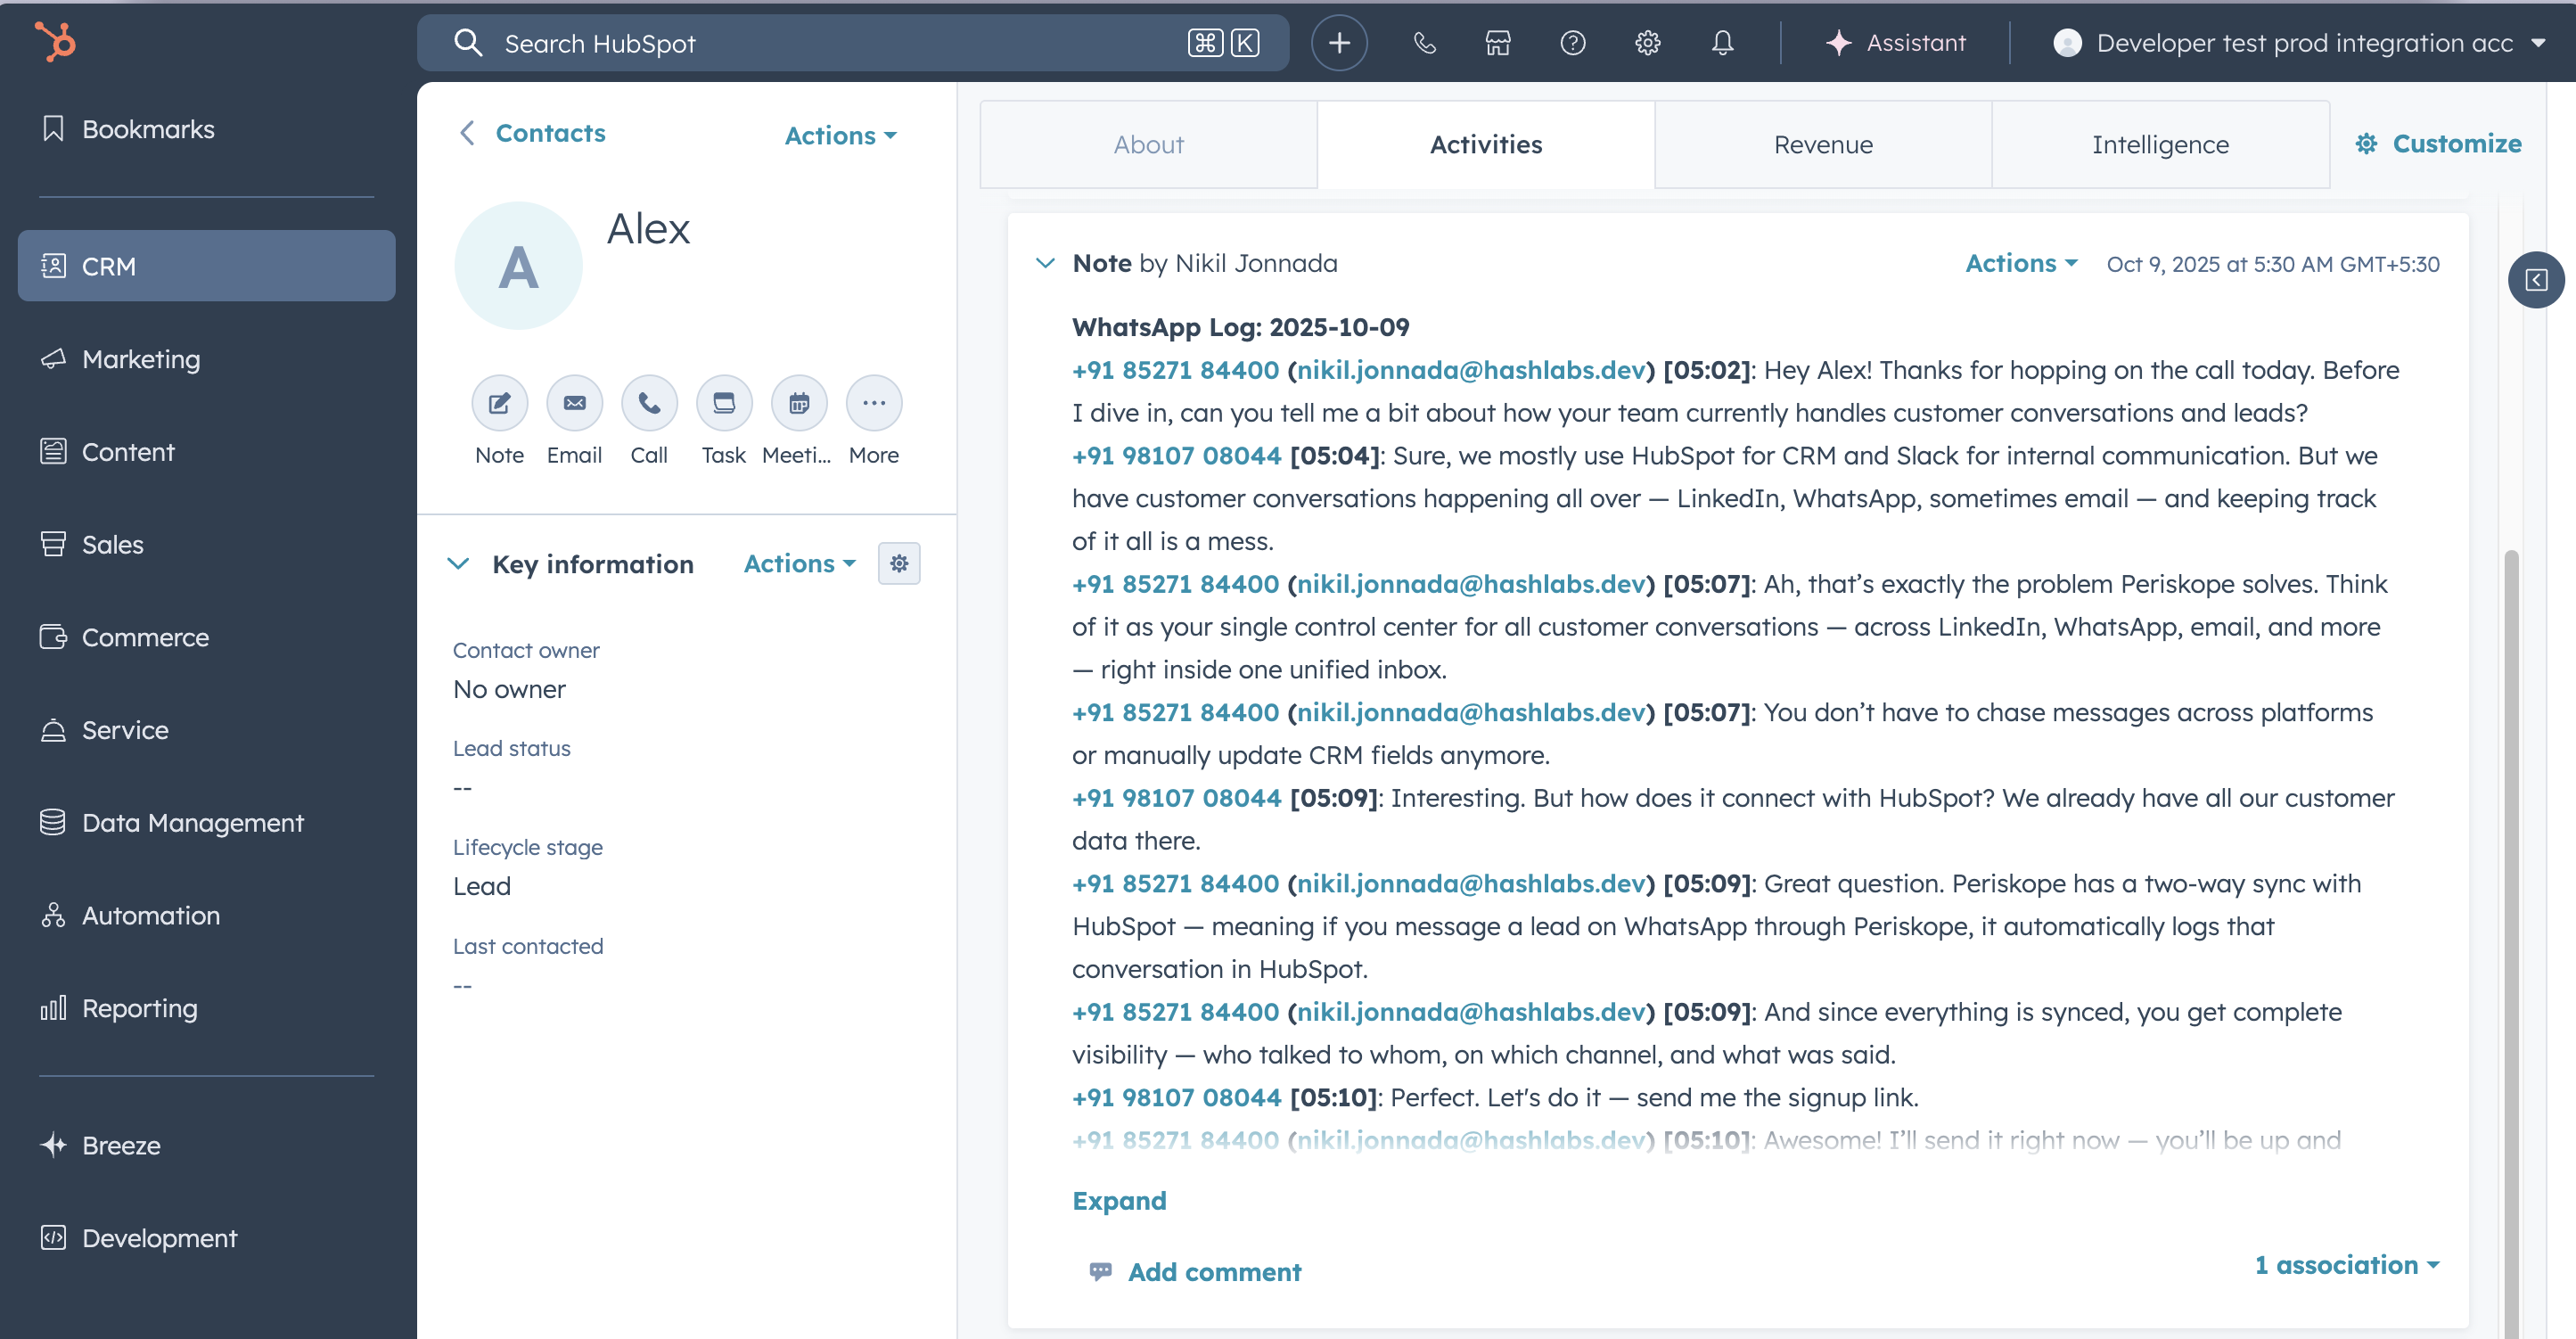
WhatsApp messages logged to HubSpot
3. Syncing tickets to HubSpot 🎟️
- Once you have linked your HubSpot account with Periskope. The tickets created on Periskope will be automatically synced to HubSpot.

Creating ticket on Periskope
- You can choose to switch between
pipelineson HubSpot to view the ticket in the respective pipeline.
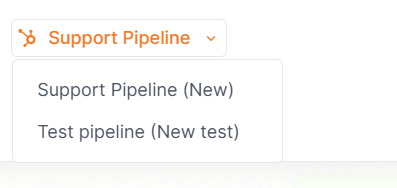
Choosing ticket pipeline on Periskope
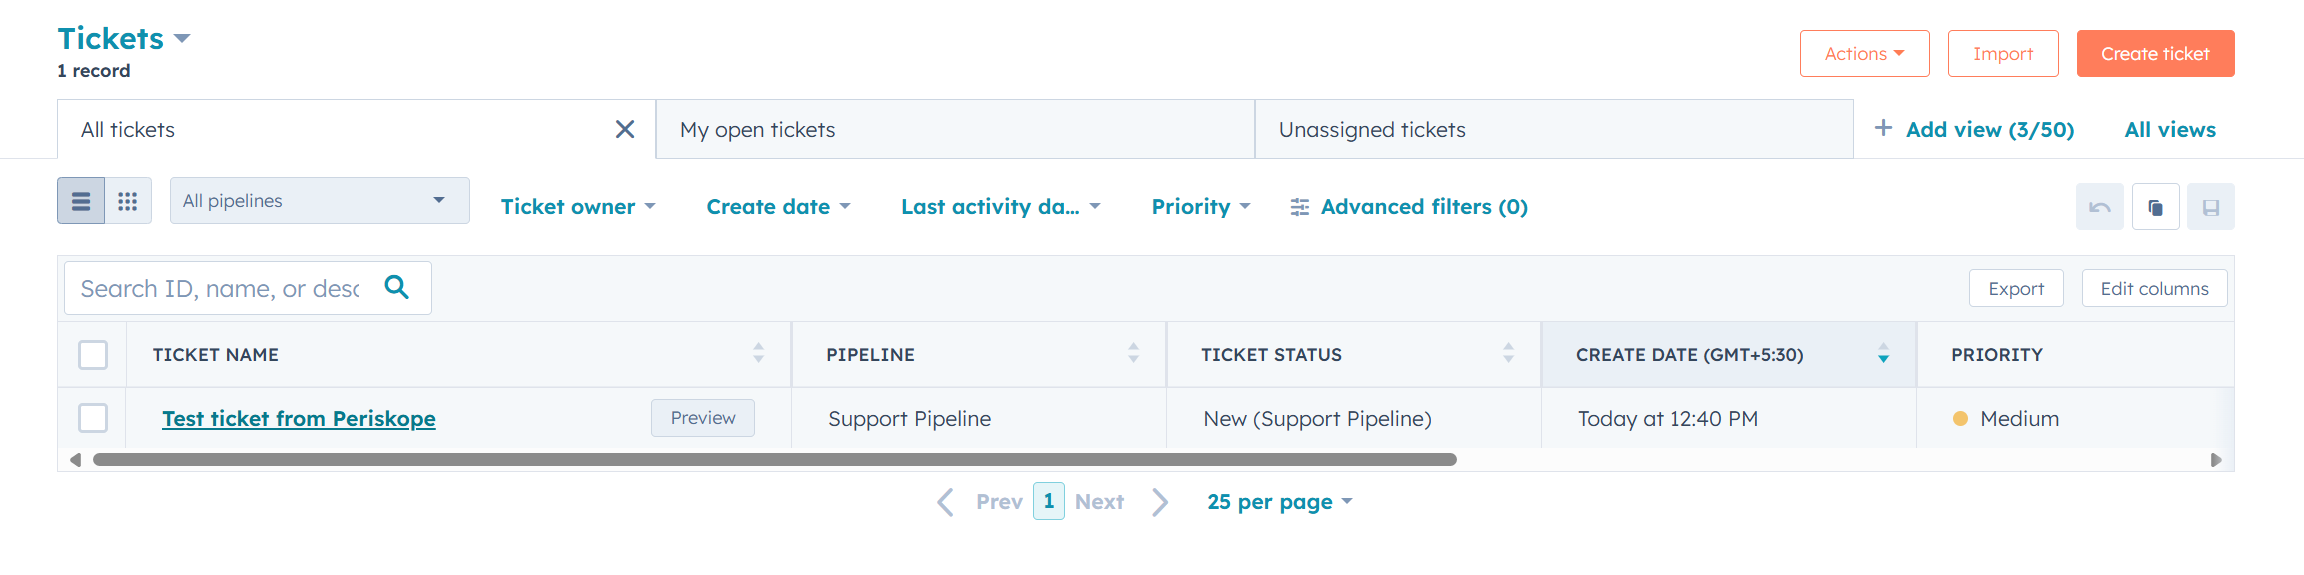
Ticket Created on HubSpot
- You can also view details of the linked ticket on the sidepanel of both the platforms.
bi-directional. But, you can only create tickets on Periskope and sync them to HubSpot.
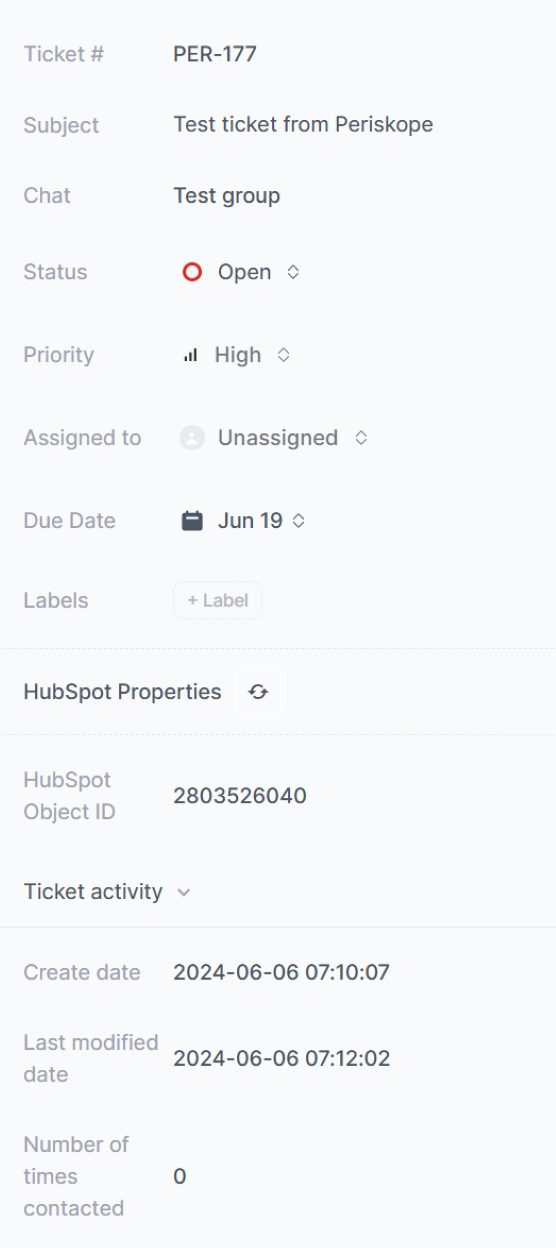
Ticket properties on HubSpot and Periskop
- You can also sync the Ticket custom properties of Periskope to HubSpot.
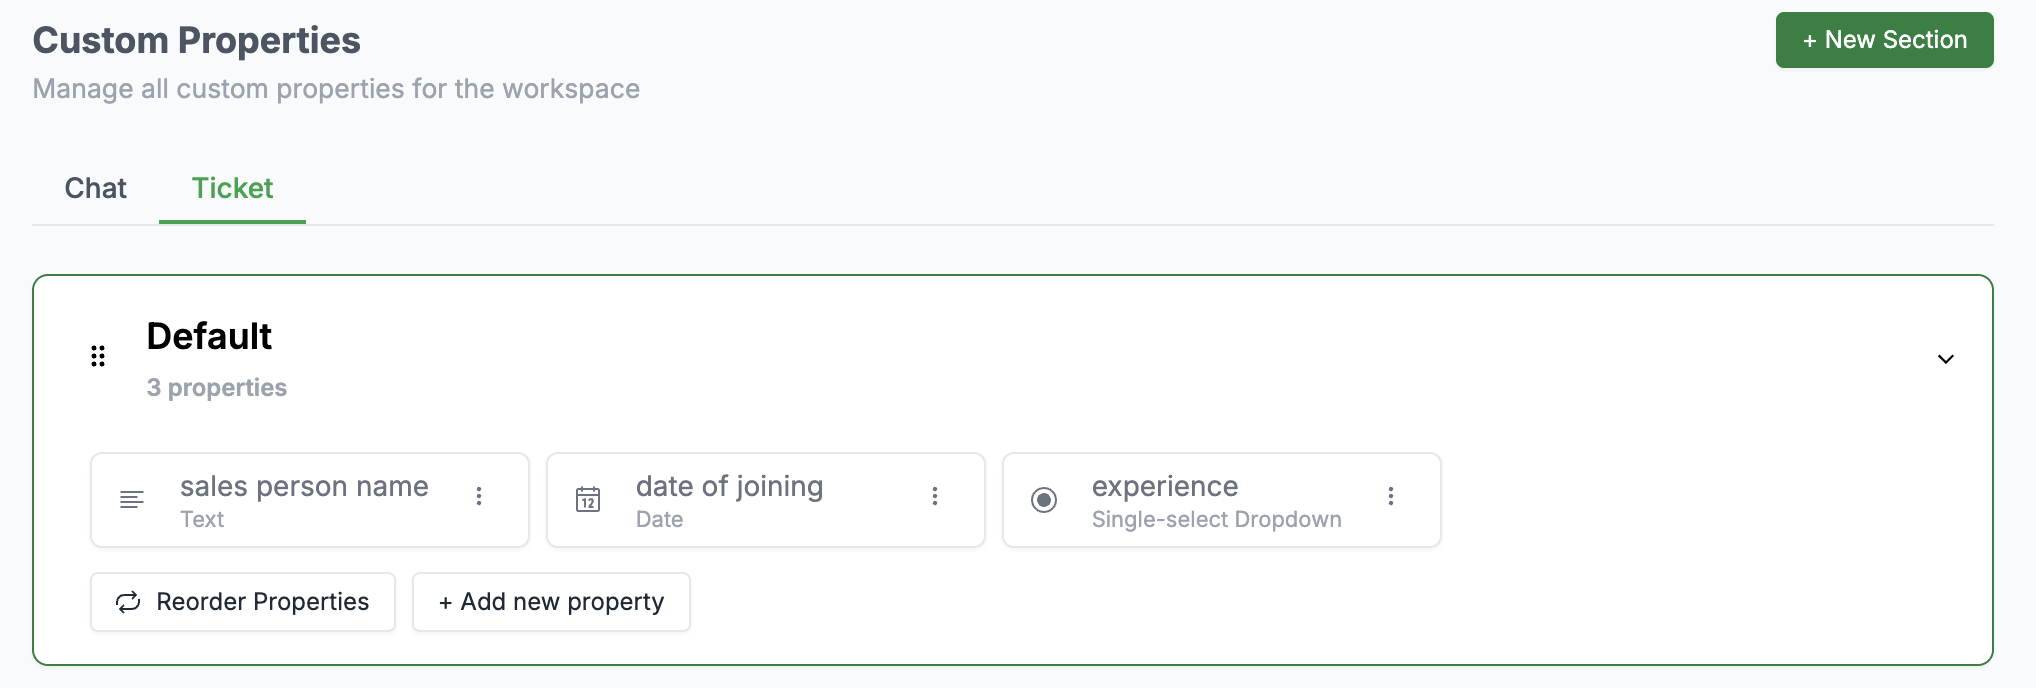
Ticket custom properties on Periskope
- Attached Message to a ticket
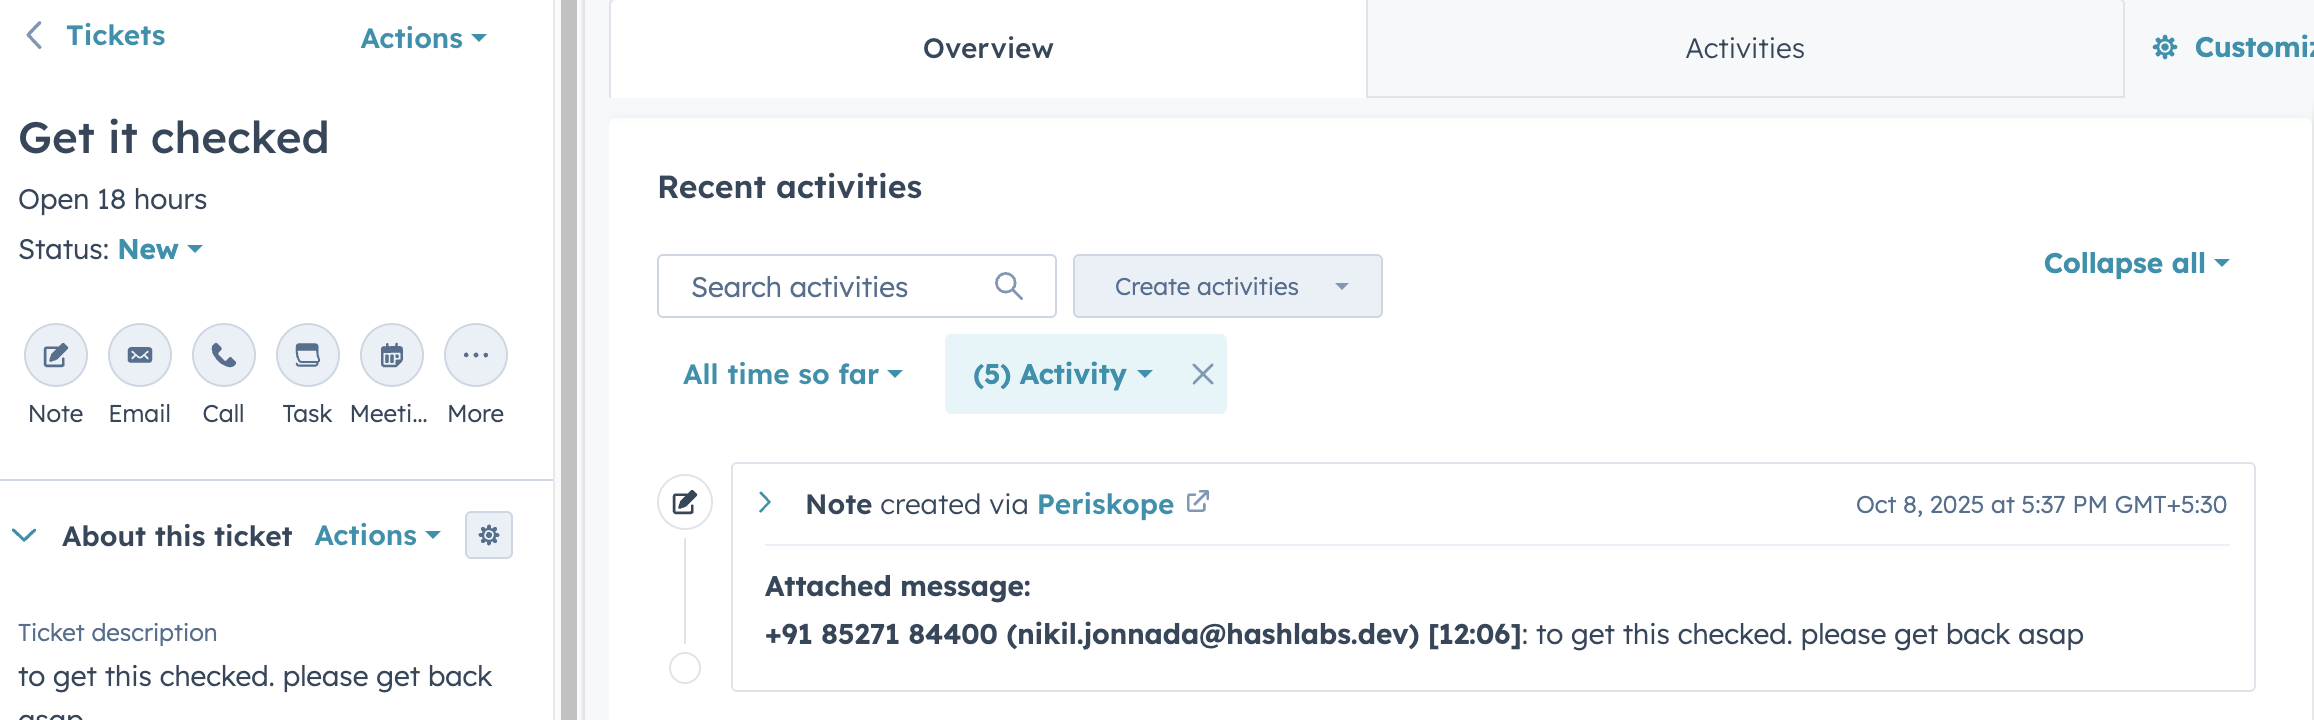
Attached messages to a ticket on HubSpot
4. Auto-create contacts and companies on HubSpot 👤
Once you have turned on Enable automatic contact/company creation in HubSpot settings, whenever a new chat is created on Periskope, a new contact/company will be created on HubSpot.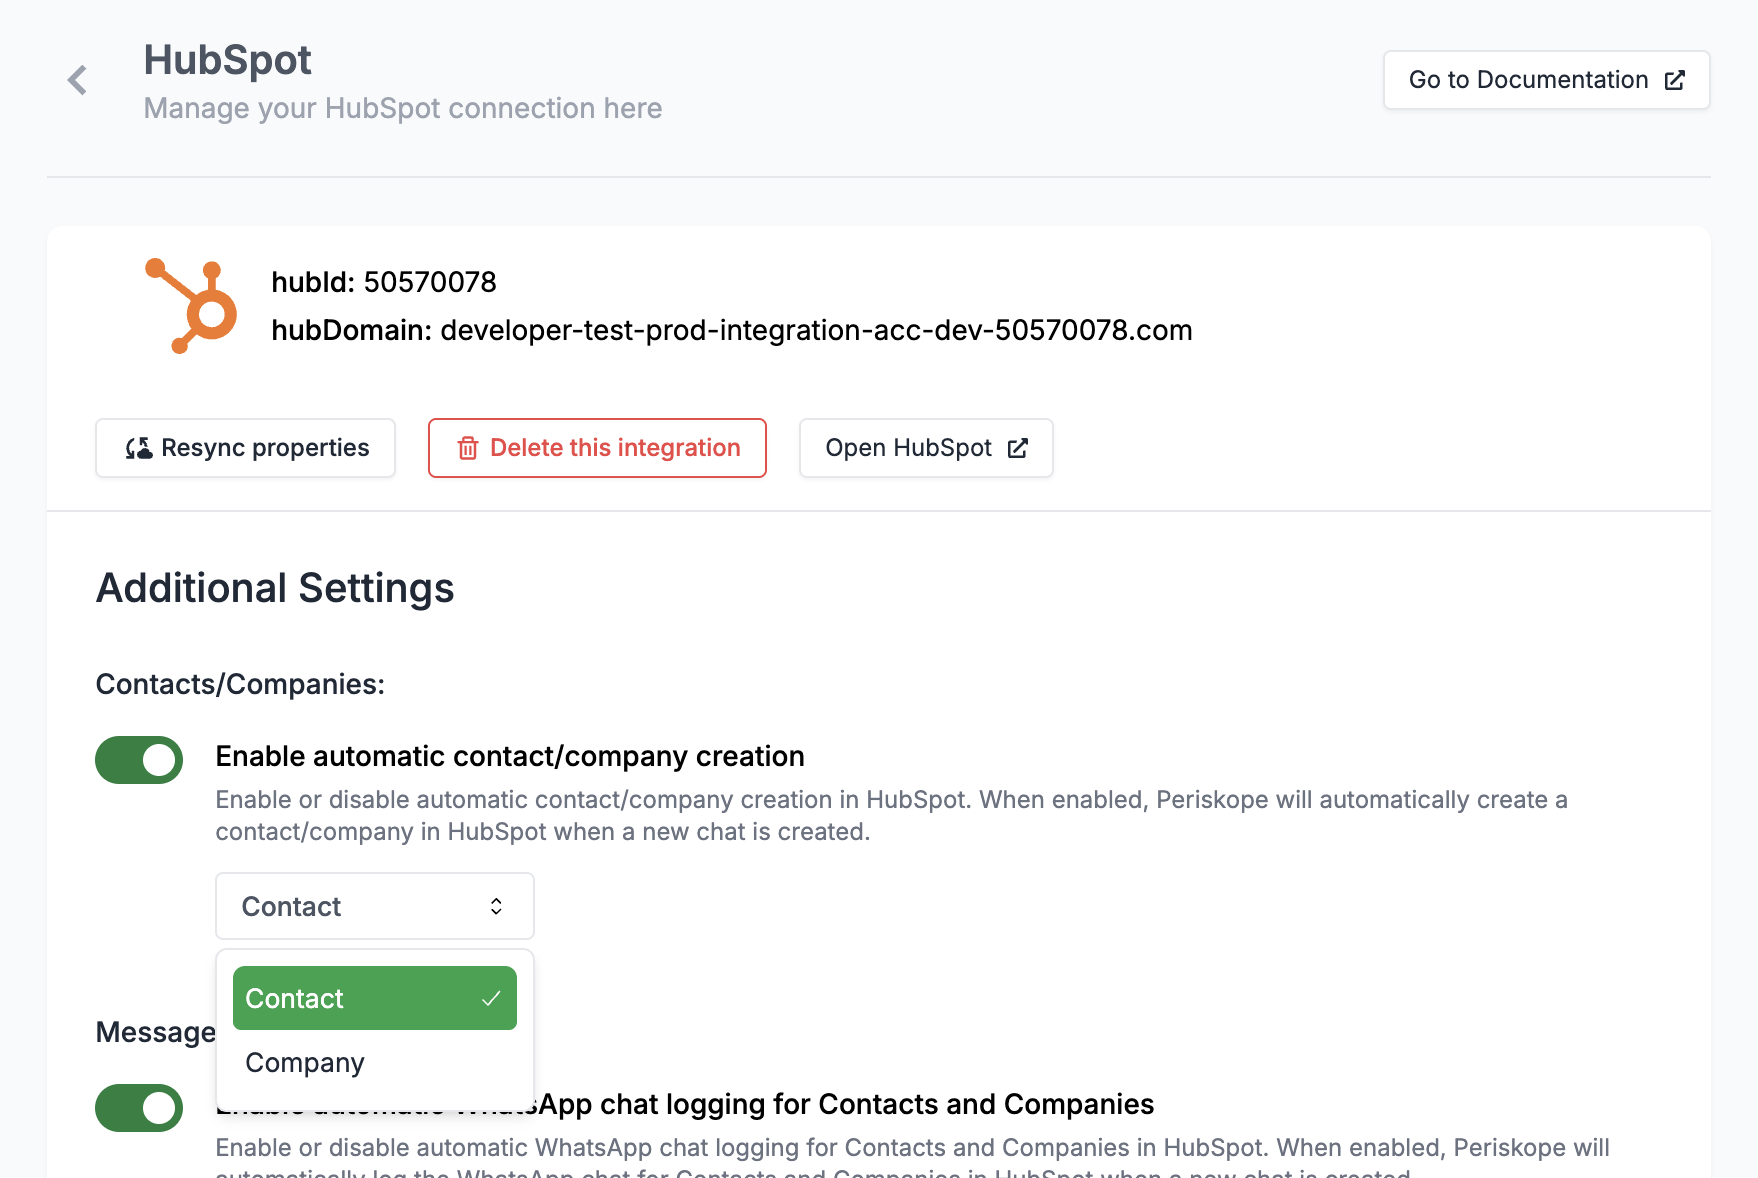
Enable automatic contact/company creation
5. Sending a message using HubSpot workflow actions 📩
You can send a message to chats on Periskope using HubSpot workflow actions.Navigate to workflows on HubSpot
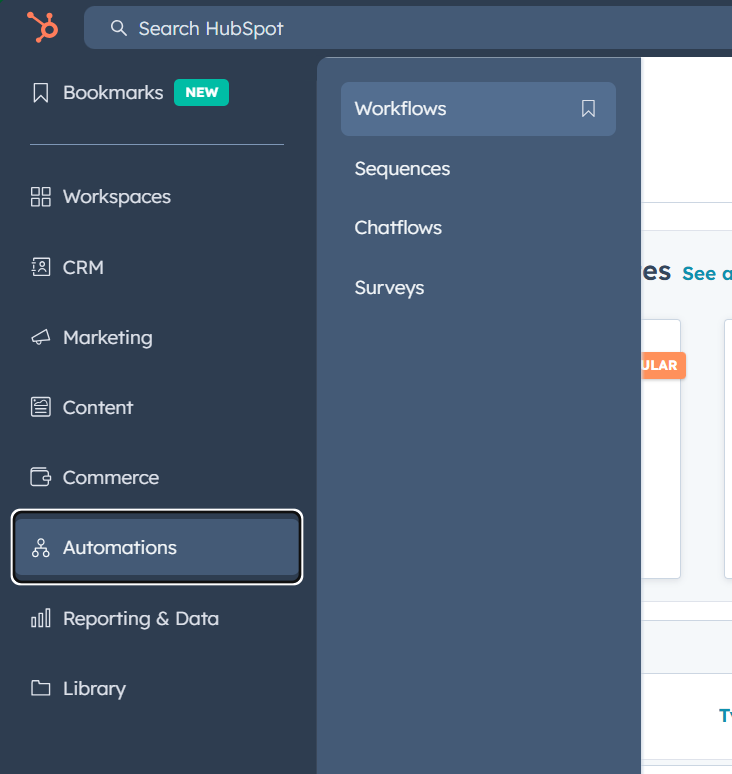
Workflows screen on HubSpot
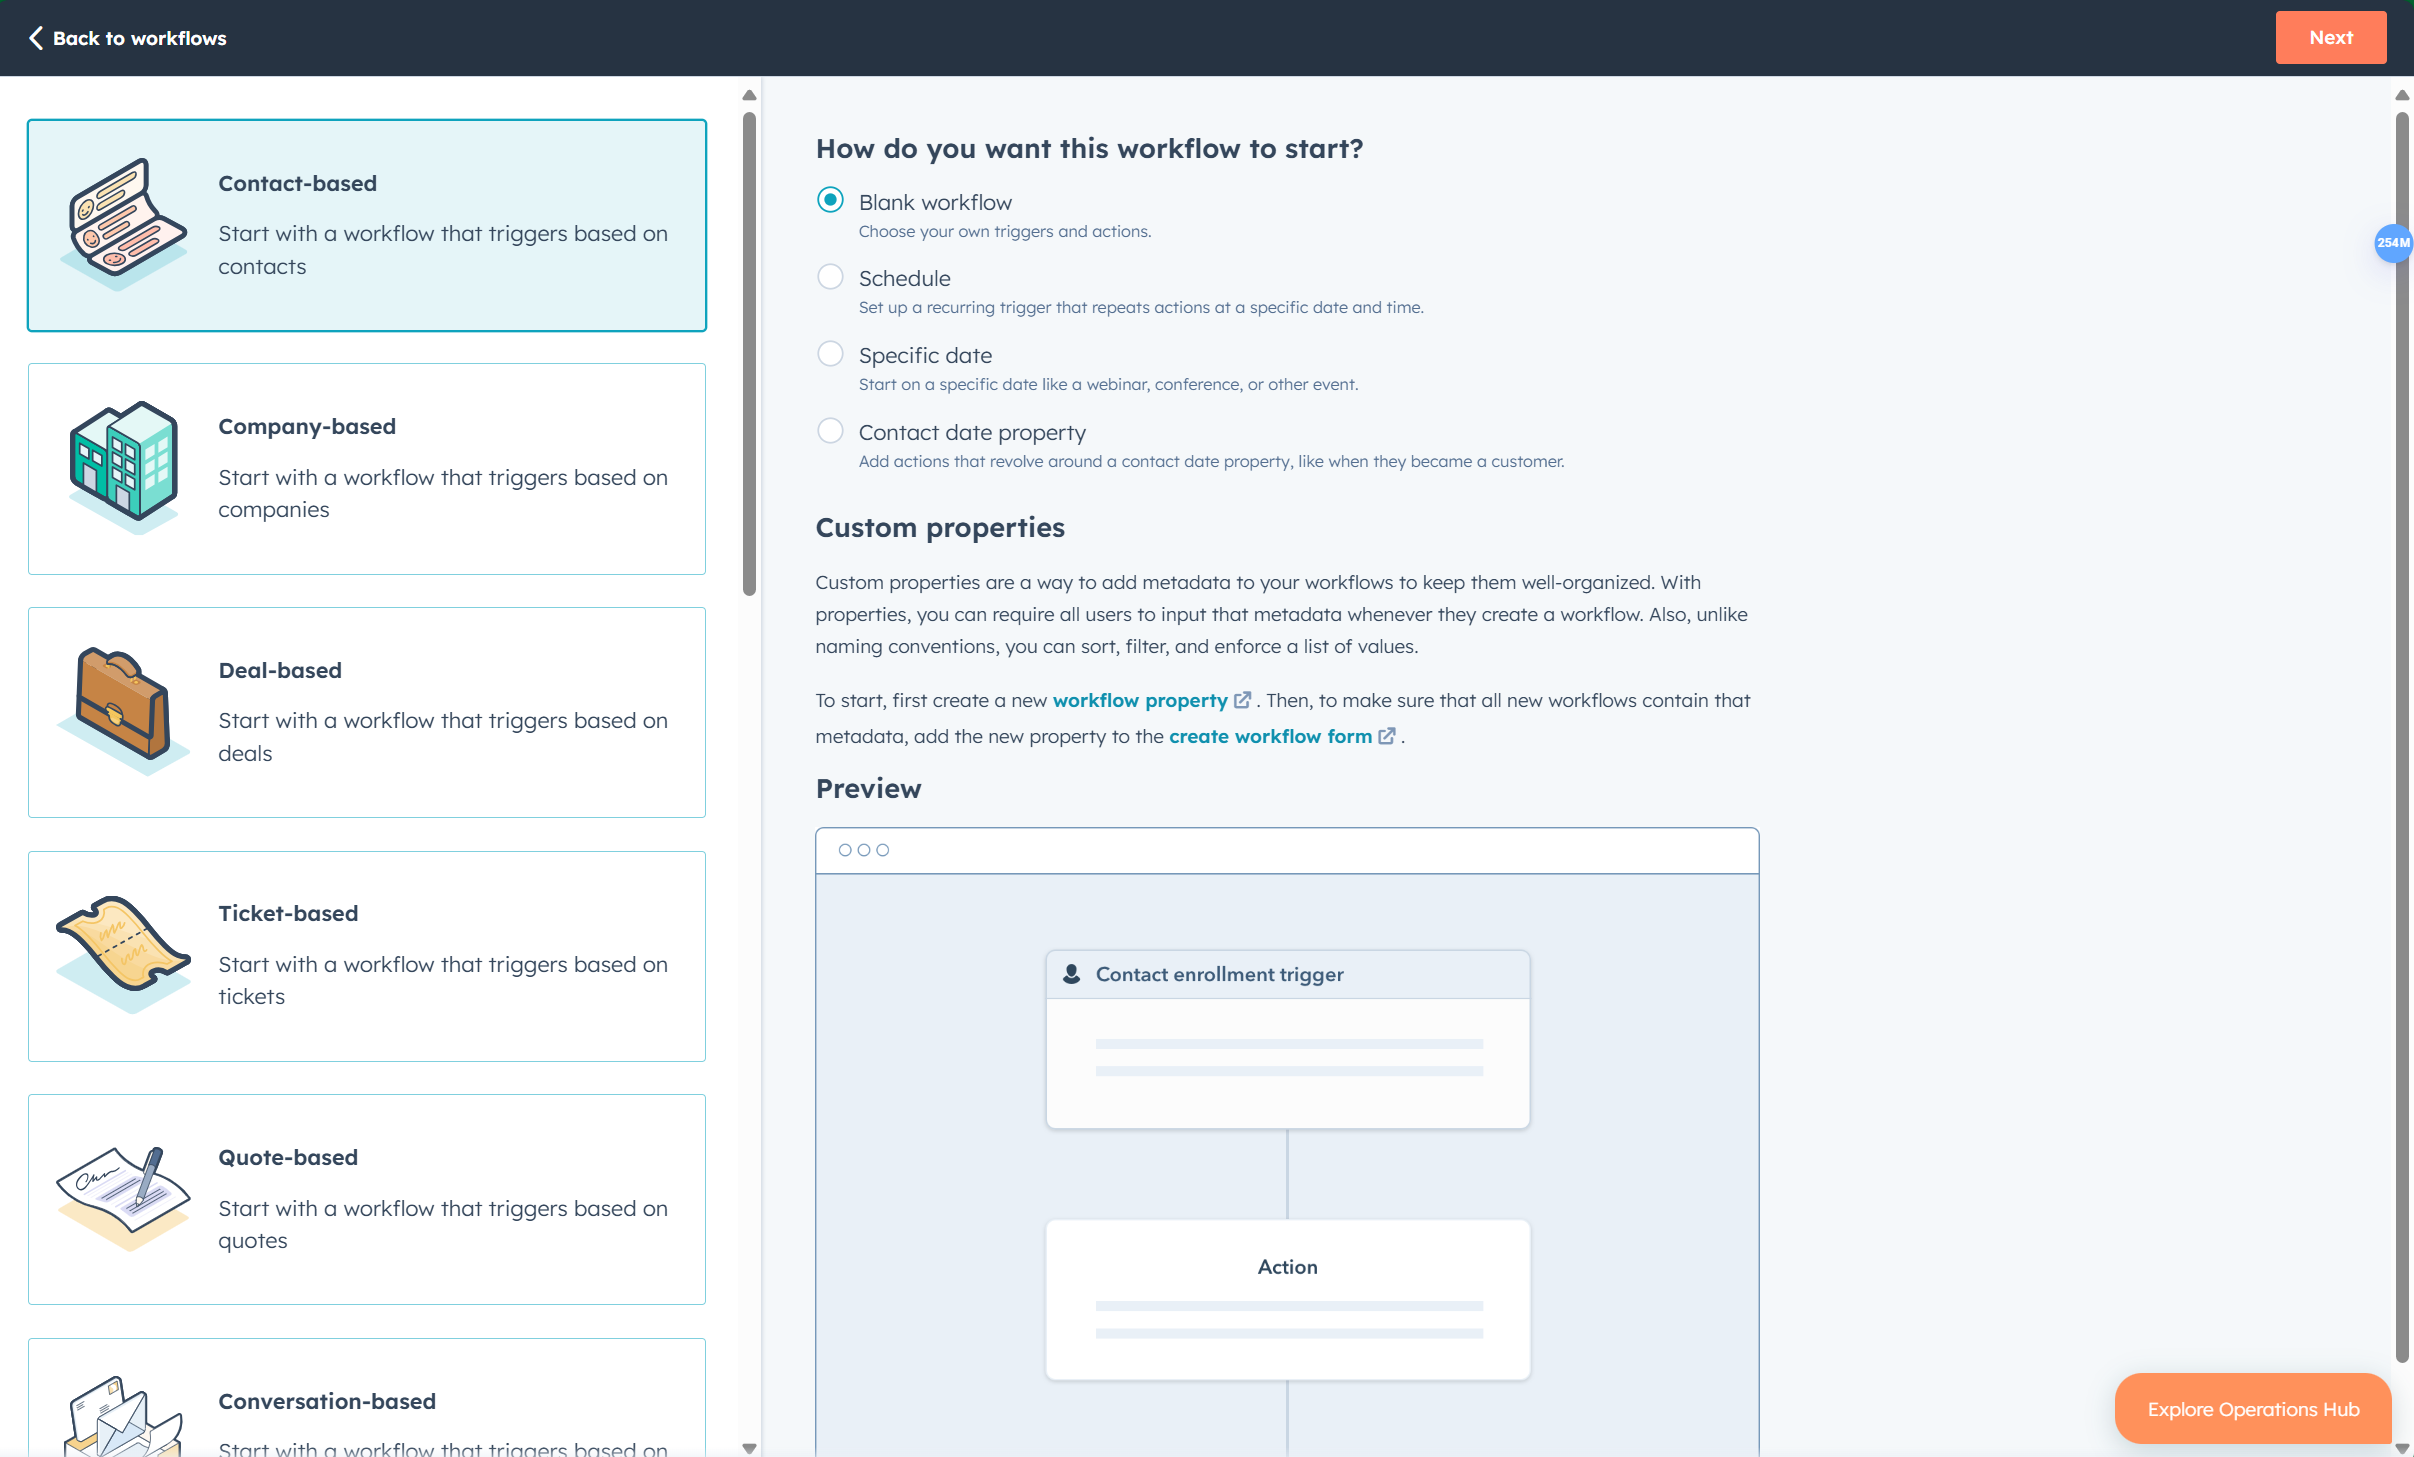
Create a workflow
- Click on Create workflow to create a new workflow.
- Select the Type of workflow you want to create. You can choose from the following options:
Contact-based,Company-based,Ticket-based
Workflows screen on HubSpot
Add a trigger of your choice
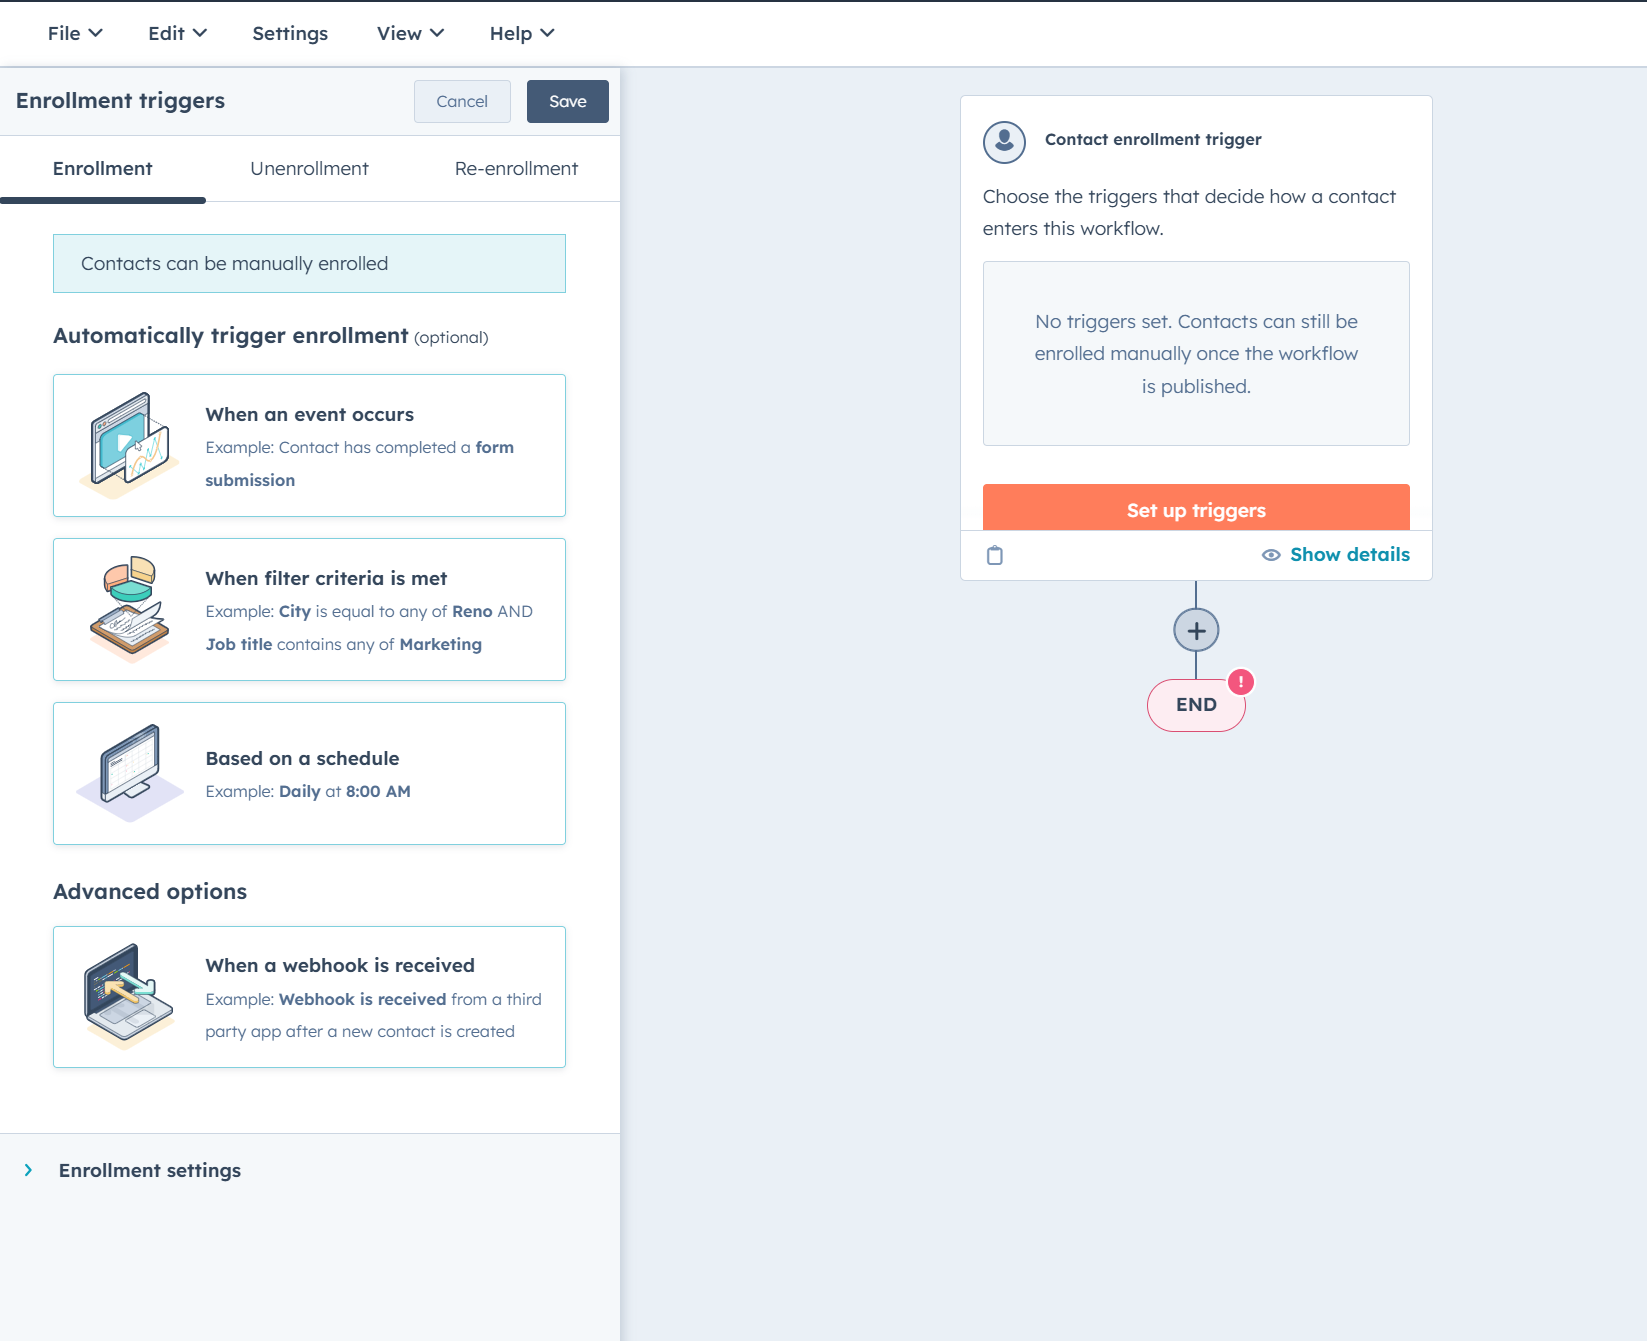
Choose a trigger
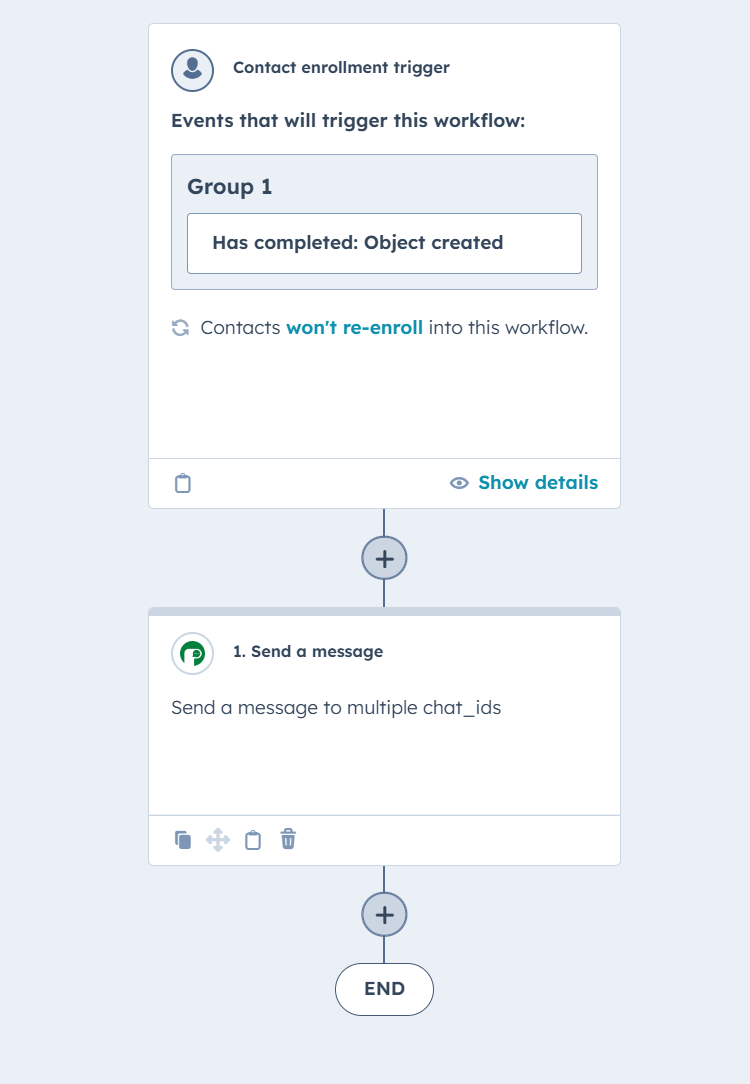
Add Send message action
- Click on + button to add an action.
- Click on Periskope under Connected apps on the LHS sidepanel and choose
Send a messageaction.
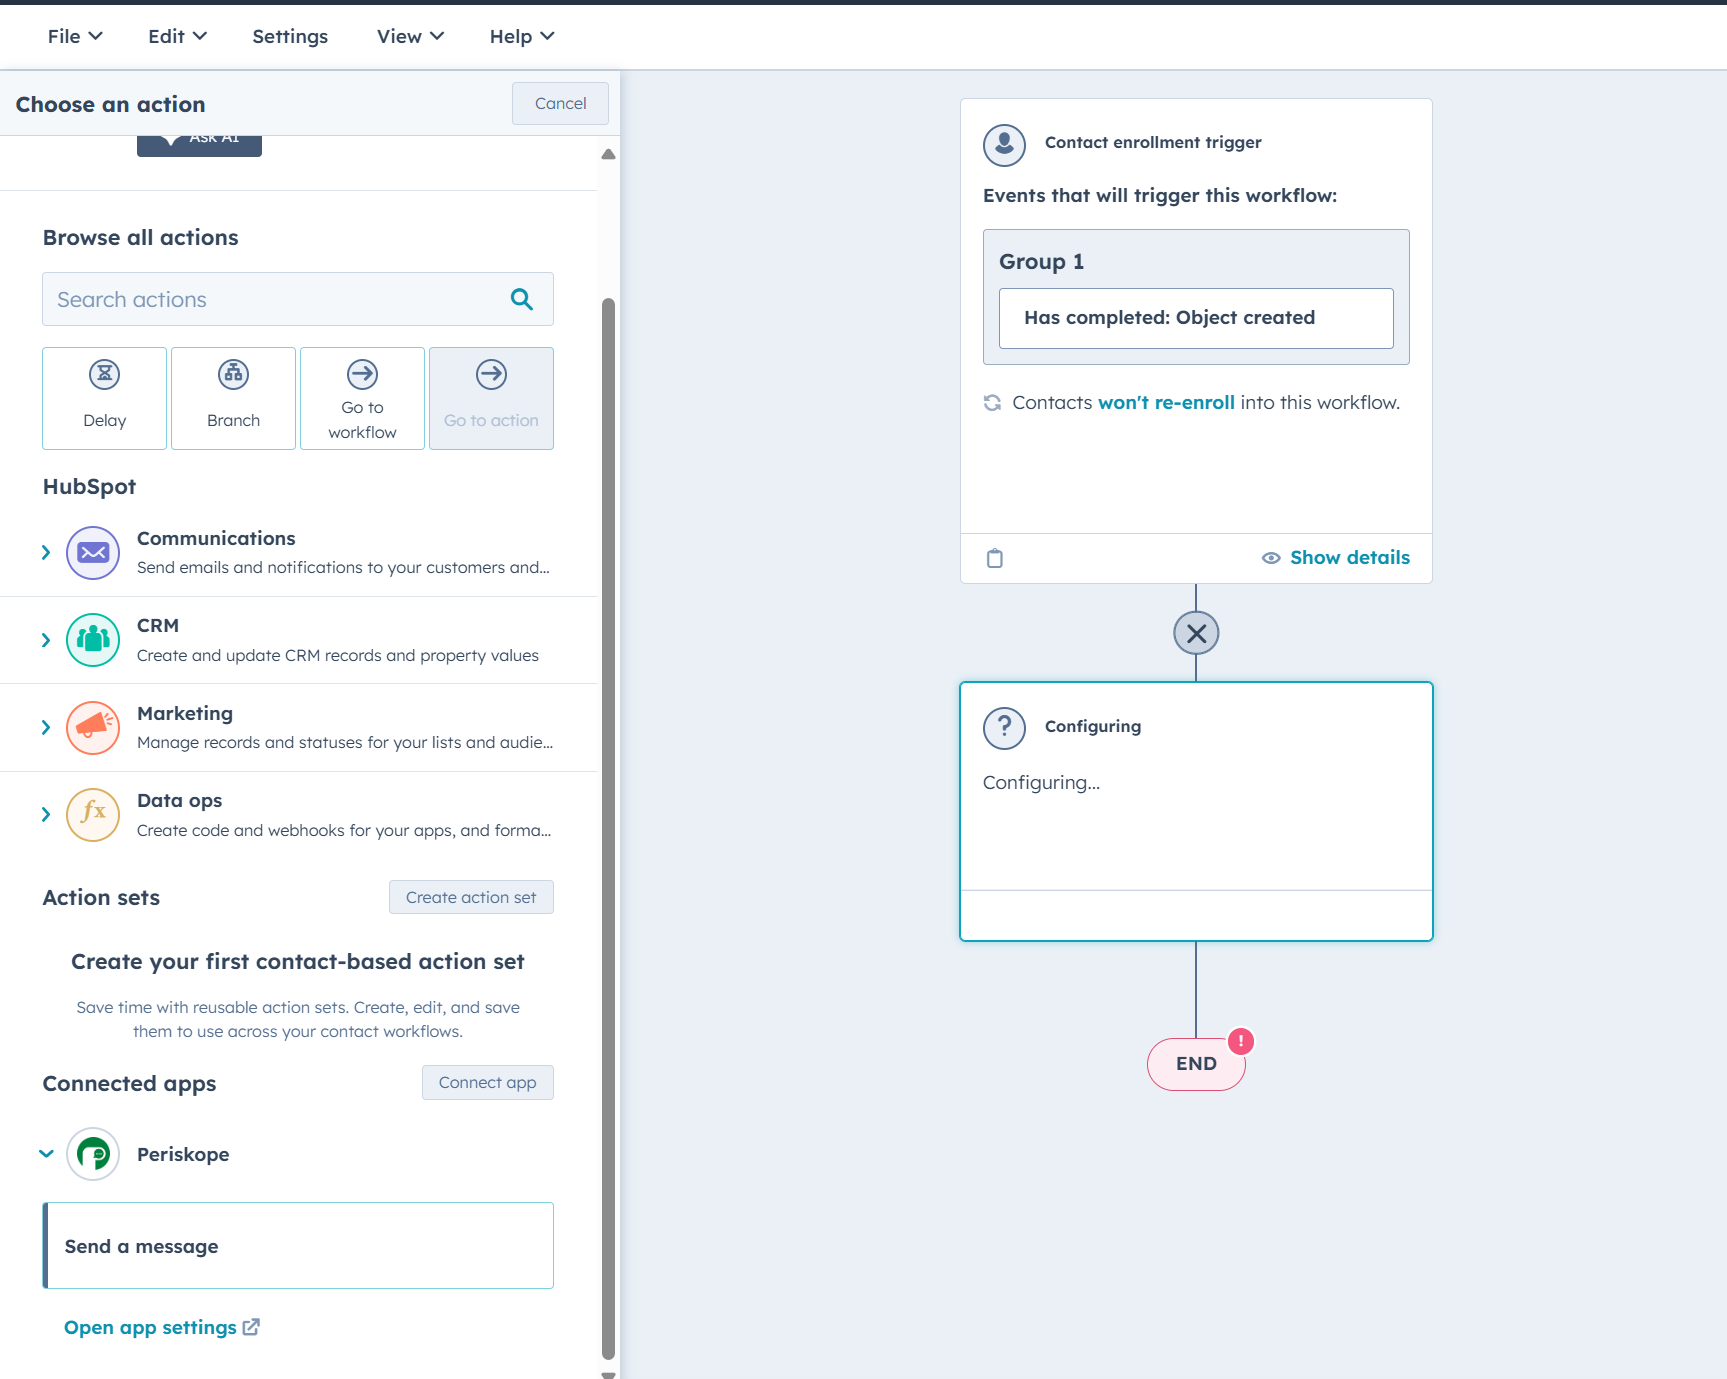
Choose an action
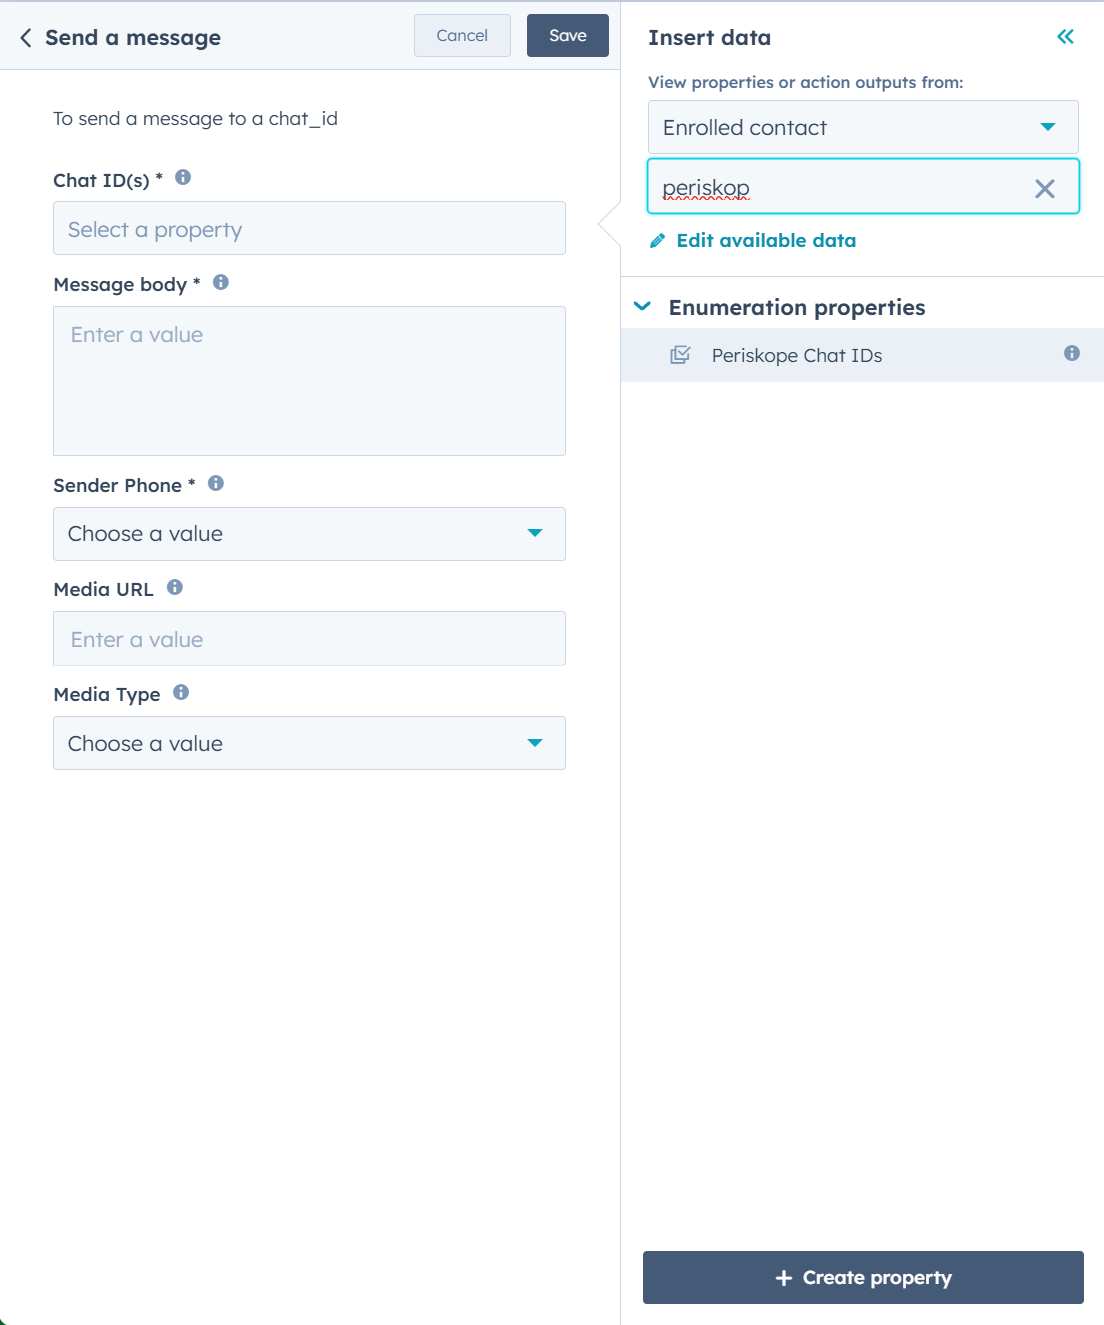
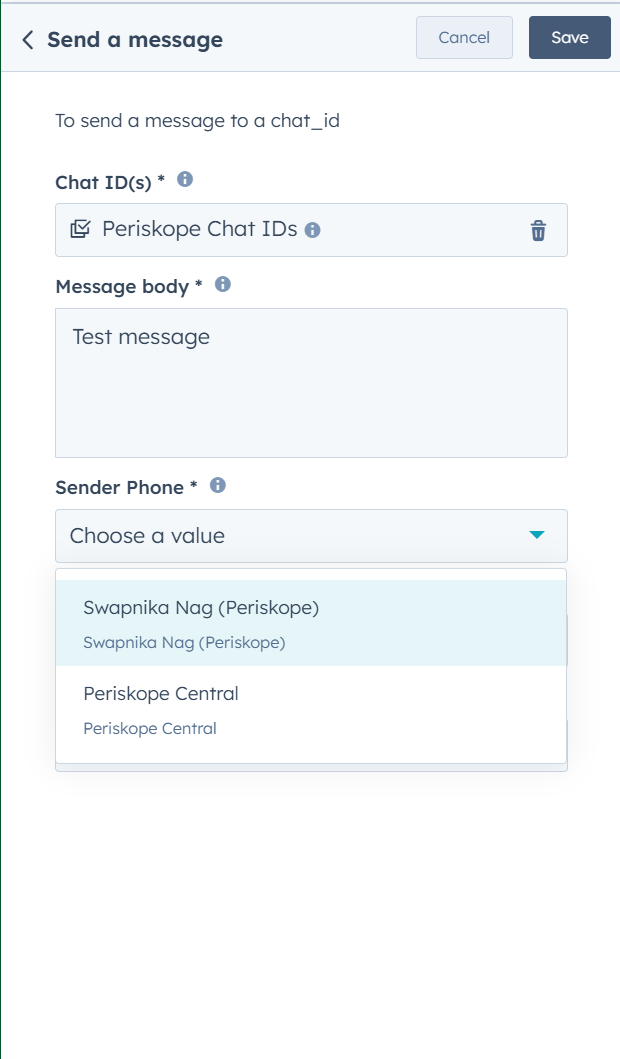
Fill action form
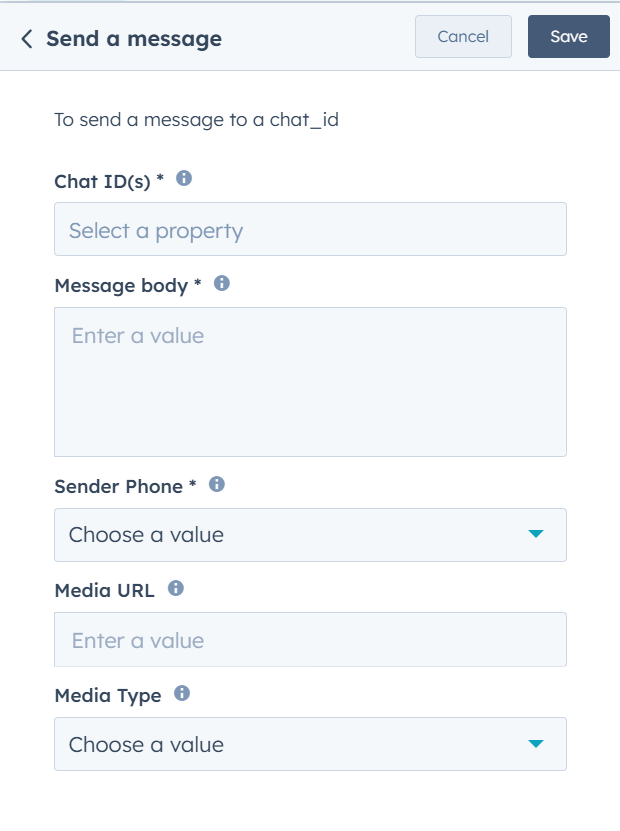
Send message form
Form fields -
- Contact Properties >
Periskope Chat IDs - Company Properties >
Periskope Chat IDs - Ticket Properties >
Periskope Chat ID
- Group Chat -
12036329726967XXXX@g.us - Individual Chat -
9190043XXXXX@c.us
image, video, document, audio.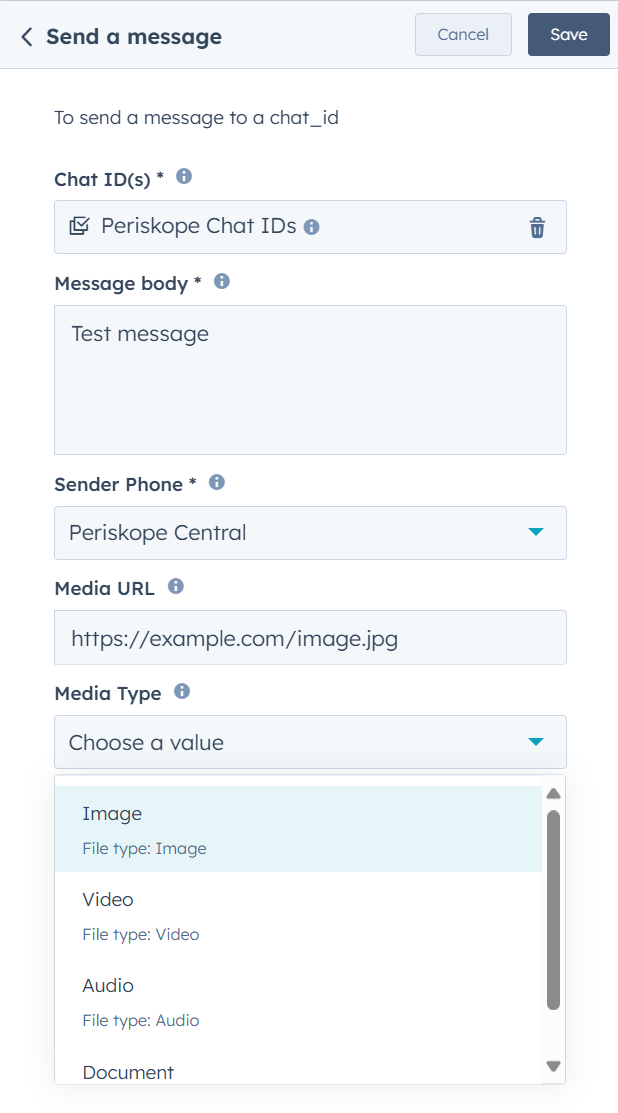
🚀 Result
Review
Done 🎉
You’ve now successfully integrated HubSpot with Periskope. For any queries, reach out to us hereFAQs ❓
1. How to view Periskope properties on HubSpot?
Initially, you won’t be able to view Periskope properties on HubSpot. But, once you link a chat to a contact/company on HubSpot, the properties will be synced to HubSpot. To view properties on HubSpot, you can customize properties on the contact/company/tickets page to change the visibility.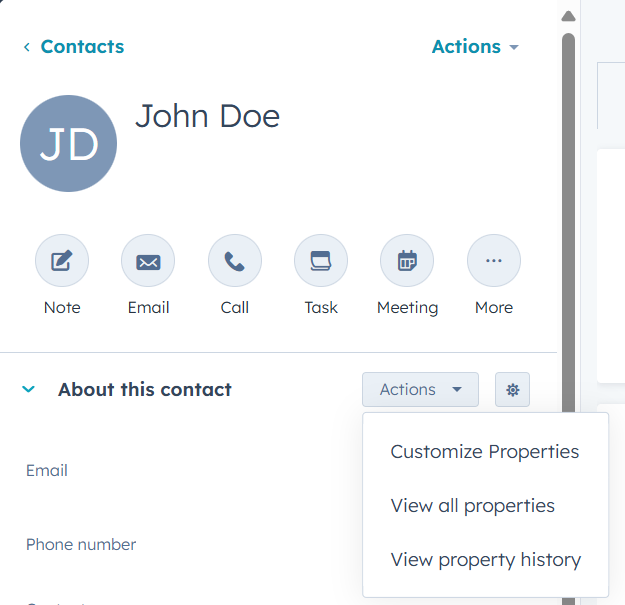

2. Resyncing Periskope properties on HubSpot
In case you add new team members or new properties on Periskope, you can refresh the properties on HubSpot. To resync the properties, you can click on the Resync properties button in settings.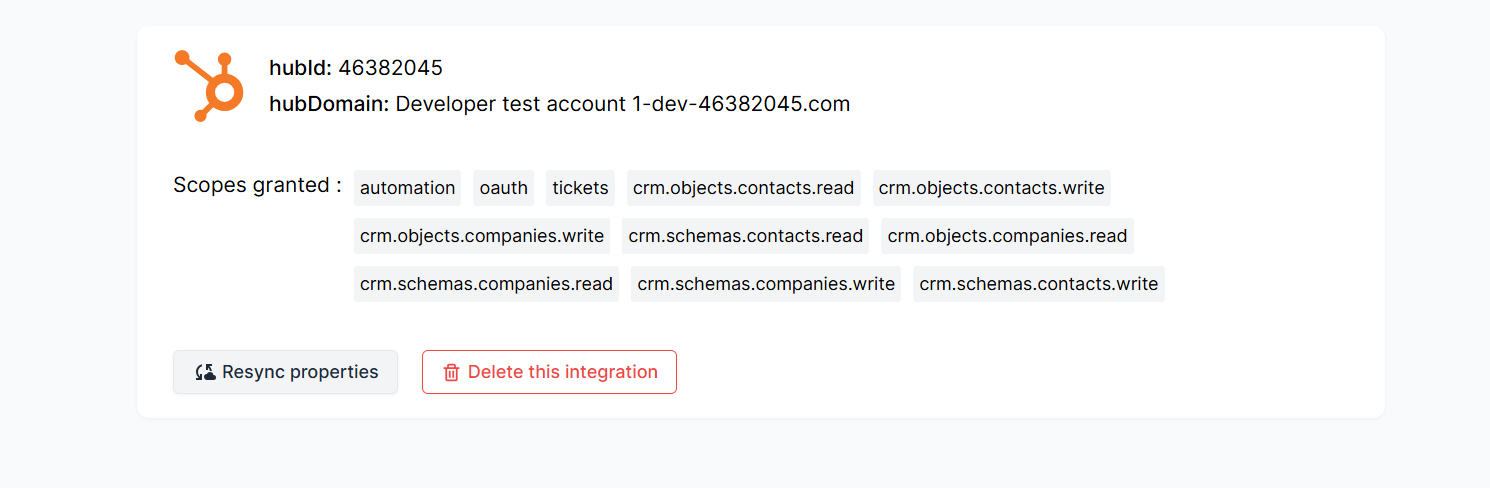
3. Updating scope of the integration
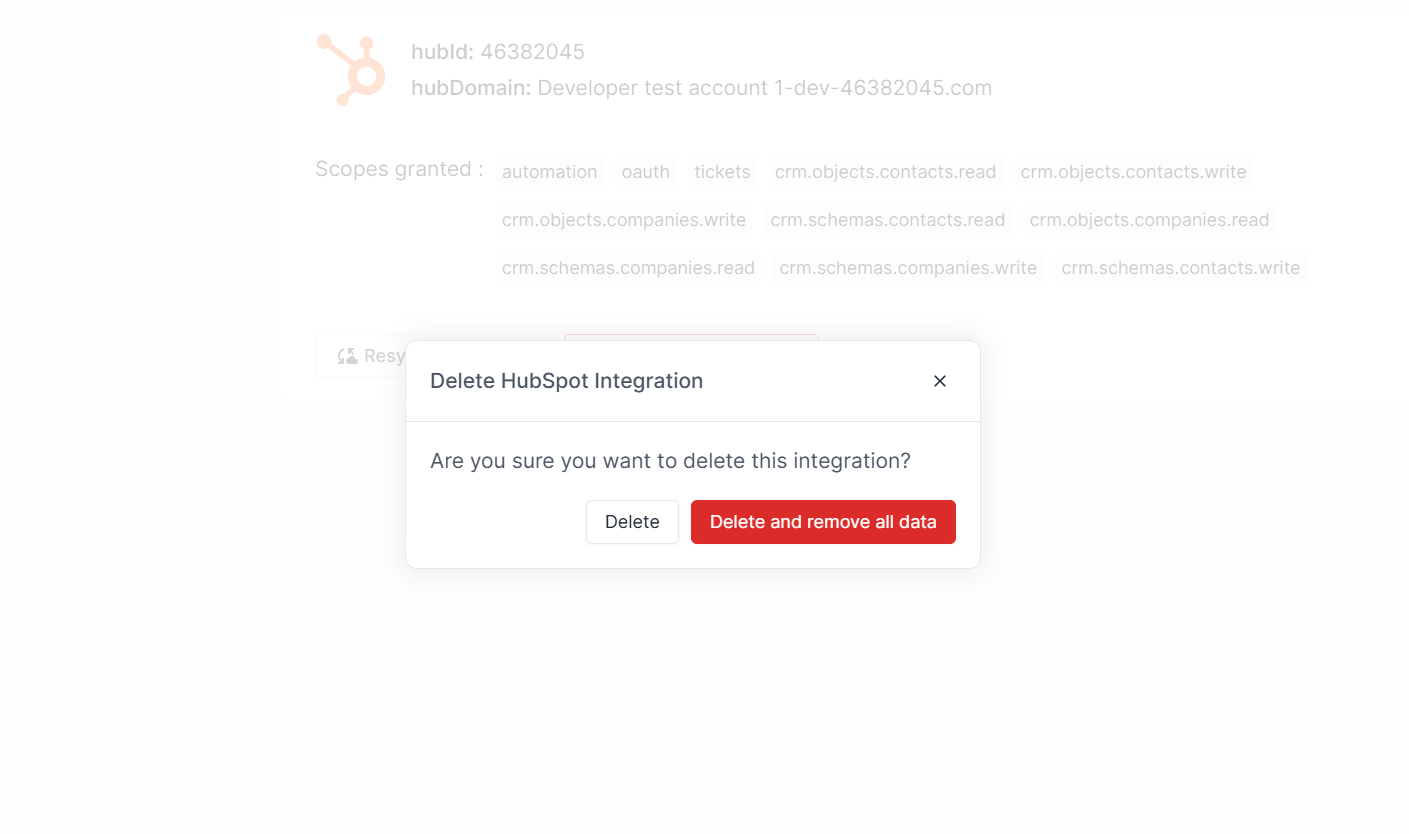
In case you want to add any available scope of the integration after connecting,- You can visit the Periskope settings page and click on Delete.
-
Choose to delete without removing data.
Delete and Reconnect
- Reconnect the integrationg with added scope.
workflows as an additional scope.4. Deleting the integration
To delete the integration, you can visit the Periskope settings page and click on Delete. You can choose to delete with or without data.