Documentation Index
Fetch the complete documentation index at: https://docs.periskope.app/llms.txt
Use this file to discover all available pages before exploring further.
Overview
Custom Properties allow you to add additional data fields to your WhatsApp chats and tickets in Periskope. These properties appear in the Properties tab of the right side panel in any chat or ticket, enabling your team to capture and view important information for each conversation. Properties are organised into sections, and you can create different properties for chats and tickets independently.Setting Up Custom Properties
1. Go to Settings → Custom Properties
Go to Settings from the left sidebar and click Custom Properties under the Organisation section.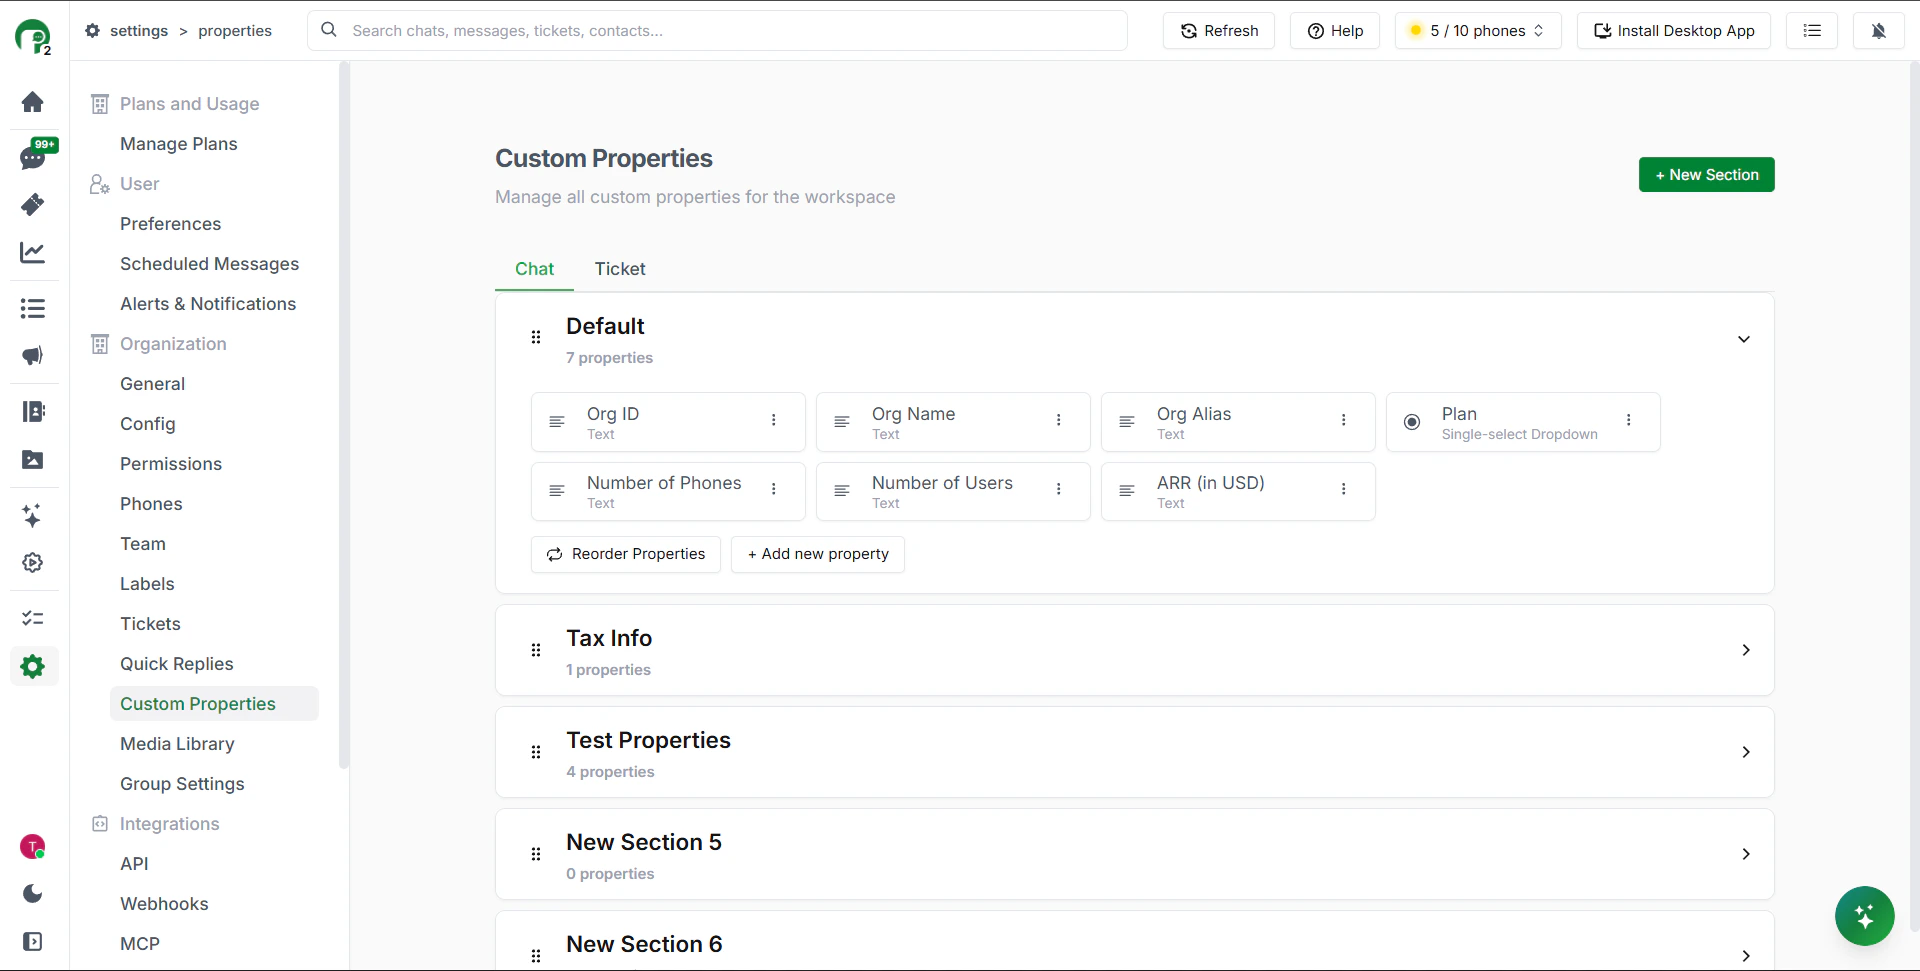
2. Select the Chat or Ticket tab
You’ll see two tabs at the top — Chat and Ticket. Select the tab depending on where you want the property to appear.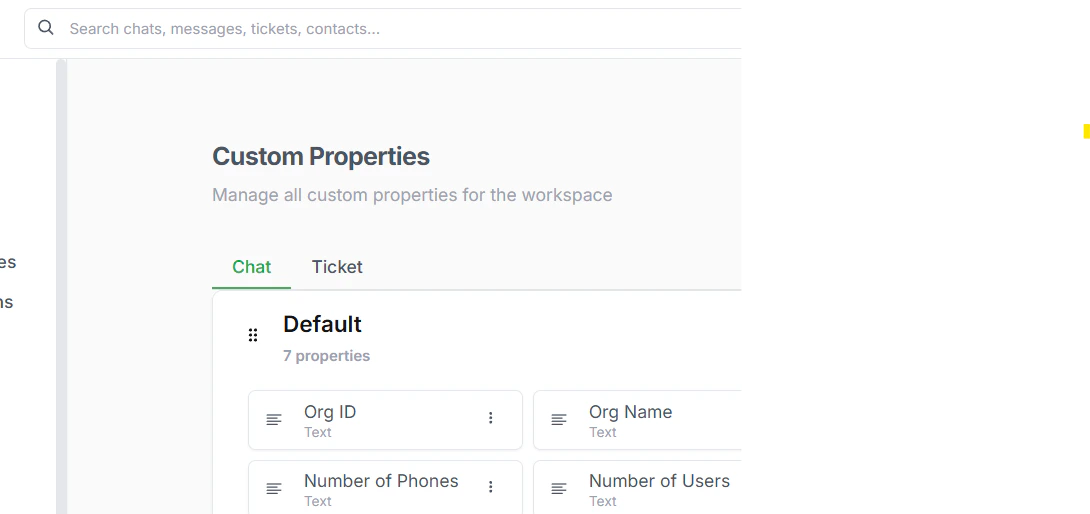
3. Create a new section
Properties are organised into sections. To create one:- Click + New Section in the top right
- Give the section a name — for example, “Tax Info” or “Account Details”

4. Add a property to the section
- Click on the section to open it
- Click + Add New Property
- Enter a property name
- Select a property type
- Configure any additional settings based on the type selected
- Click Create Property

Note: For tickets, you can mark certain properties as mandatory — ensuring your team always captures critical information before closing a ticket.
Types of Custom Properties
Periskope offers six property types to cover different business needs:| Type | What it’s for |
|---|---|
| Text | Free-form information — names, notes, account details |
| Date | Date picker — renewal dates, sign-up dates |
| File Upload | Attach files or documents directly to a chat or ticket |
| Single-Select Dropdown | Pick one option from a predefined list |
| Multi-Select Dropdown | Pick multiple options from a predefined list |
| Dependent Dropdown | Hierarchical selection — up to three levels deep |
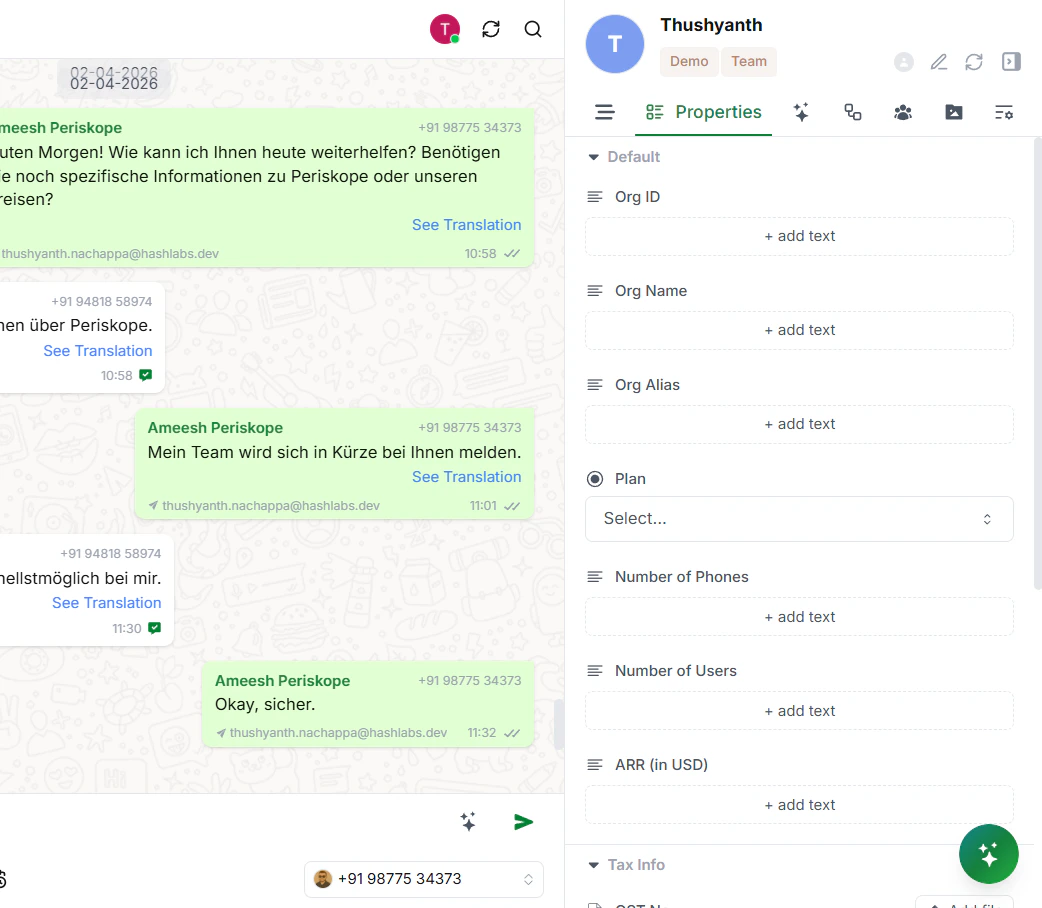
Viewing and Filling in Custom Properties in a Chat
Once properties are created, your team can view and fill them in from any chat or ticket.- Open any chat
- In the right-side panel, click the Properties tab
- You’ll see all your sections listed — like Tax Info, ARR, or any custom ones you’ve created
- Click any field to fill it in or update it
Tip: Custom properties filled in here — like org_id — can also be used by the Org Assistant to look up customer details and run Custom Tool actions without you needing to open the chat.
Managing Custom Properties
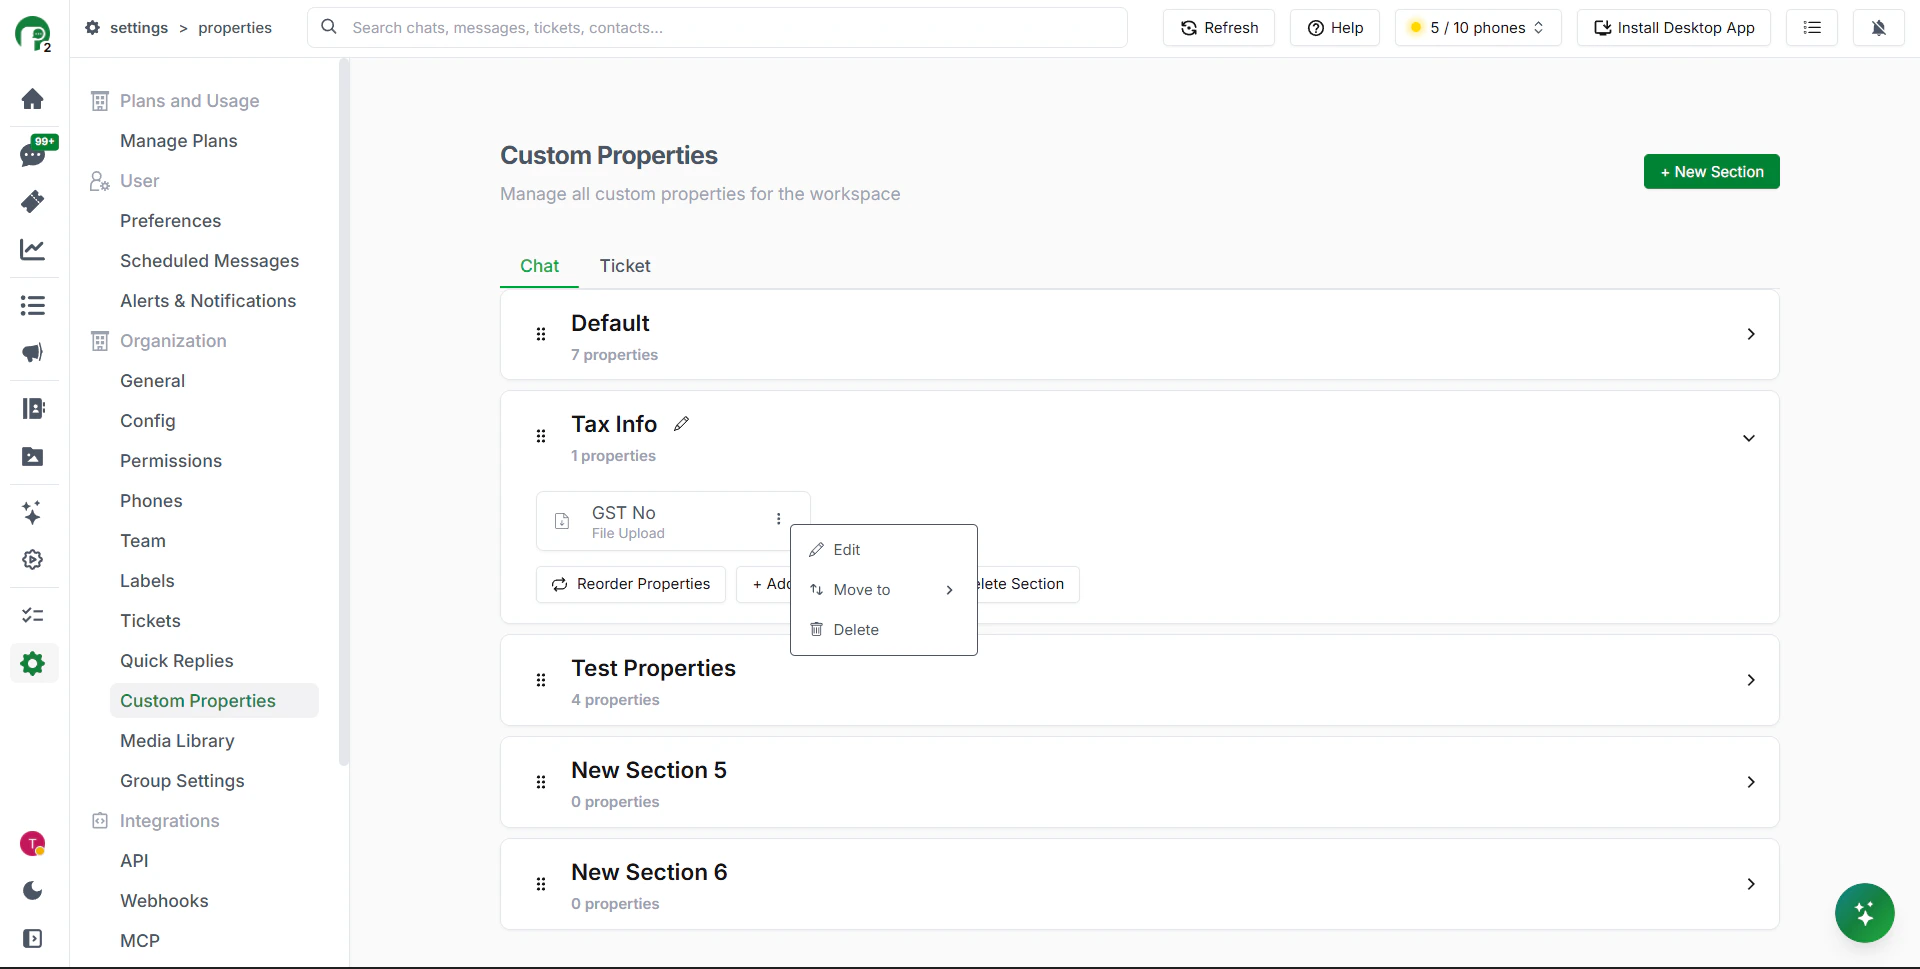
Moving properties between sections
You can move a property from one section to another at any time to reorganise your structure.