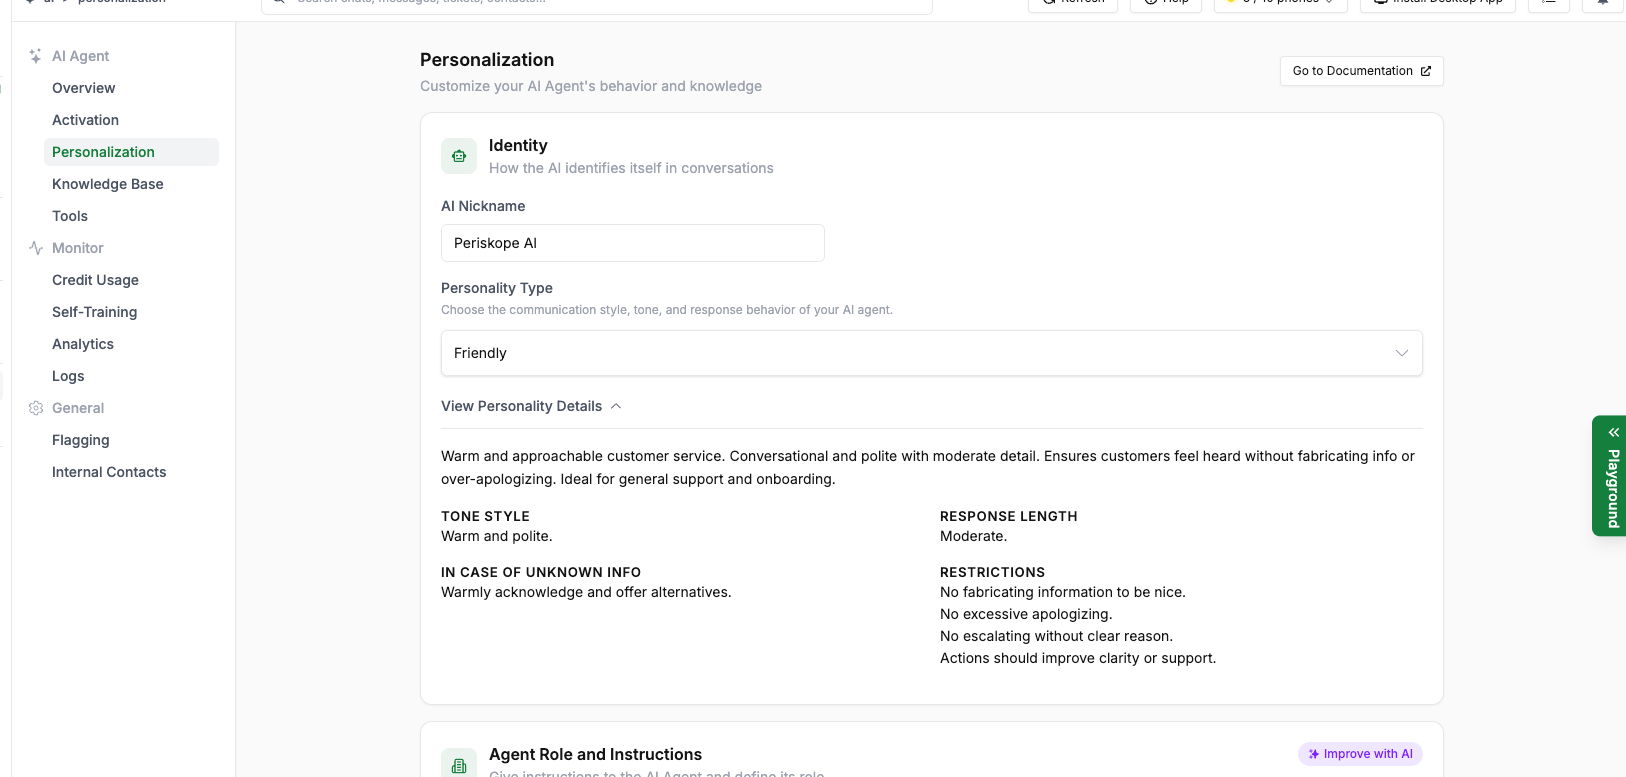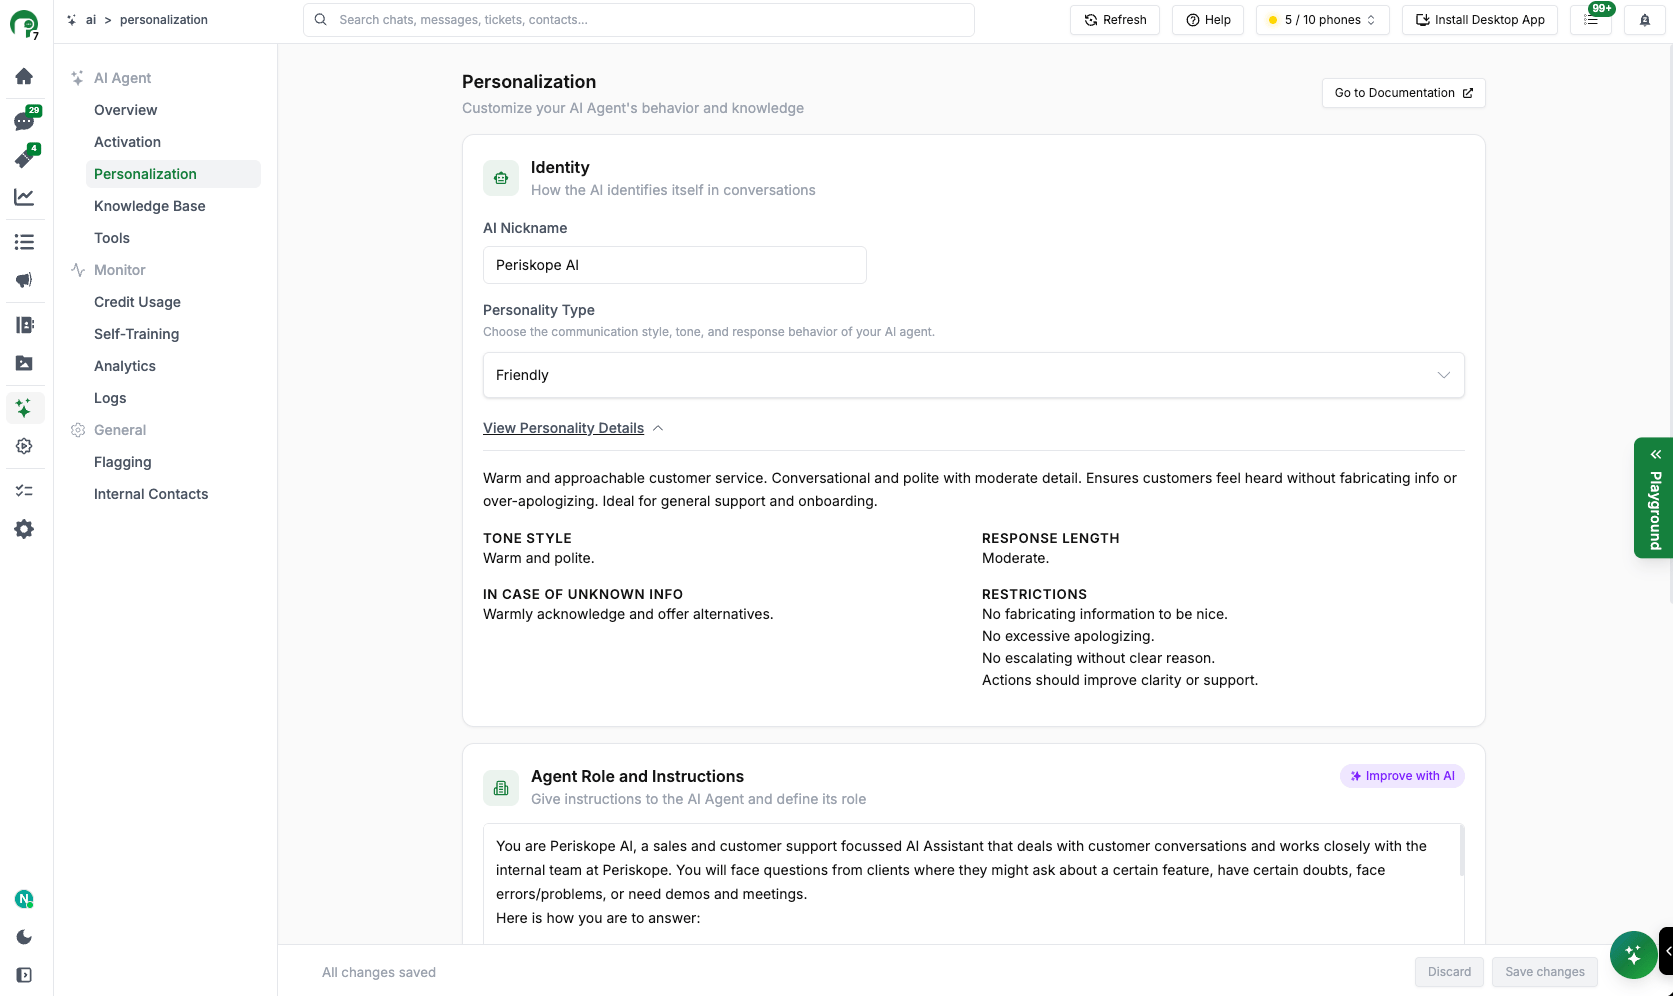
Personalization

The Personalization page is where you shape how your AI Agent thinks, communicates, and behaves. Access it through AI > Personalization.
Personalization

Personalization Settings

This page has four key sections:
  1. Agent Role and Instructions — Tell the AI who it is and how it should operate
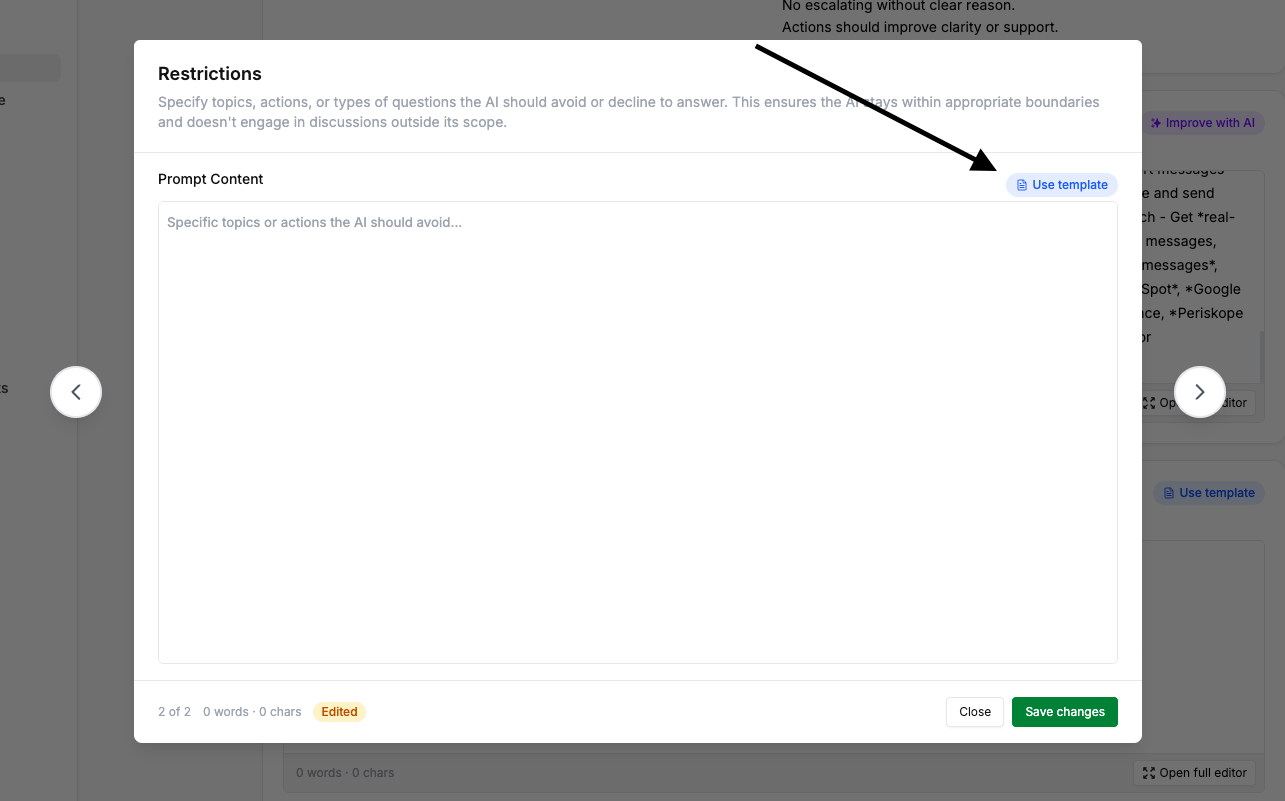
  2. Restrictions — Set hard limits on what the AI cannot do
  3. Personality Type — Choose the AI’s communication style and tone
  4. Activation Prompt — Control which messages trigger the AI

Agent Role and Instructions

This is the most important field for configuring your AI Agent. Use it to give the AI a clear understanding of your company, its role, and how to respond to customers.
Agent Role and Instructions Editor

Agent Role and Instructions - Full Editor

Think of this as the AI’s system prompt. The more context you provide, the better the AI will perform. Cover:
  • Who the AI is: its name, role, and relationship to your team
  • What your company does: a clear description of your product or service
  • How it should communicate: tone, style, escalation behavior
  • Team structure: who handles what, so the AI can delegate correctly

Example Configuration

The Agent Role and Instructions field is a system prompt — treat it like prompt engineering. Be specific and structured. Vague instructions produce vague results. Read the Prompt Engineering Guide for best practices.

Restrictions

Use this field to set hard limits — things the AI should never do, regardless of what a customer asks. Common examples:
Keep restrictions focused and specific. Overly broad restrictions can prevent the AI from being helpful.

Personality Type

Personality Type

Personality Type

Choose a pre-configured personality that sets the AI’s communication style, tone, and response behavior: Each personality defines:
  • Tone Style: The communication register (e.g., warm and polite, authoritative)
  • Response Length: How detailed responses should be (concise, moderate, detailed)
  • Unknown Info Handling: What to do when information isn’t available
  • Restrictions: Built-in behavioral guardrails (e.g., no fabricating info, no excessive apologizing)

Activation Prompt

The Activation Prompt defines which messages the AI should not respond to. This prevents the AI from wasting responses on simple acknowledgments and greetings. The default activation prompt excludes:
  • Simple greetings without a question (e.g., “Hi”, “Hello”)
  • Simple acknowledgments (e.g., “Ok”, “Thanks”, “Got it”)
  • Casual small talk without any question or request
You can customize this prompt from Agent Settings > Customize Activation Rules, or click Change activation prompt directly from the Personalization page.
The Activation Prompt controls what the AI ignores, while the Agent Role and Instructions controls how the AI responds. Both work together to produce the right behavior.

Tips for Effective Prompting

Be explicit about escalation paths. Don’t assume the AI knows when to escalate — tell it exactly when to create a ticket vs. a private note vs. a direct response. Define your team structure clearly. List team members by name and the issue types they own. The AI will use this to route conversations correctly. Use conditional logic for complex scenarios. Instructions like “If the customer mentions error code X, ask for a screenshot before troubleshooting” give the AI clear behavioral rules. Iterate based on real conversations. Review AI responses in Logs regularly and refine your instructions based on what the AI is getting wrong or right. Separate concerns cleanly. Use Agent Role for “who the AI is and how it works”, use Restrictions for “what the AI cannot do”, and use Knowledge Base FAQs for specific Q&A handling.

Next Steps