Documentation Index
Fetch the complete documentation index at: https://docs.periskope.app/llms.txt
Use this file to discover all available pages before exploring further.
Overview
Bulk Actions are available directly from the Chat List. Once you select one or more chats, a toolbar appears at the bottom of the screen with everything you need — from updating labels to exporting your chat list. Whether you’re doing a routine cleanup, onboarding a new team member, or responding to a sudden influx of conversations, Bulk Actions let you manage your entire workspace without touching each chat individually.Selecting Chats
1. Go to the Chat List
Head over to Chat List from the left sidebar.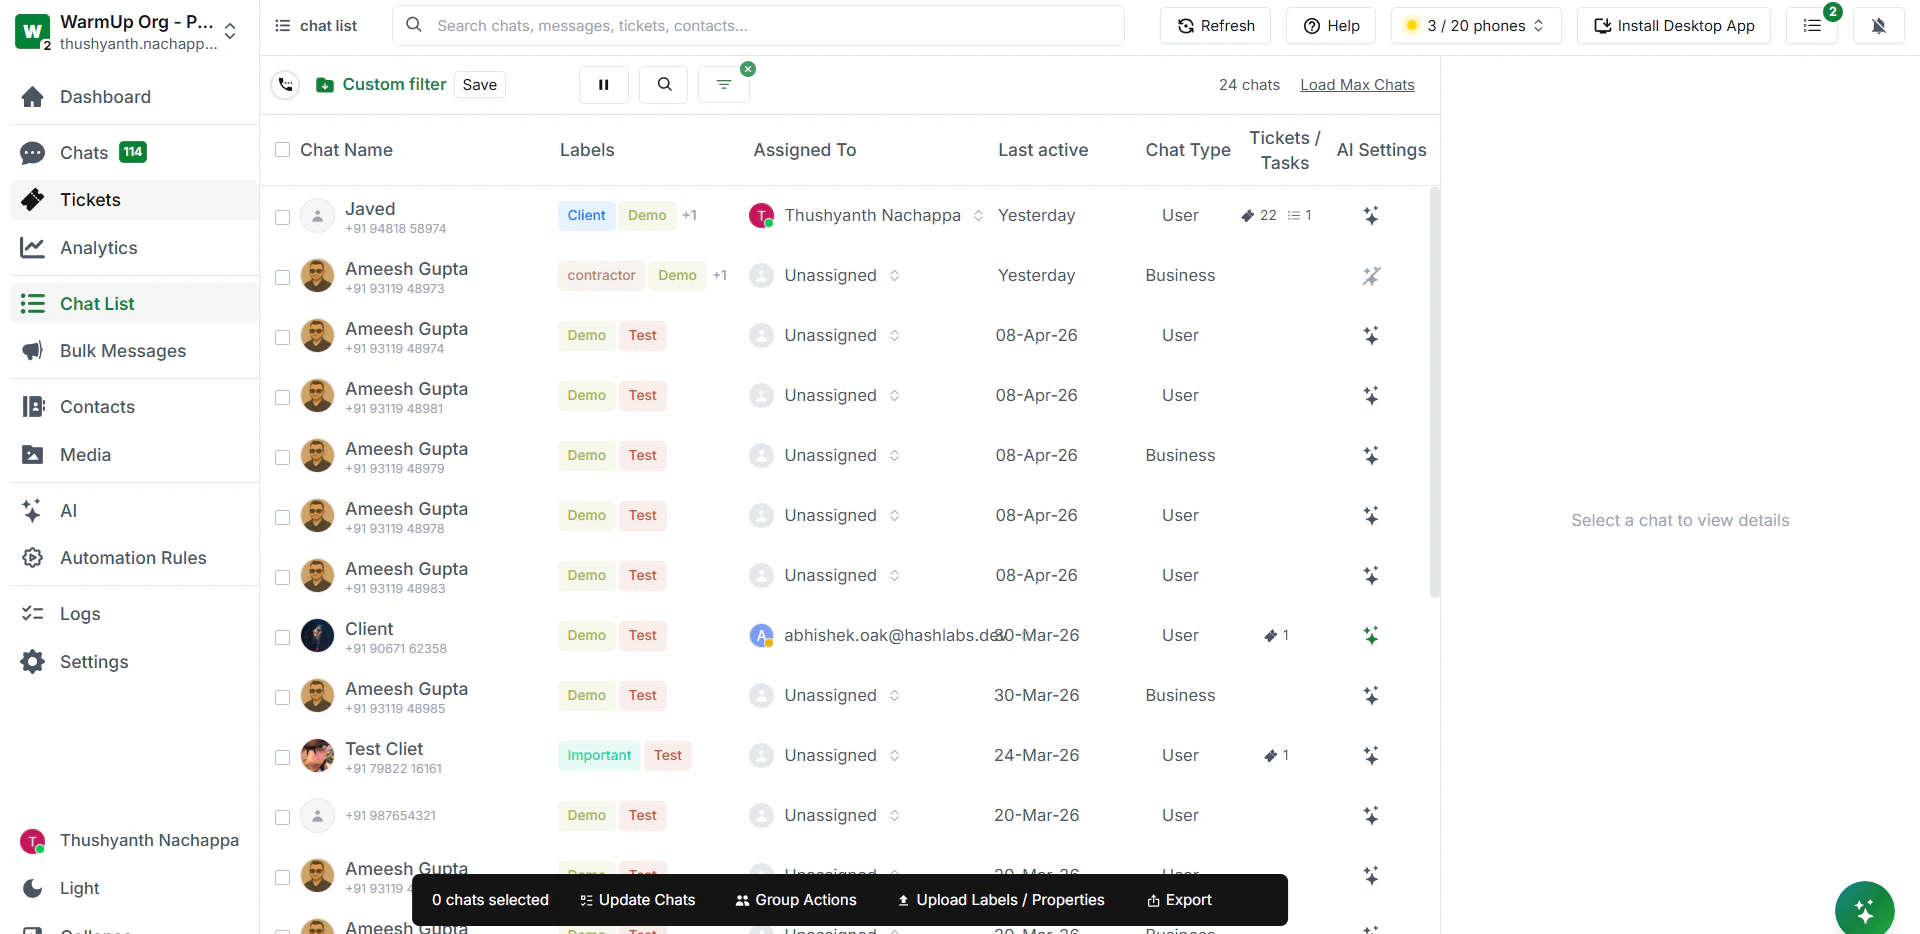
2. Select chats
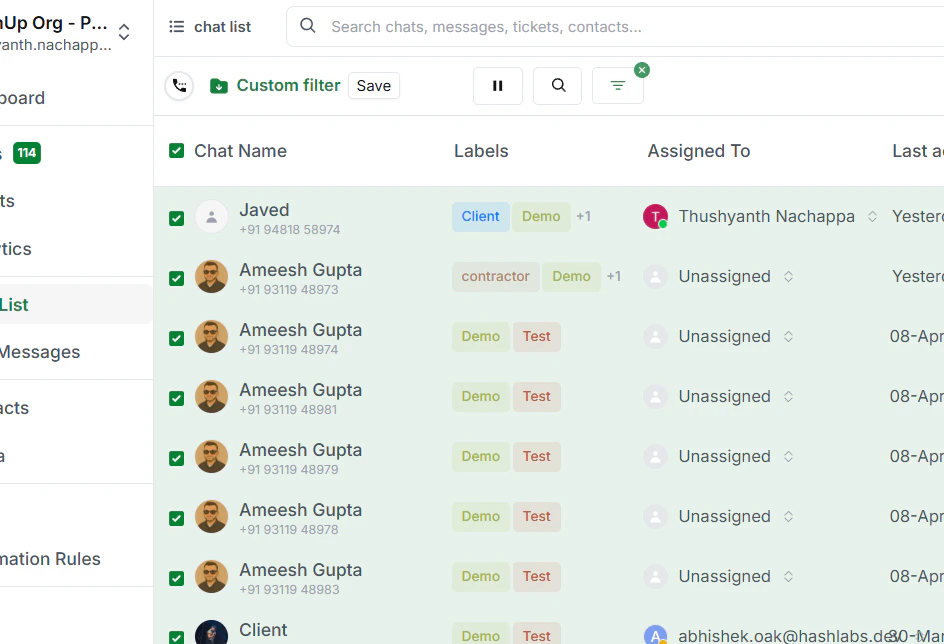
You have two ways to select chats:- Click the checkbox at the top to select all chats at once
- Or tick individual chats one by one to select only the ones you need
Bulk Action Toolbar
The toolbar is always visible at the bottom of the screen whenever chats are selected. It gives you access to four main actions — Update Chats, Group Actions, Upload Labels / Properties, and Export.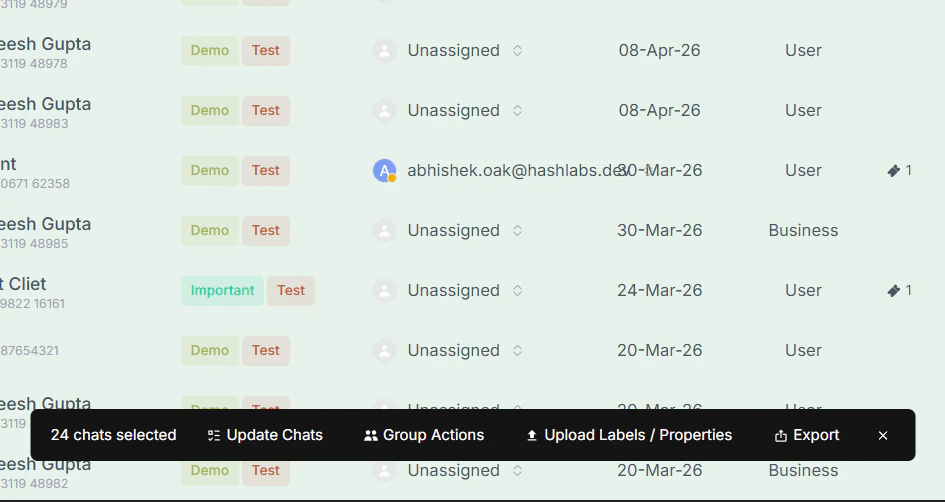
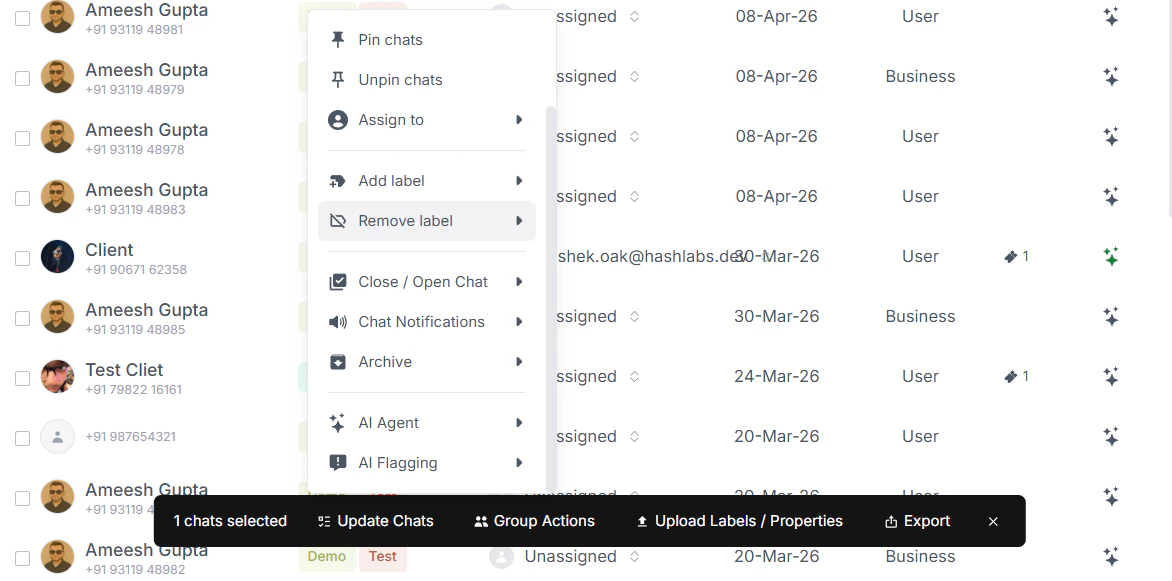
Update Chats
Click Update Chats to apply changes across all selected chats at once. You’ll get a range of options:| Action | What it does |
|---|---|
| Add labels | Apply one or more labels to all selected chats |
| Remove labels | Strip labels off all selected chats |
| Mark as read | Mark all selected chats as read |
| Mark as unread | Mark all selected chats as unread |
| Pin chats | Pin selected chats to the top of your list |
| Archive chats | Archive selected chats to keep your inbox clean |
| Activate AI Agent | Turn on the AI Agent across all selected chats |
| Activate AI Flagging | Enable AI flagging across all selected chats |
Tip: Use Activate AI Agent in bulk when you want to hand off a large set of conversations to the AI — for example, after a busy period when your team needs to catch up.
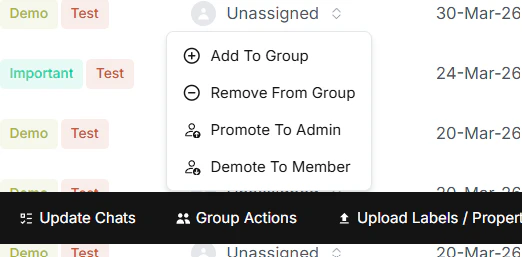
Group Actions
If you’ve selected group chats, click Group Actions to add contacts to those groups in bulk.- Click Group Actions in the toolbar
- Search for a contact by name or phone number
- Click Add
Upload Labels and Properties
Click Upload Labels / Properties to upload labels and custom properties across your selected chats in one go. This is useful when you have a prepared list of data — for example, after importing a batch of new contacts — and want to apply labels or fill in custom property values across multiple chats at once without doing it manually.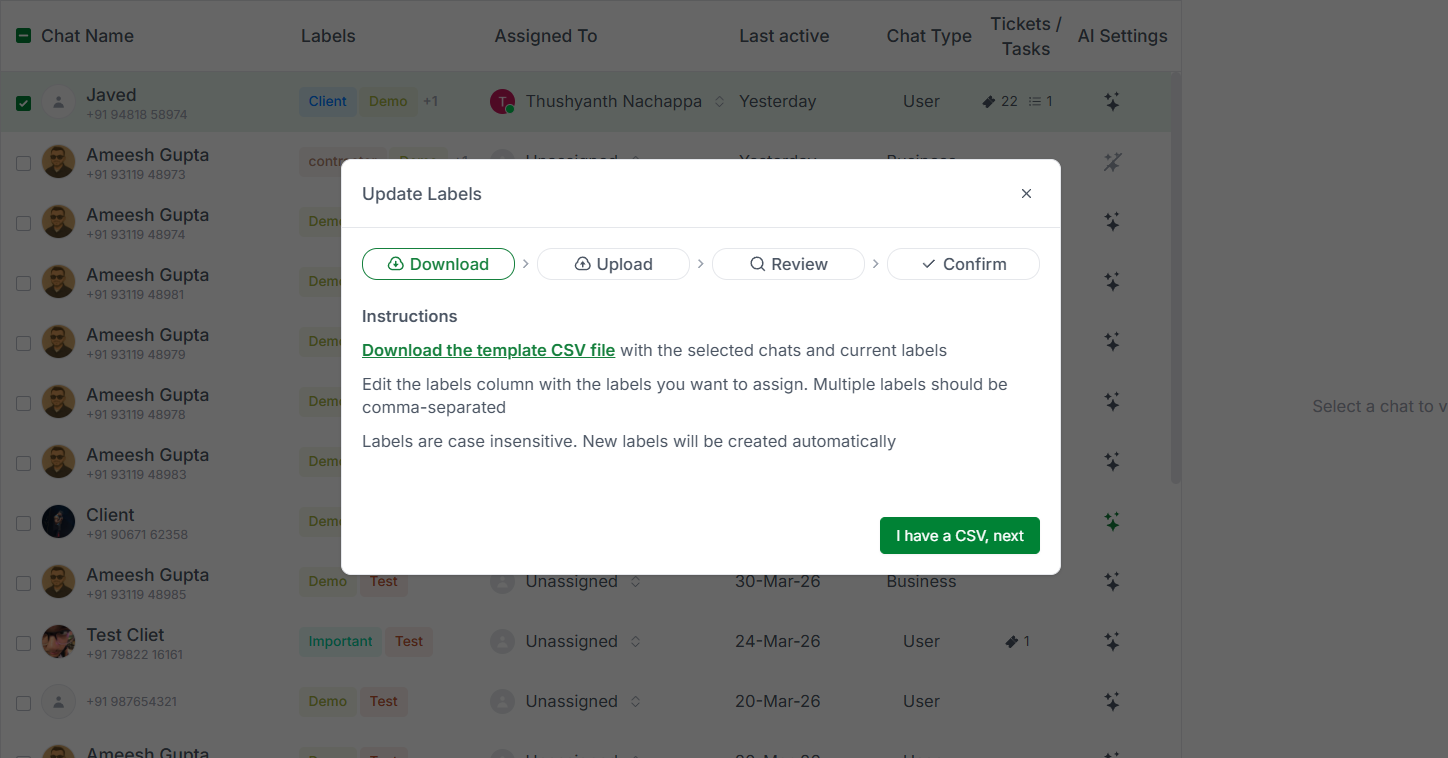
Export
Need a copy of your chat list? Click Export and choose how you’d like to receive it:- Download immediately — the file downloads straight to your device
- Send to email — the export is sent to your registered email address
