> ## Documentation Index
> Fetch the complete documentation index at: https://docs.periskope.app/llms.txt
> Use this file to discover all available pages before exploring further.
# Zohodesk
> Guide to setup Zohodesk Integration on Periskope
> Periskope integration for ZohoDesk is currently under review. In order to use Periskope integration with Zoho Desk, you can connect with Zohodesk from [Periskope Zohodesk settings](https://console.periskope.app/settings/integrations/zohodesk)
***
## Prerequisites 📜
* A [Zohodesk](https://www.zoho.com/desk) account
* A [Periskope account](https://console.periskope.app)
## Steps to connect Periskope with Zohodesk 🔧
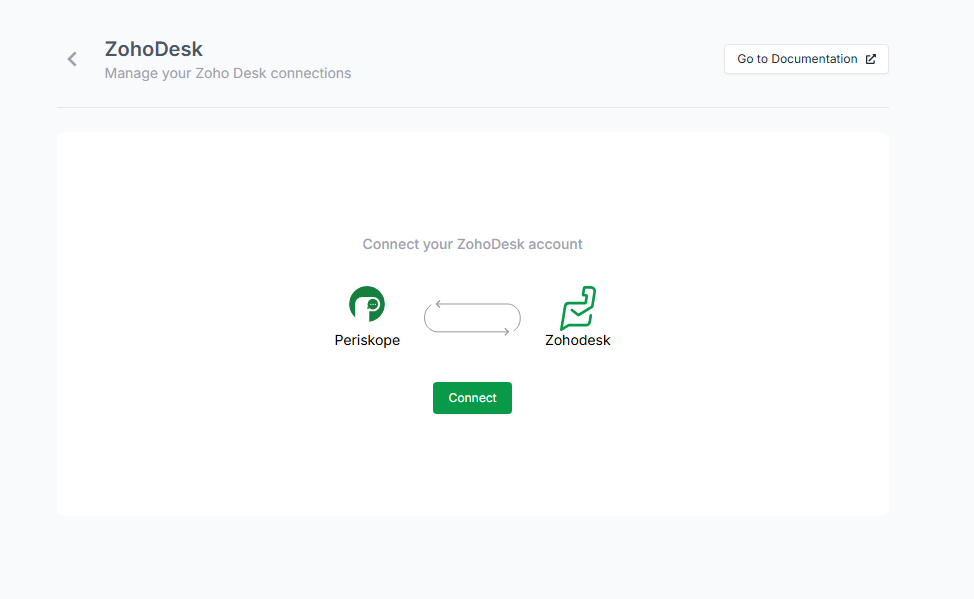
1. To connect your Zohodesk, you must have a Periskope account. Once logged into the account, visit [here](https://console.periskope.app/settings/integrations/zohodesk) to connect Zohodesk.
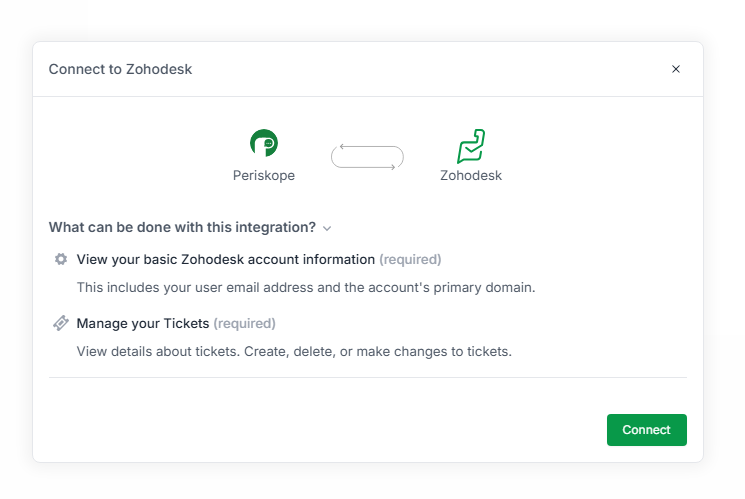
2. Click on **connect**
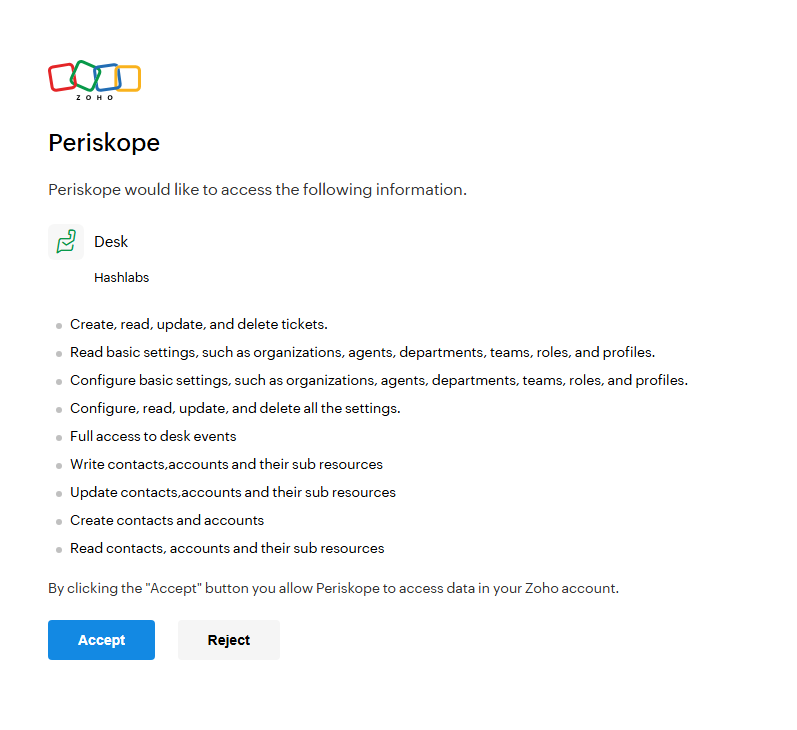
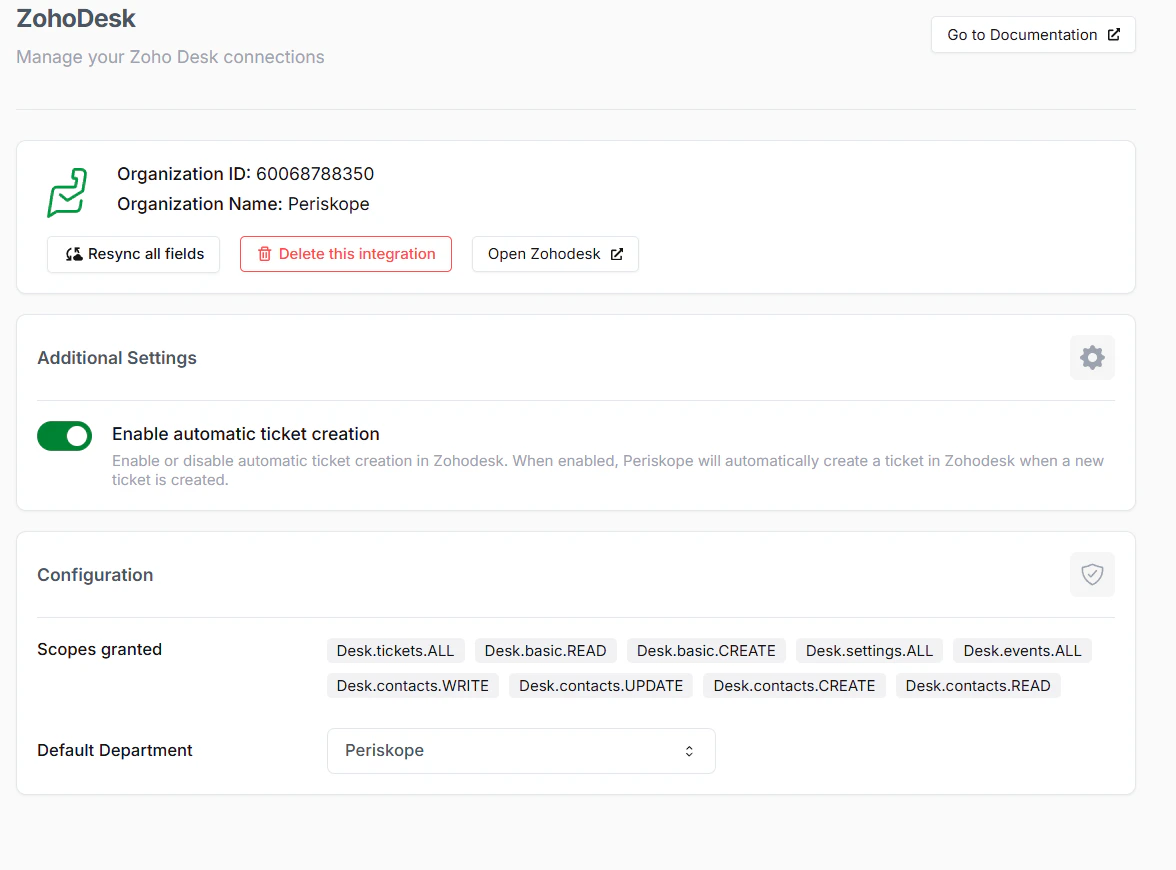
Once you click on connect, you will be redirected to Zohodesk connect page. Click on **Connect App** to connect your Zohodesk account with Periskope.
Now you have successfully connected your Zohodesk account with Periskope. You can now use the integration to sync tickets on Periskope to Zohodesk.
## Done 🎉
You've now successfully integrated Zohodesk with Periskope.
For any queries, reach out to us [here](https://what.sapp.link/periskope)
## FAQs ❓
### 1. How to view Periskope properties on Zohodesk?
Initially, you won't be able to view Periskope properties on Zohodesk.
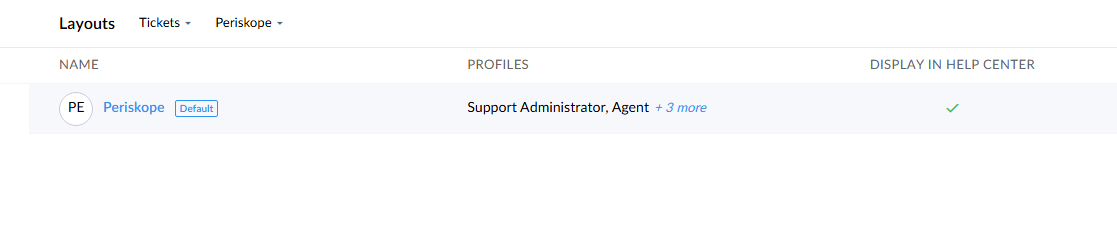
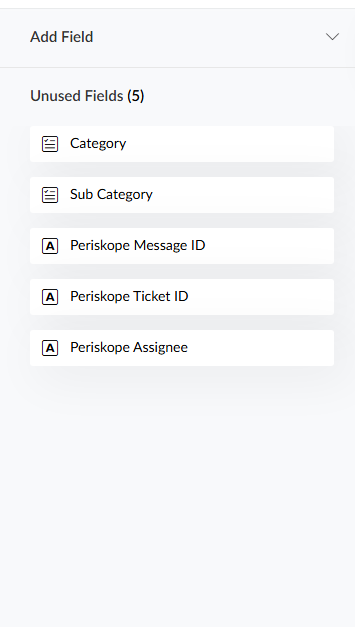
To view properties on Zohodesk, you can customize properties on the Layouts page to change the visibility.
You can choose the properties you want to view on the tickets page.
### 2. Deleting the integration
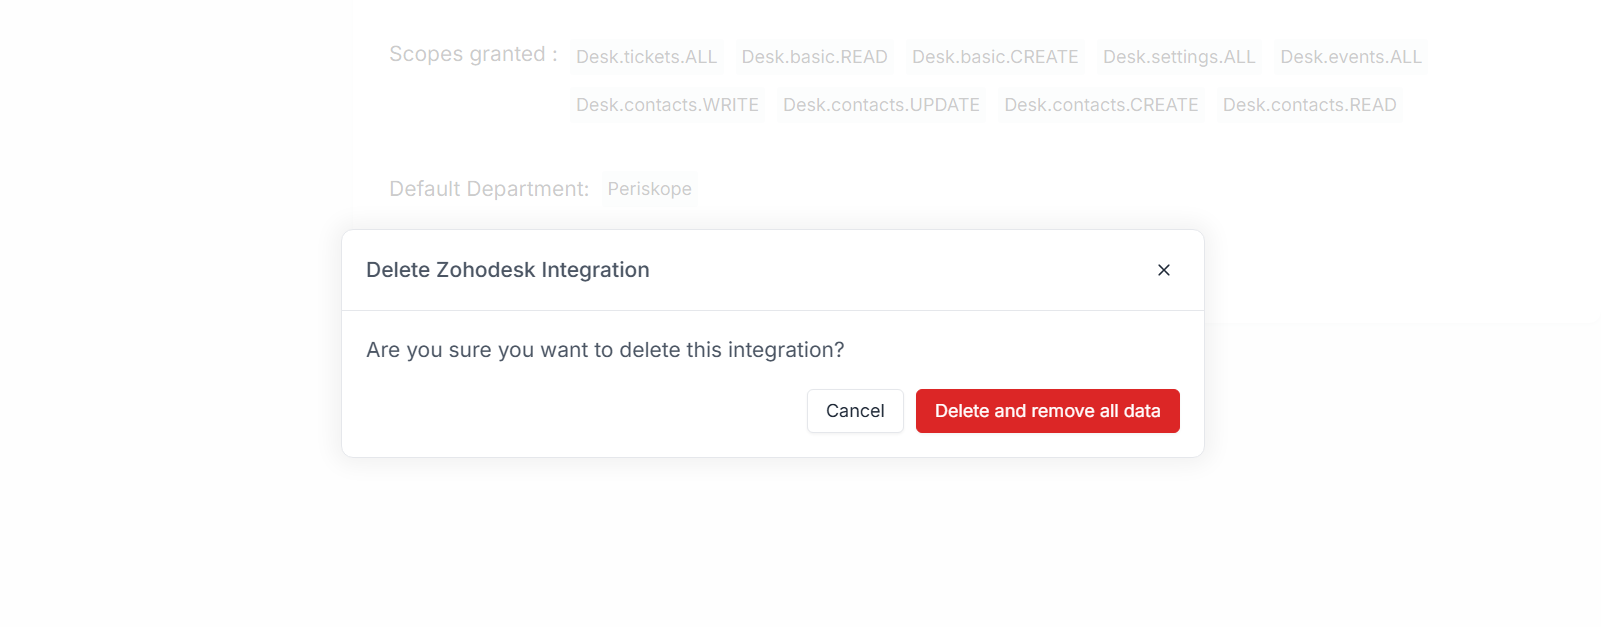
To delete the integration, you can visit the [Periskope settings page](https://console.periskope.app/settings/integrations/zohodesk) and click on **Delete**. You can choose to delete with or without data.
 2. Click on **connect**
 ## Prerequisites 📜
* A [Zohodesk](https://www.zoho.com/desk) account
* A [Periskope account](https://console.periskope.app)
## Steps to connect Periskope with Zohodesk 🔧
## Prerequisites 📜
* A [Zohodesk](https://www.zoho.com/desk) account
* A [Periskope account](https://console.periskope.app)
## Steps to connect Periskope with Zohodesk 🔧
 ## Done 🎉
You've now successfully integrated Zohodesk with Periskope.
For any queries, reach out to us [here](https://what.sapp.link/periskope)
## FAQs ❓
### 1. How to view Periskope properties on Zohodesk?
Initially, you won't be able to view Periskope properties on Zohodesk.
To view properties on Zohodesk, you can customize properties on the Layouts page to change the visibility.
## Done 🎉
You've now successfully integrated Zohodesk with Periskope.
For any queries, reach out to us [here](https://what.sapp.link/periskope)
## FAQs ❓
### 1. How to view Periskope properties on Zohodesk?
Initially, you won't be able to view Periskope properties on Zohodesk.
To view properties on Zohodesk, you can customize properties on the Layouts page to change the visibility.
 You can choose the properties you want to view on the tickets page.
 ### 2. Deleting the integration
To delete the integration, you can visit the [Periskope settings page](https://console.periskope.app/settings/integrations/zohodesk) and click on **Delete**. You can choose to delete with or without data.
### 2. Deleting the integration
To delete the integration, you can visit the [Periskope settings page](https://console.periskope.app/settings/integrations/zohodesk) and click on **Delete**. You can choose to delete with or without data.