> ## Documentation Index
> Fetch the complete documentation index at: https://docs.periskope.app/llms.txt
> Use this file to discover all available pages before exploring further.
# Setting up Automation Rules
> Guide to set up automation rules in Periskope
## Components
Automation rules consist of three main components that need to be set up:
1. Triggers
2. Conditions
3. Actions
## Setting up Automation Rules
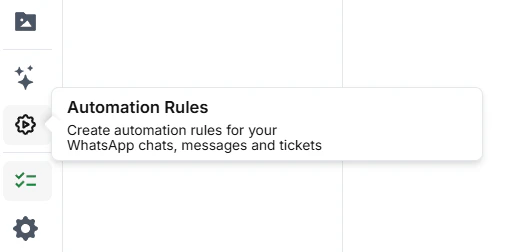
1. Go to the Automation Rules page in Periskope.
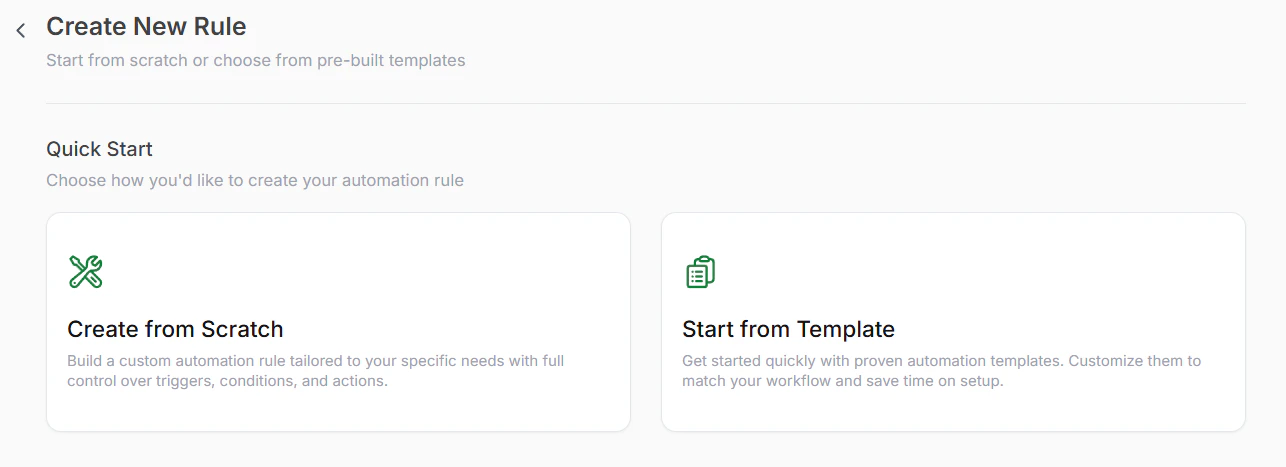
 2. Click on the "+ New Rule" button. You can also add a rule by pre-filled templates available on the screen.
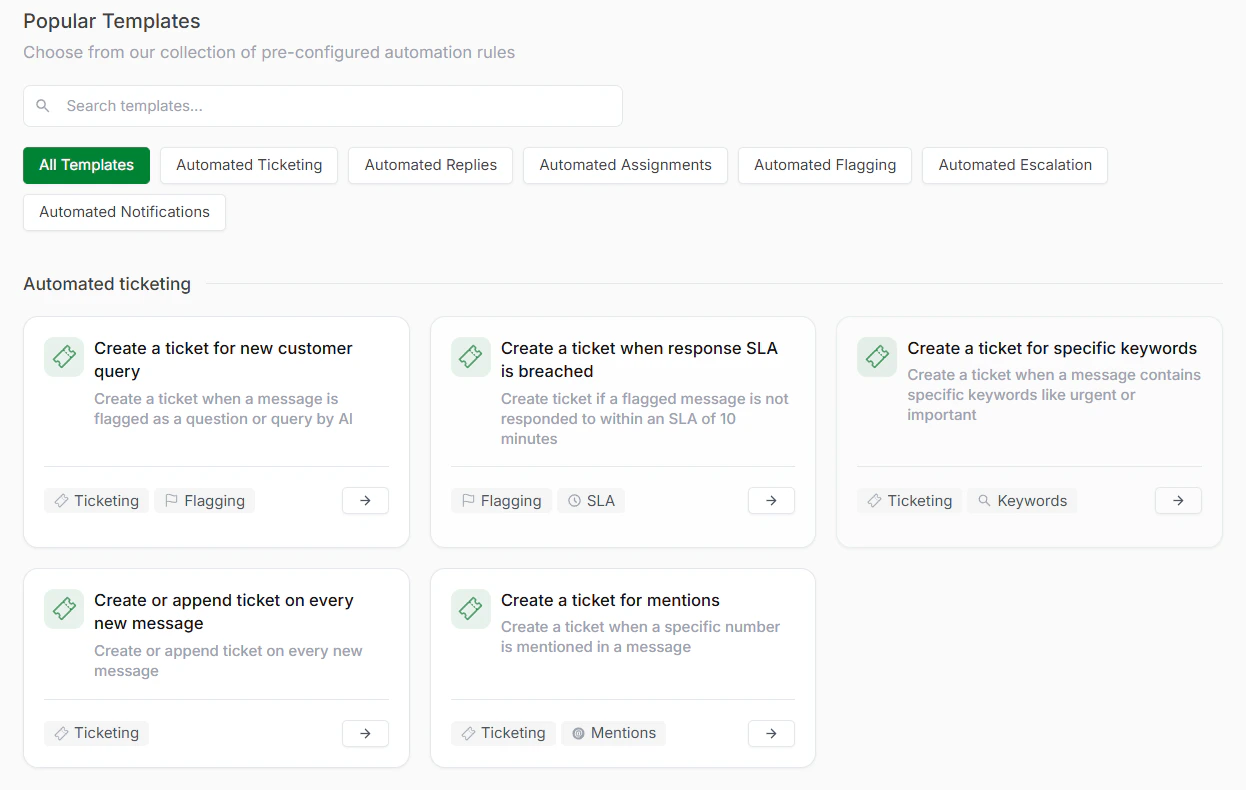
 A total of 18 different preset templates that can be set up in just a few minutes, divided into 6 buckets:
1. Automated Ticketing
2. Automated Replies
3. Automated Assignments
4. Automated Flagging
5. Automated Escalation
6. Automated Notifications
A total of 18 different preset templates that can be set up in just a few minutes, divided into 6 buckets:
1. Automated Ticketing
2. Automated Replies
3. Automated Assignments
4. Automated Flagging
5. Automated Escalation
6. Automated Notifications
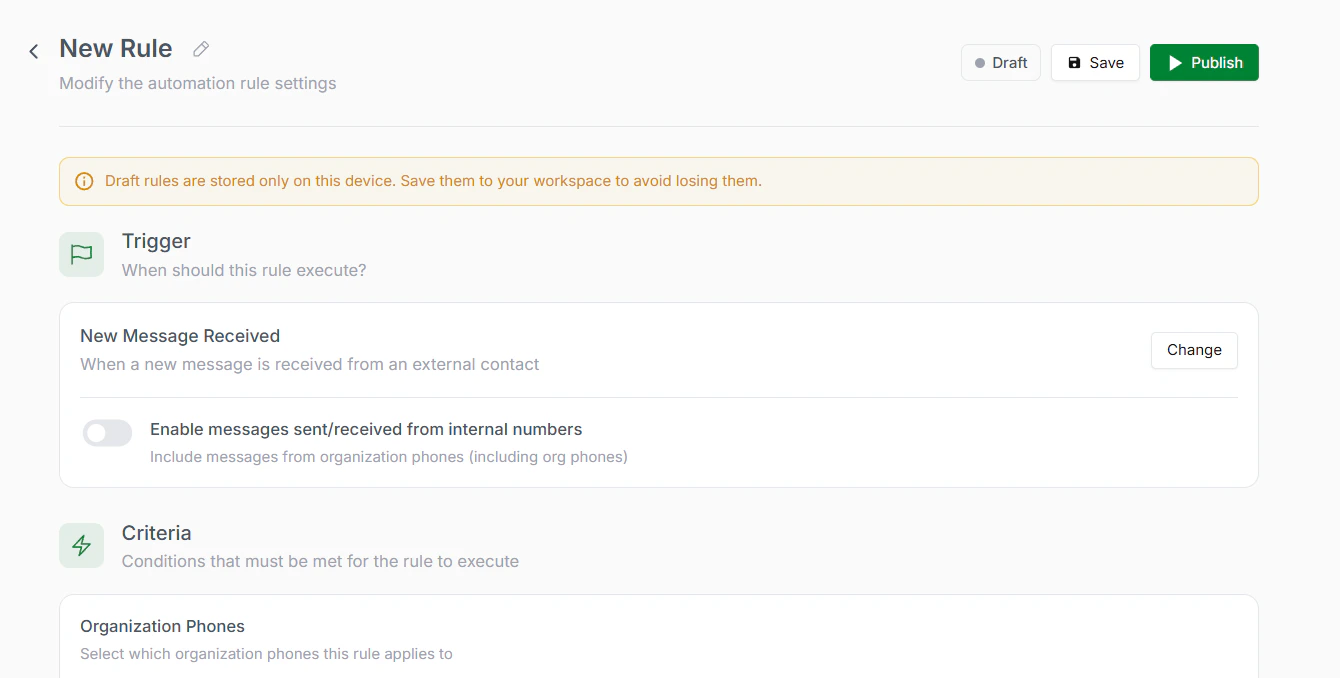
 On the top of the rule setup page, add a name for the rule.
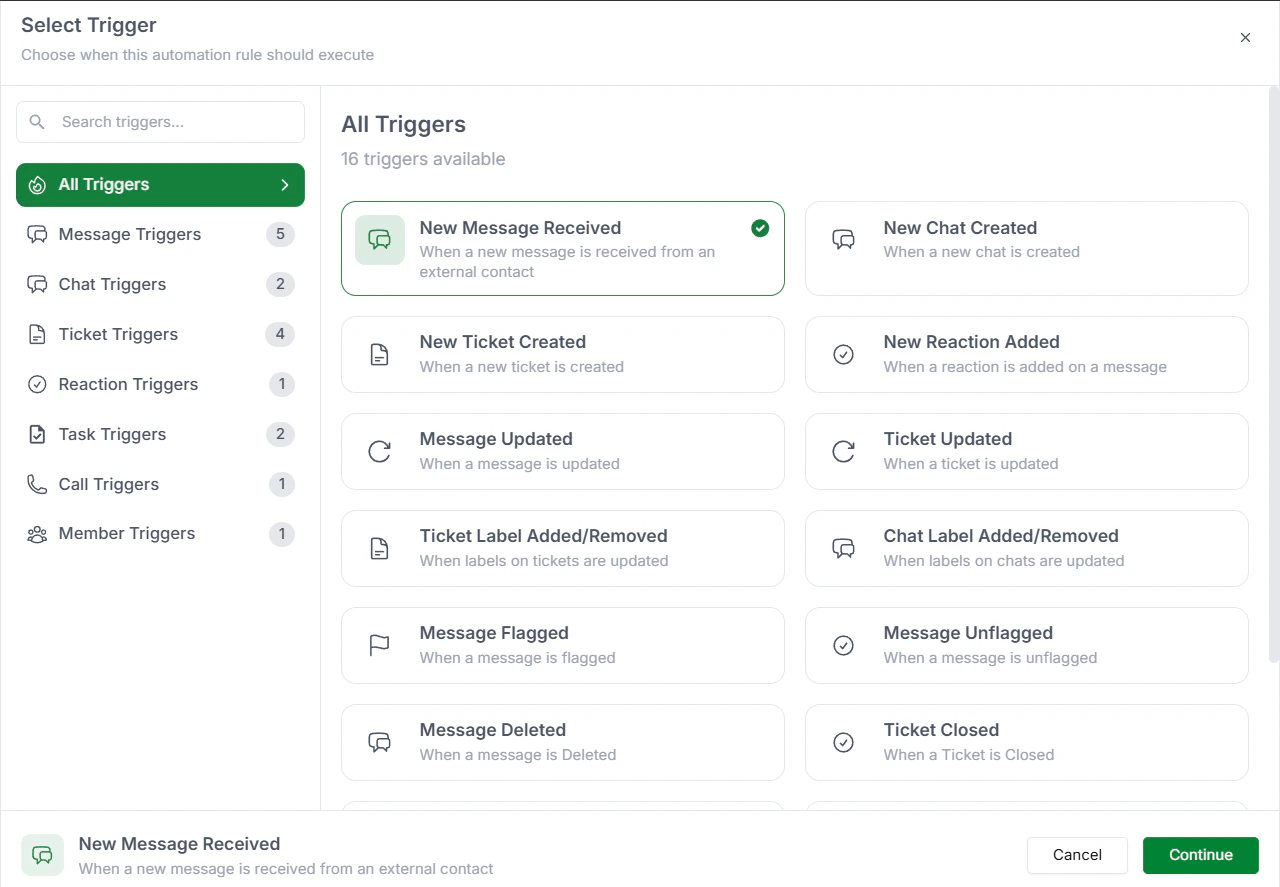
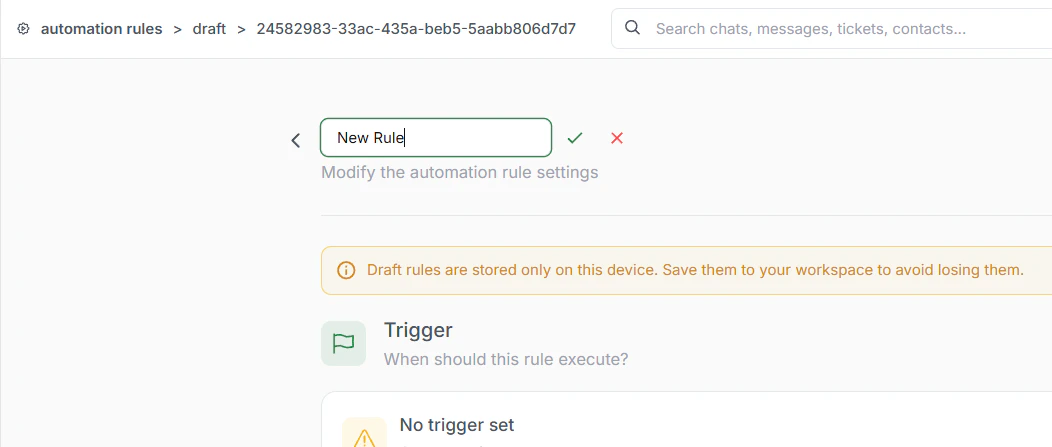 In the "Trigger" section, select the event from the window that will initiate the rule. For example, "New Message Received."
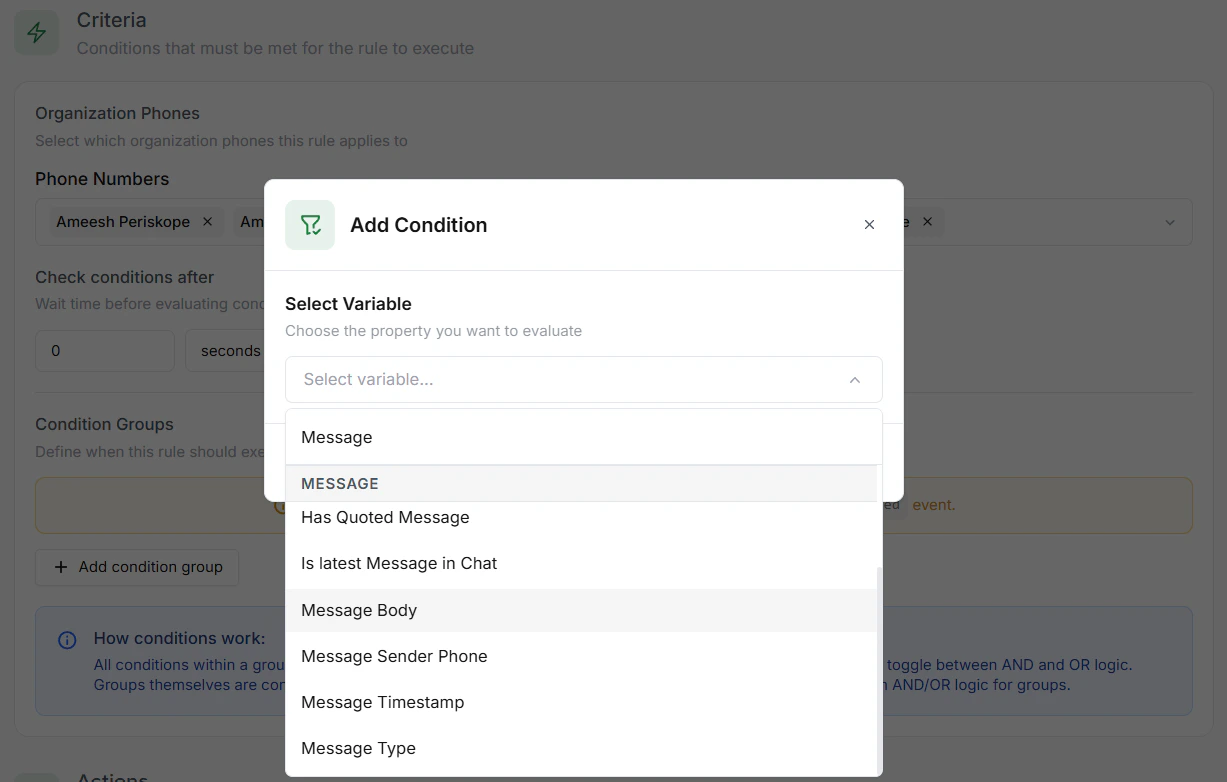
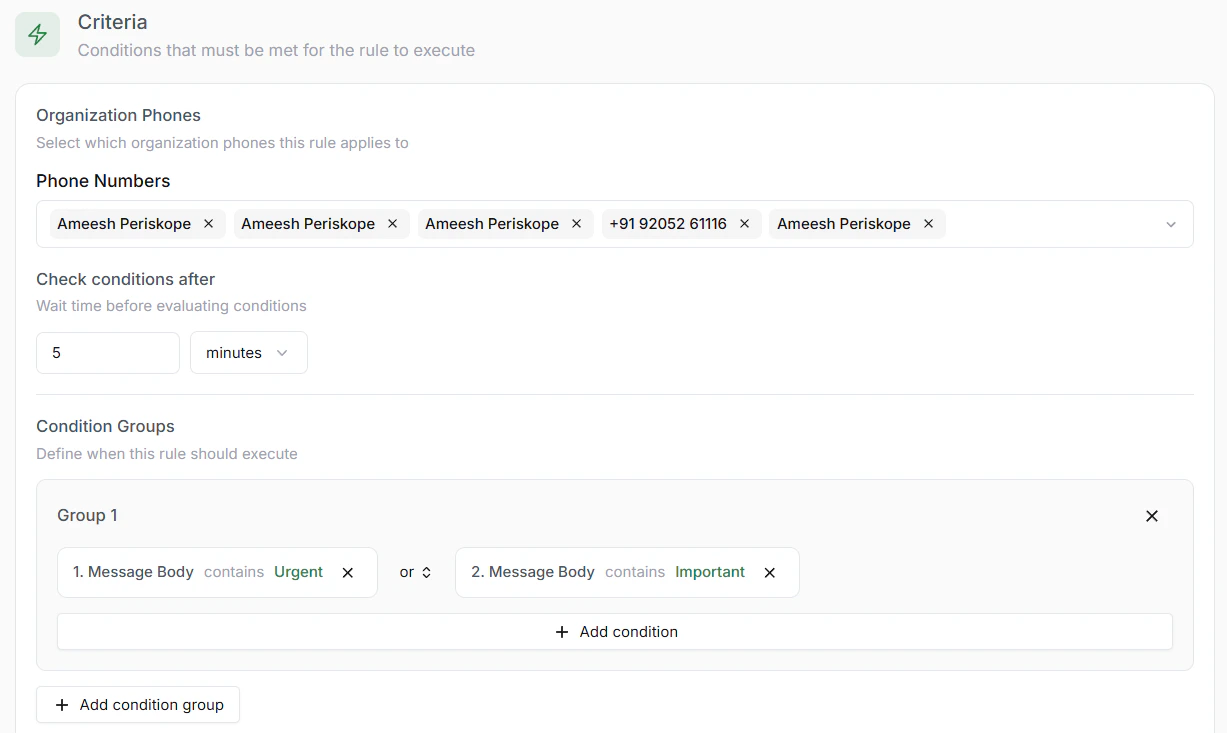
 Define the conditions that must be met for the rule to execute. You can add multiple conditions using logical operators like AND, OR, and nested conditions.
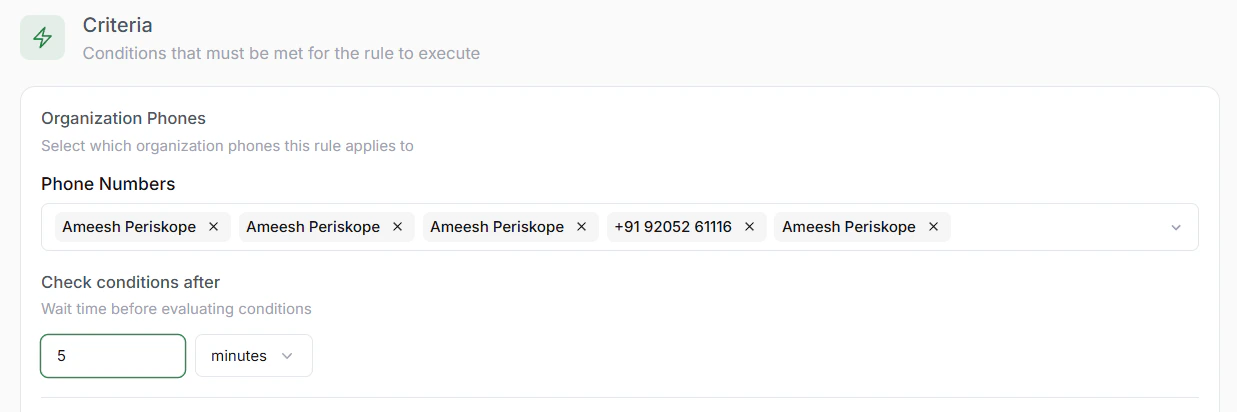
 You can also add `delays` before evaluating the conditions to allow for time-based criteria.
 For example, you can create a condition that checks if the message contains specific keywords and is received from a specific user.
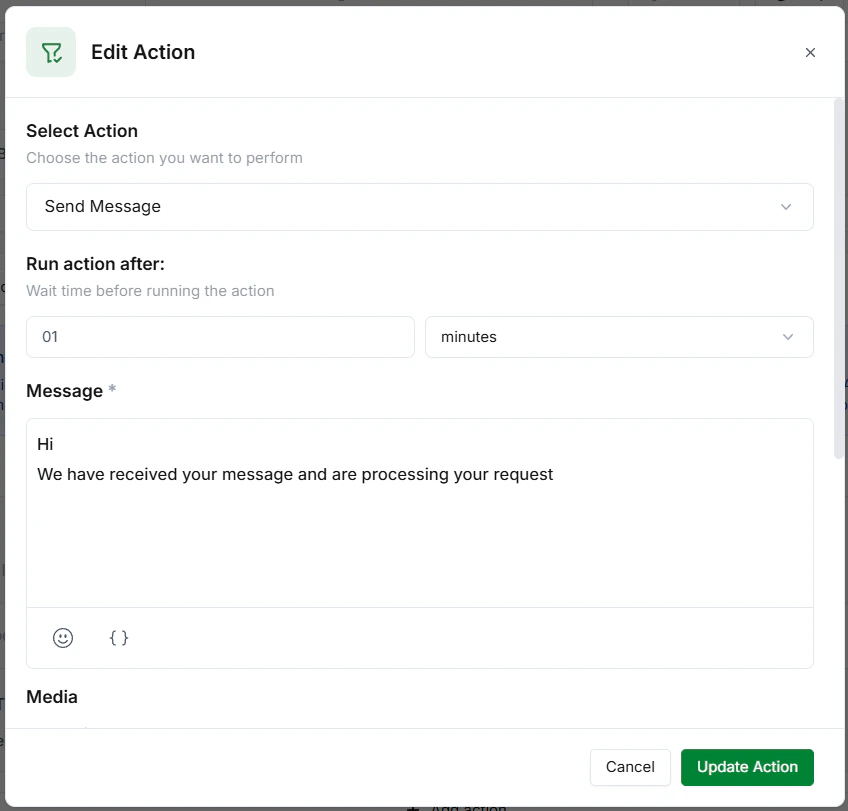
Specify the actions that will be executed when the conditions are met. You can add multiple actions and set delays for each action.
For example, you can create a condition that checks if the message contains specific keywords and is received from a specific user.
Specify the actions that will be executed when the conditions are met. You can add multiple actions and set delays for each action.
 Save the rule and publish it to start automating the workflow.
 ## Example: Automated replies on message with keywords (urgent, important) 📃
Let's consider an example of setting up an automation rule:
**Scenario**: Automatically send a message if a new message is received and contains certain keywords.
1. Select "New Message Received" as the trigger.
Define a condition: Check if the message contains specific keywords, e.g., urgent, help.
Use logical operators if needed: For example, message contains 'urgent' OR 'important'.
Optionally, set a delay before checking the condition (e.g., 5 minutes).
## Example: Automated replies on message with keywords (urgent, important) 📃
Let's consider an example of setting up an automation rule:
**Scenario**: Automatically send a message if a new message is received and contains certain keywords.
1. Select "New Message Received" as the trigger.
Define a condition: Check if the message contains specific keywords, e.g., urgent, help.
Use logical operators if needed: For example, message contains 'urgent' OR 'important'.
Optionally, set a delay before checking the condition (e.g., 5 minutes).
 Select the action: 'Send Message' Action.
Specify the message to send, such as: "We have received your message and are processing your request."
Optionally, add a delay for when the action should be executed; and even some form of media (Image, Video, Document or Audio)
Select the action: 'Send Message' Action.
Specify the message to send, such as: "We have received your message and are processing your request."
Optionally, add a delay for when the action should be executed; and even some form of media (Image, Video, Document or Audio)
 Save the rule and activate it to start automating the workflow.
### Final Rule:
* **Trigger**: When `New Message Received`
* **Conditions**: If message contains `urgent` OR `important`
* **Action**: Then send a message "We have received your message and are processing your request."
Save the rule and activate it to start automating the workflow.
### Final Rule:
* **Trigger**: When `New Message Received`
* **Conditions**: If message contains `urgent` OR `important`
* **Action**: Then send a message "We have received your message and are processing your request."

